
No shack is complete without a dummy load, especially if you like to build kits, since it provides a way to test transmitters without risk of damaging them or creating interference to other hams. Basically, a dummy load is a false antenna. To the radio, it looks like a real antenna. The dummy load will absorb the energy it transmits instead of radiating it any real distance.
This dummy load, designed by Dave Cripe NM0S and offered by the Four States QRP Group, is an easy foray into the world of kit building with SMD components. It will handle 10 watts and incorporates a basic power meter as well. At just over $15 shipped, it is a deal that’s hard to pass up.

With a low parts count and straightforward instructions written by Joe Eisenberg K0NEB, I was able to build it in pretty short order with the soldering iron I already owned. In this case, no new tools were required to transition from through hole to surface mount components.
Soldering SMD components with a traditional iron is pretty easy, especially with this kit. The spacing between the pads and its large components are great for the beginner or for the out of practice.
To solder SMD components, first apply solder to one side of the pad. Then, holding the component in place with tweezers, reheat the pretinned pad to solder it in place. Last, apply solder to the other side to complete the job.
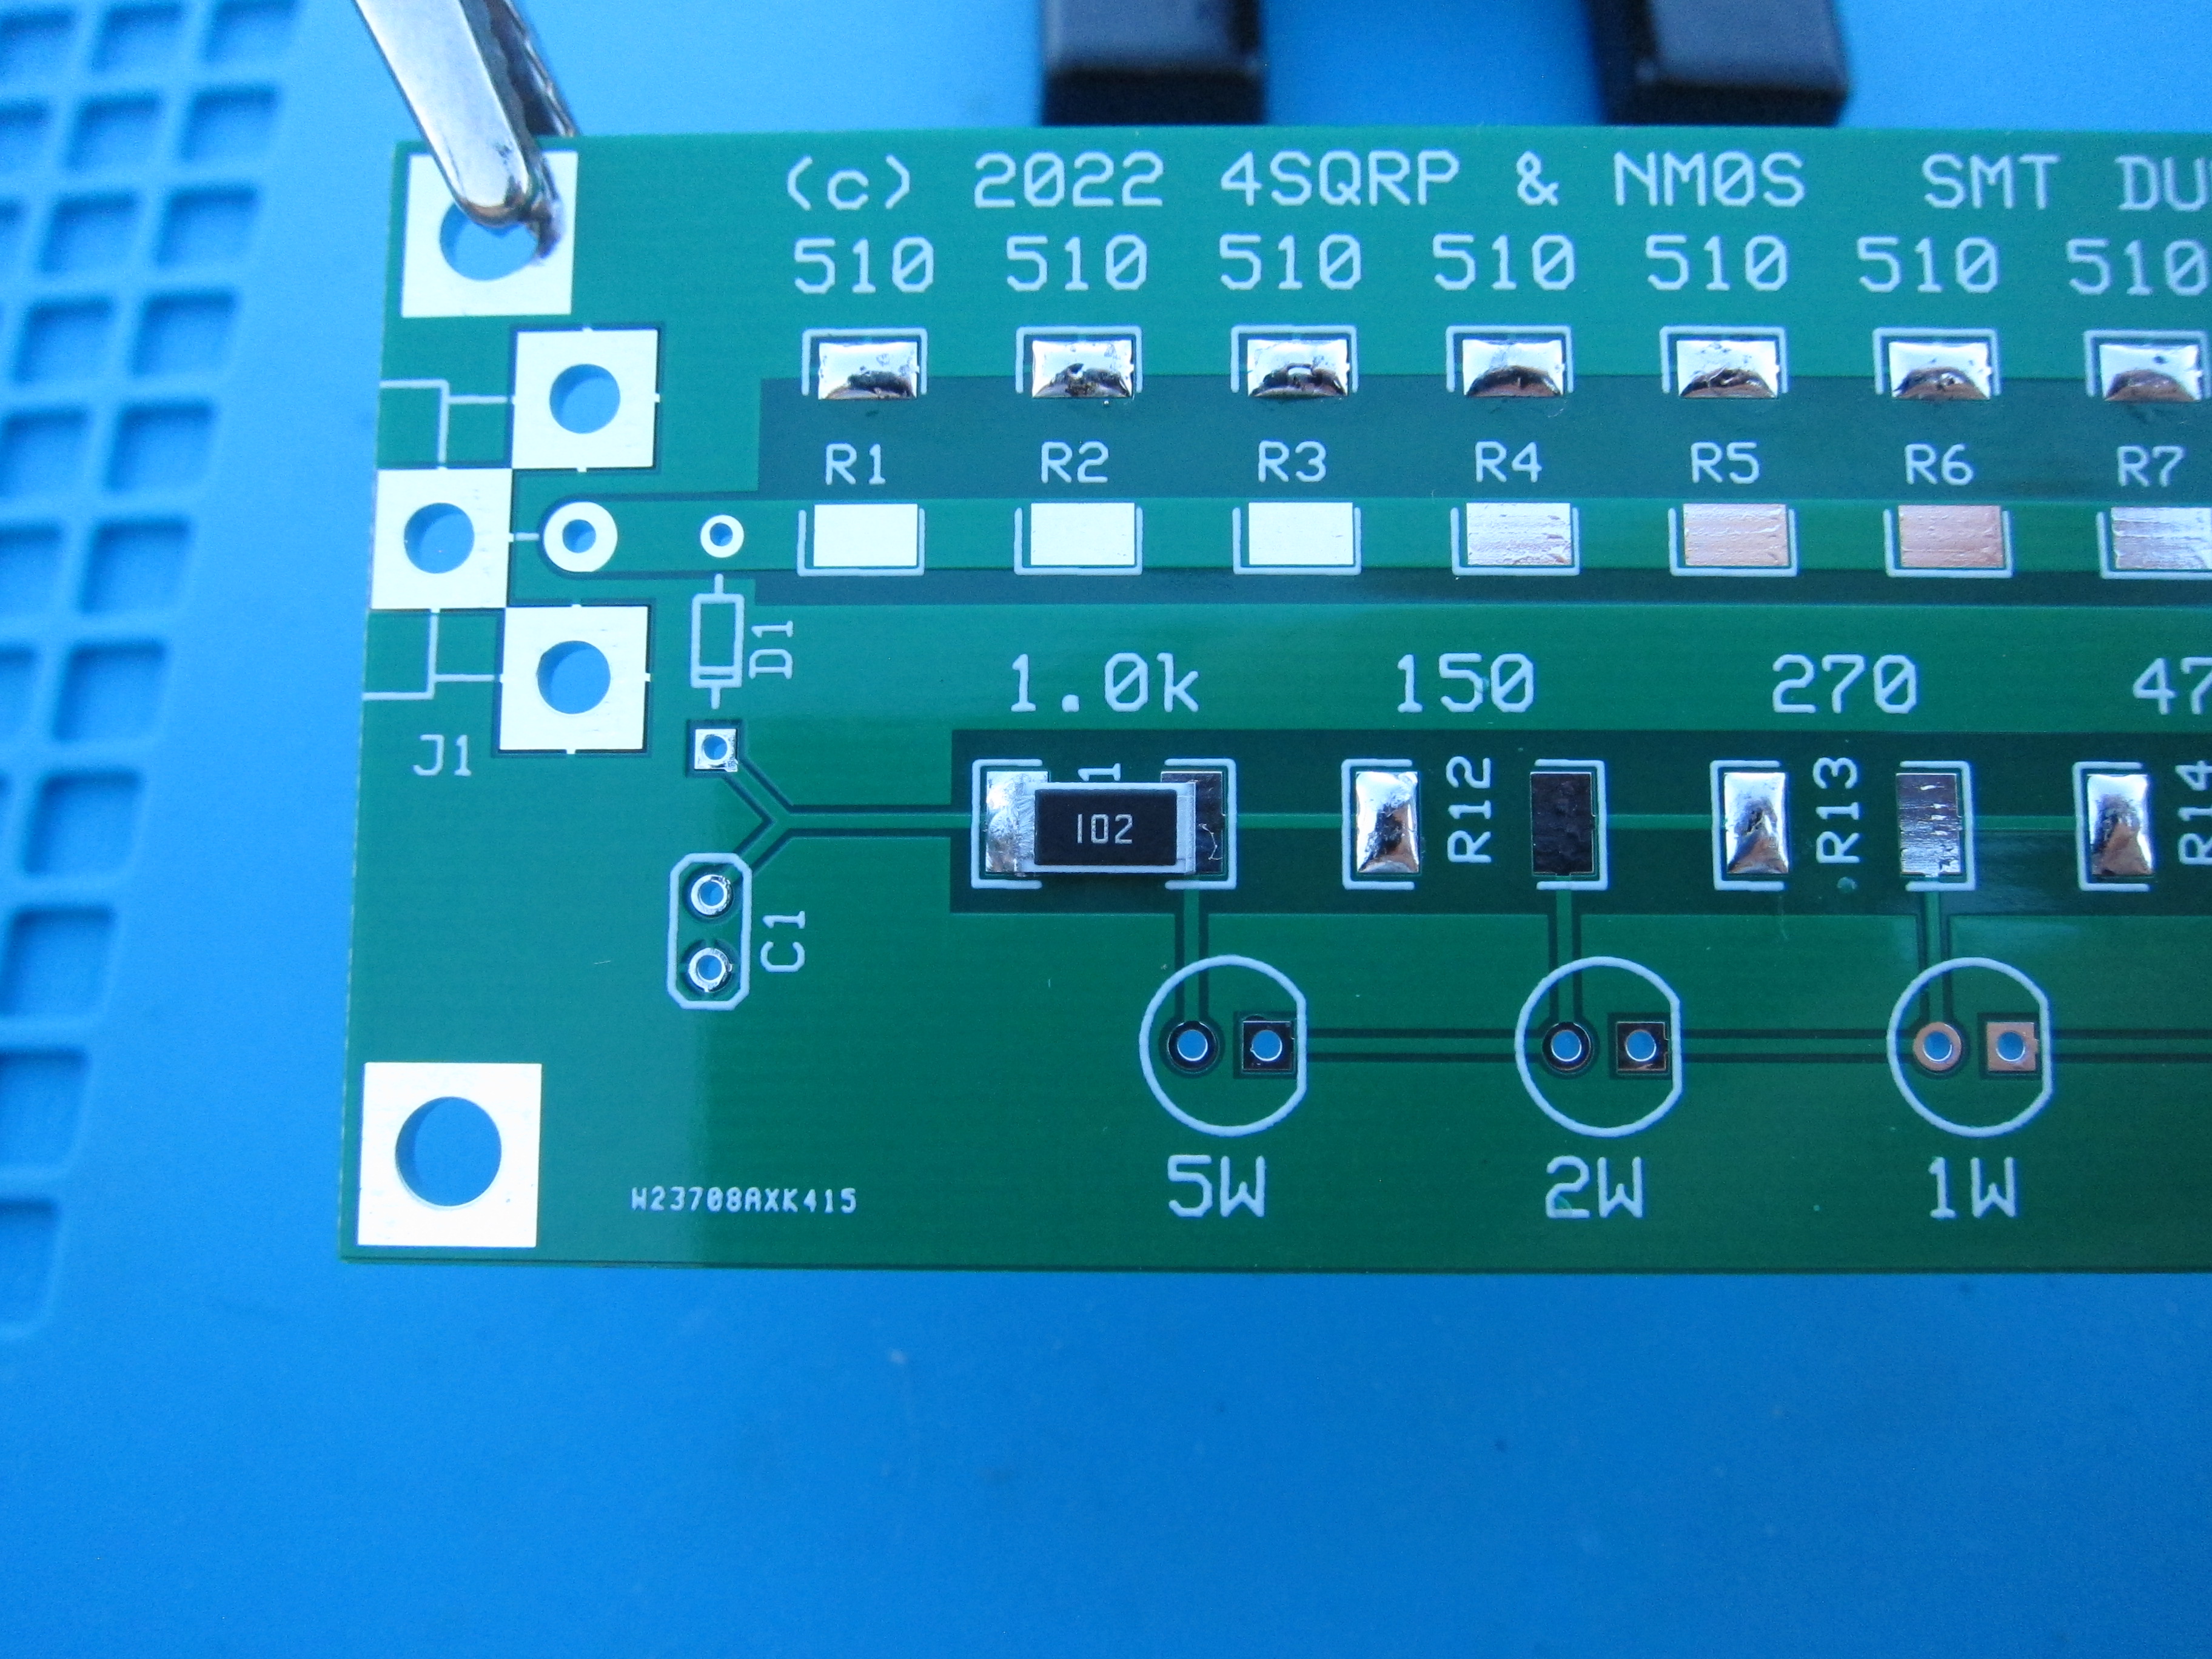
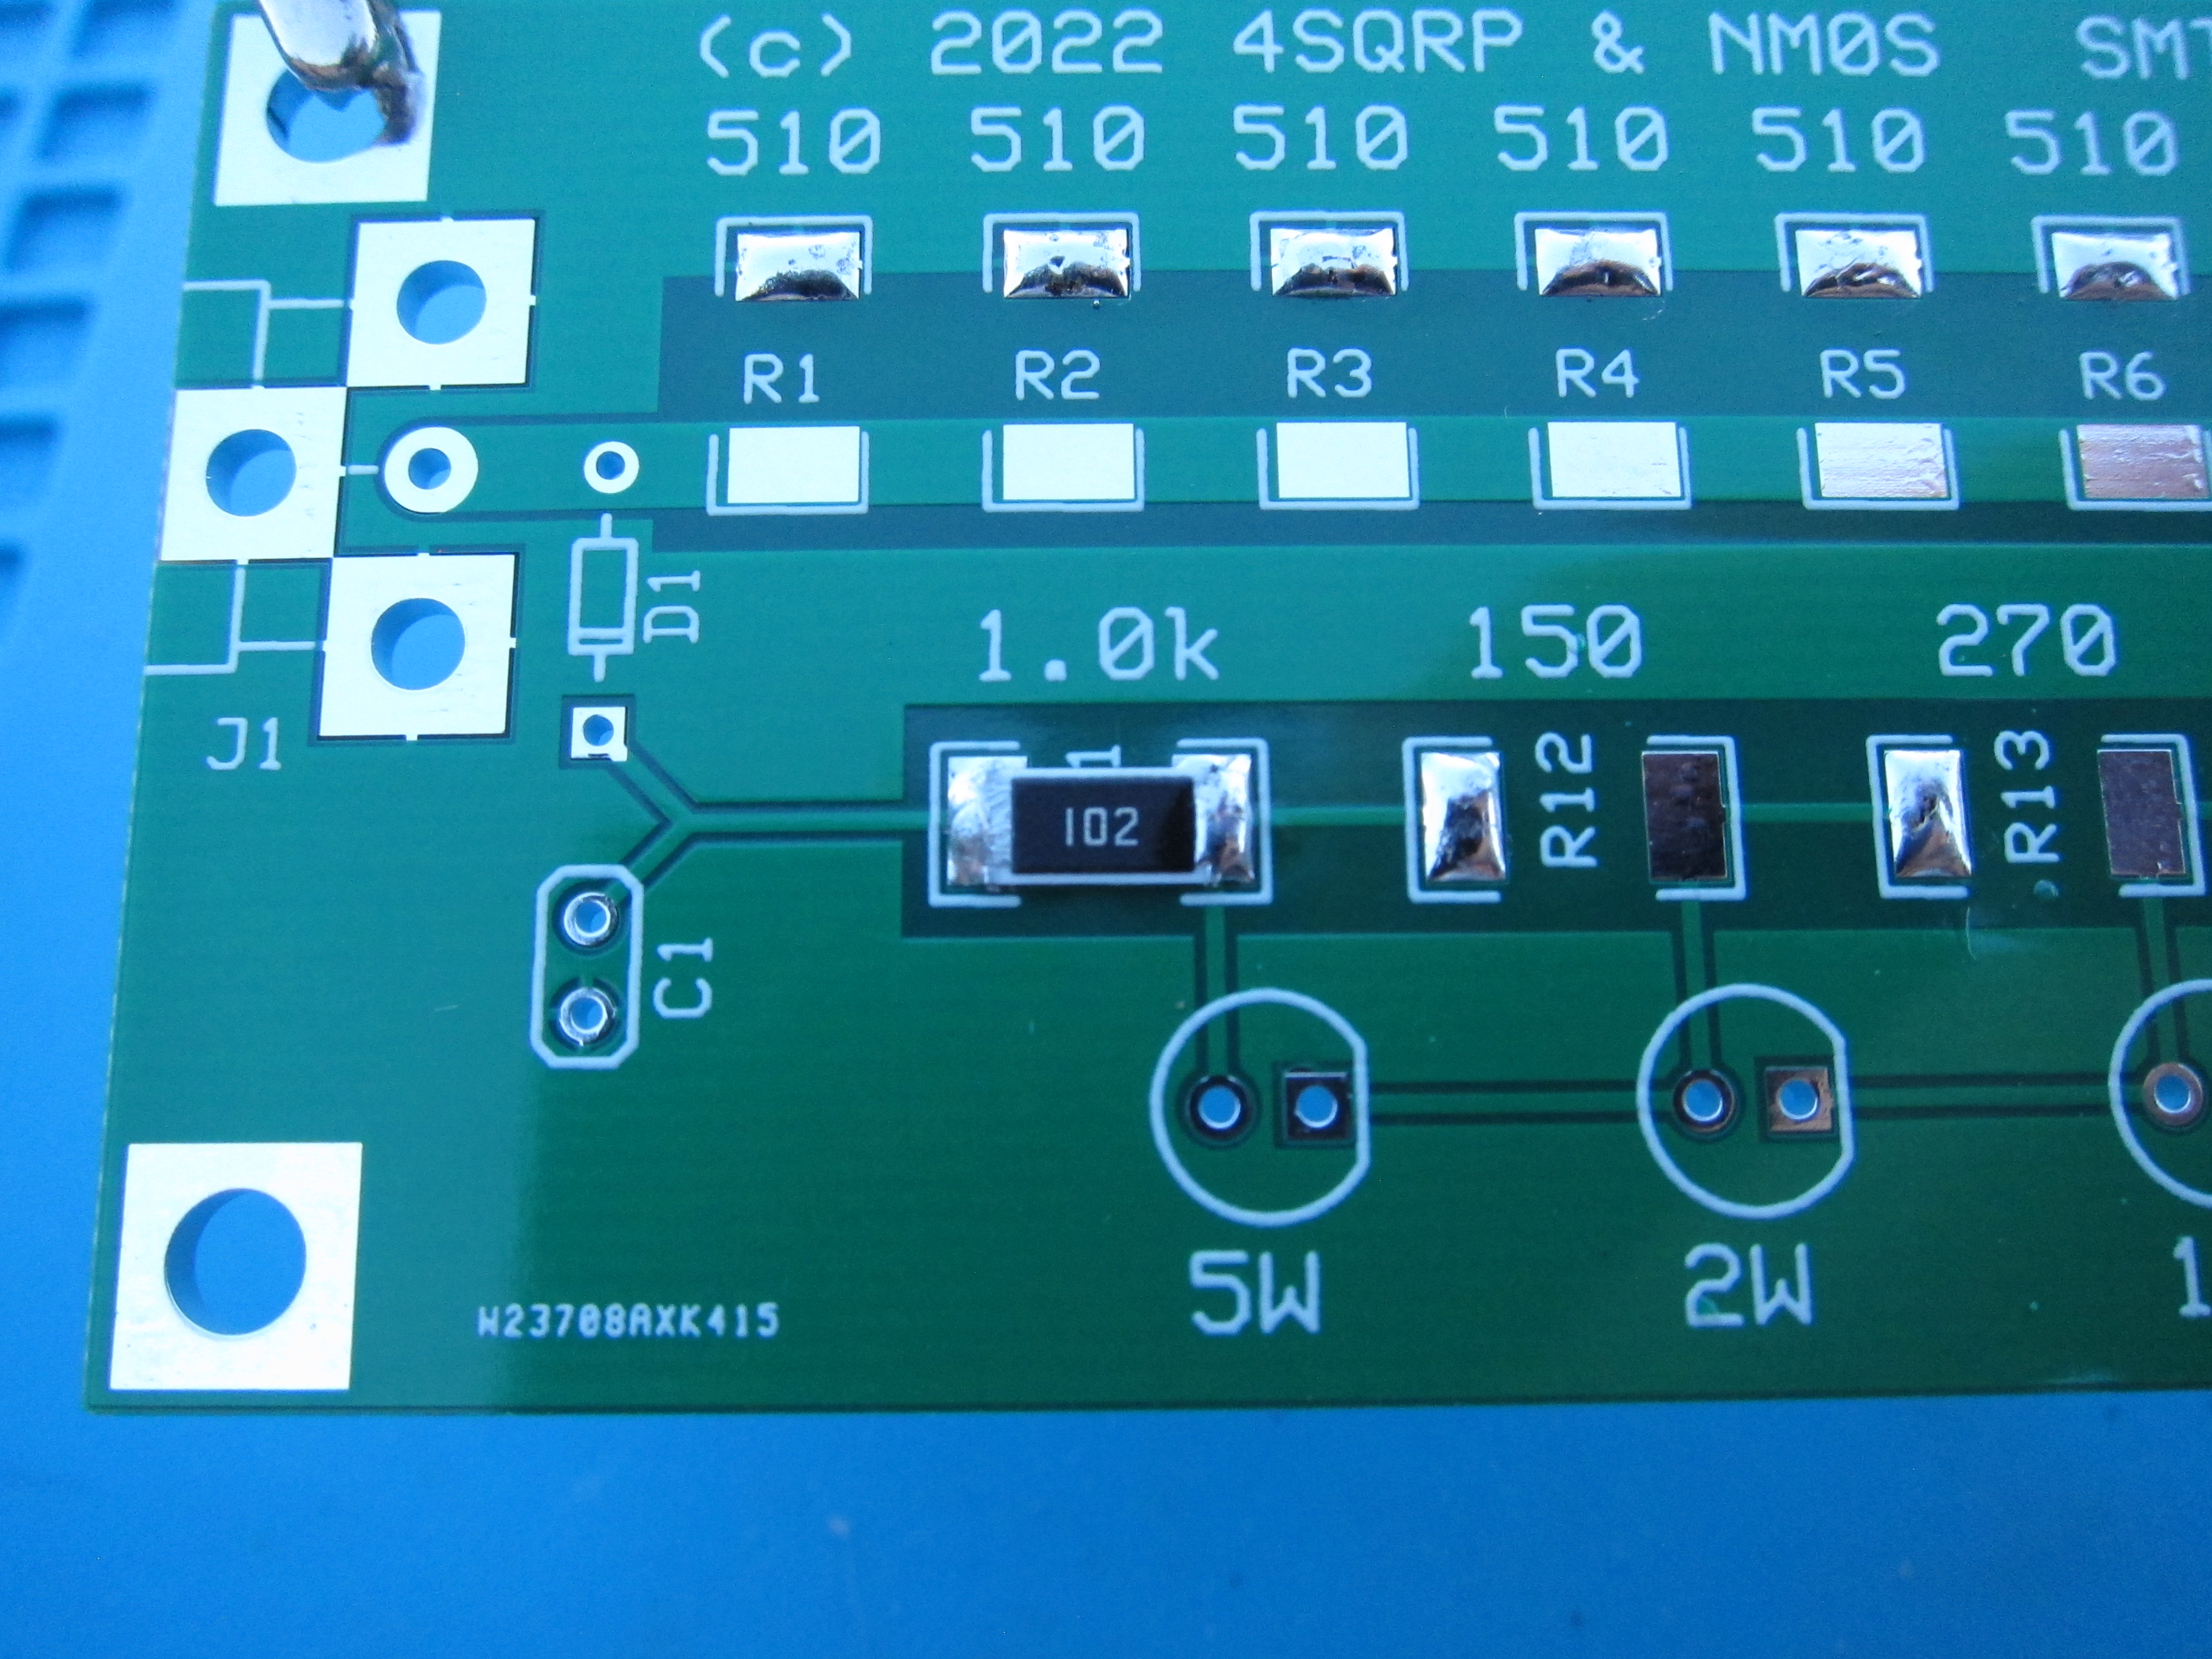
As you can see above, I applied solder to one side of each pad in one step. Once I installed all of the SMD style resistors, I moved on to through hole components: the diode, the LEDs, the capacitor, and the BNC.
If you remember the last post, I said that I made a mostly working kit. Well, I was in a rush to complete this kit before my wife and son got home and I installed all the LEDs backwards. Mr. Cripe was kind enough to send me a few more after I messed mine up. Once I got them in the mail, I uninstalled the old LEDs and installed the new ones correctly.
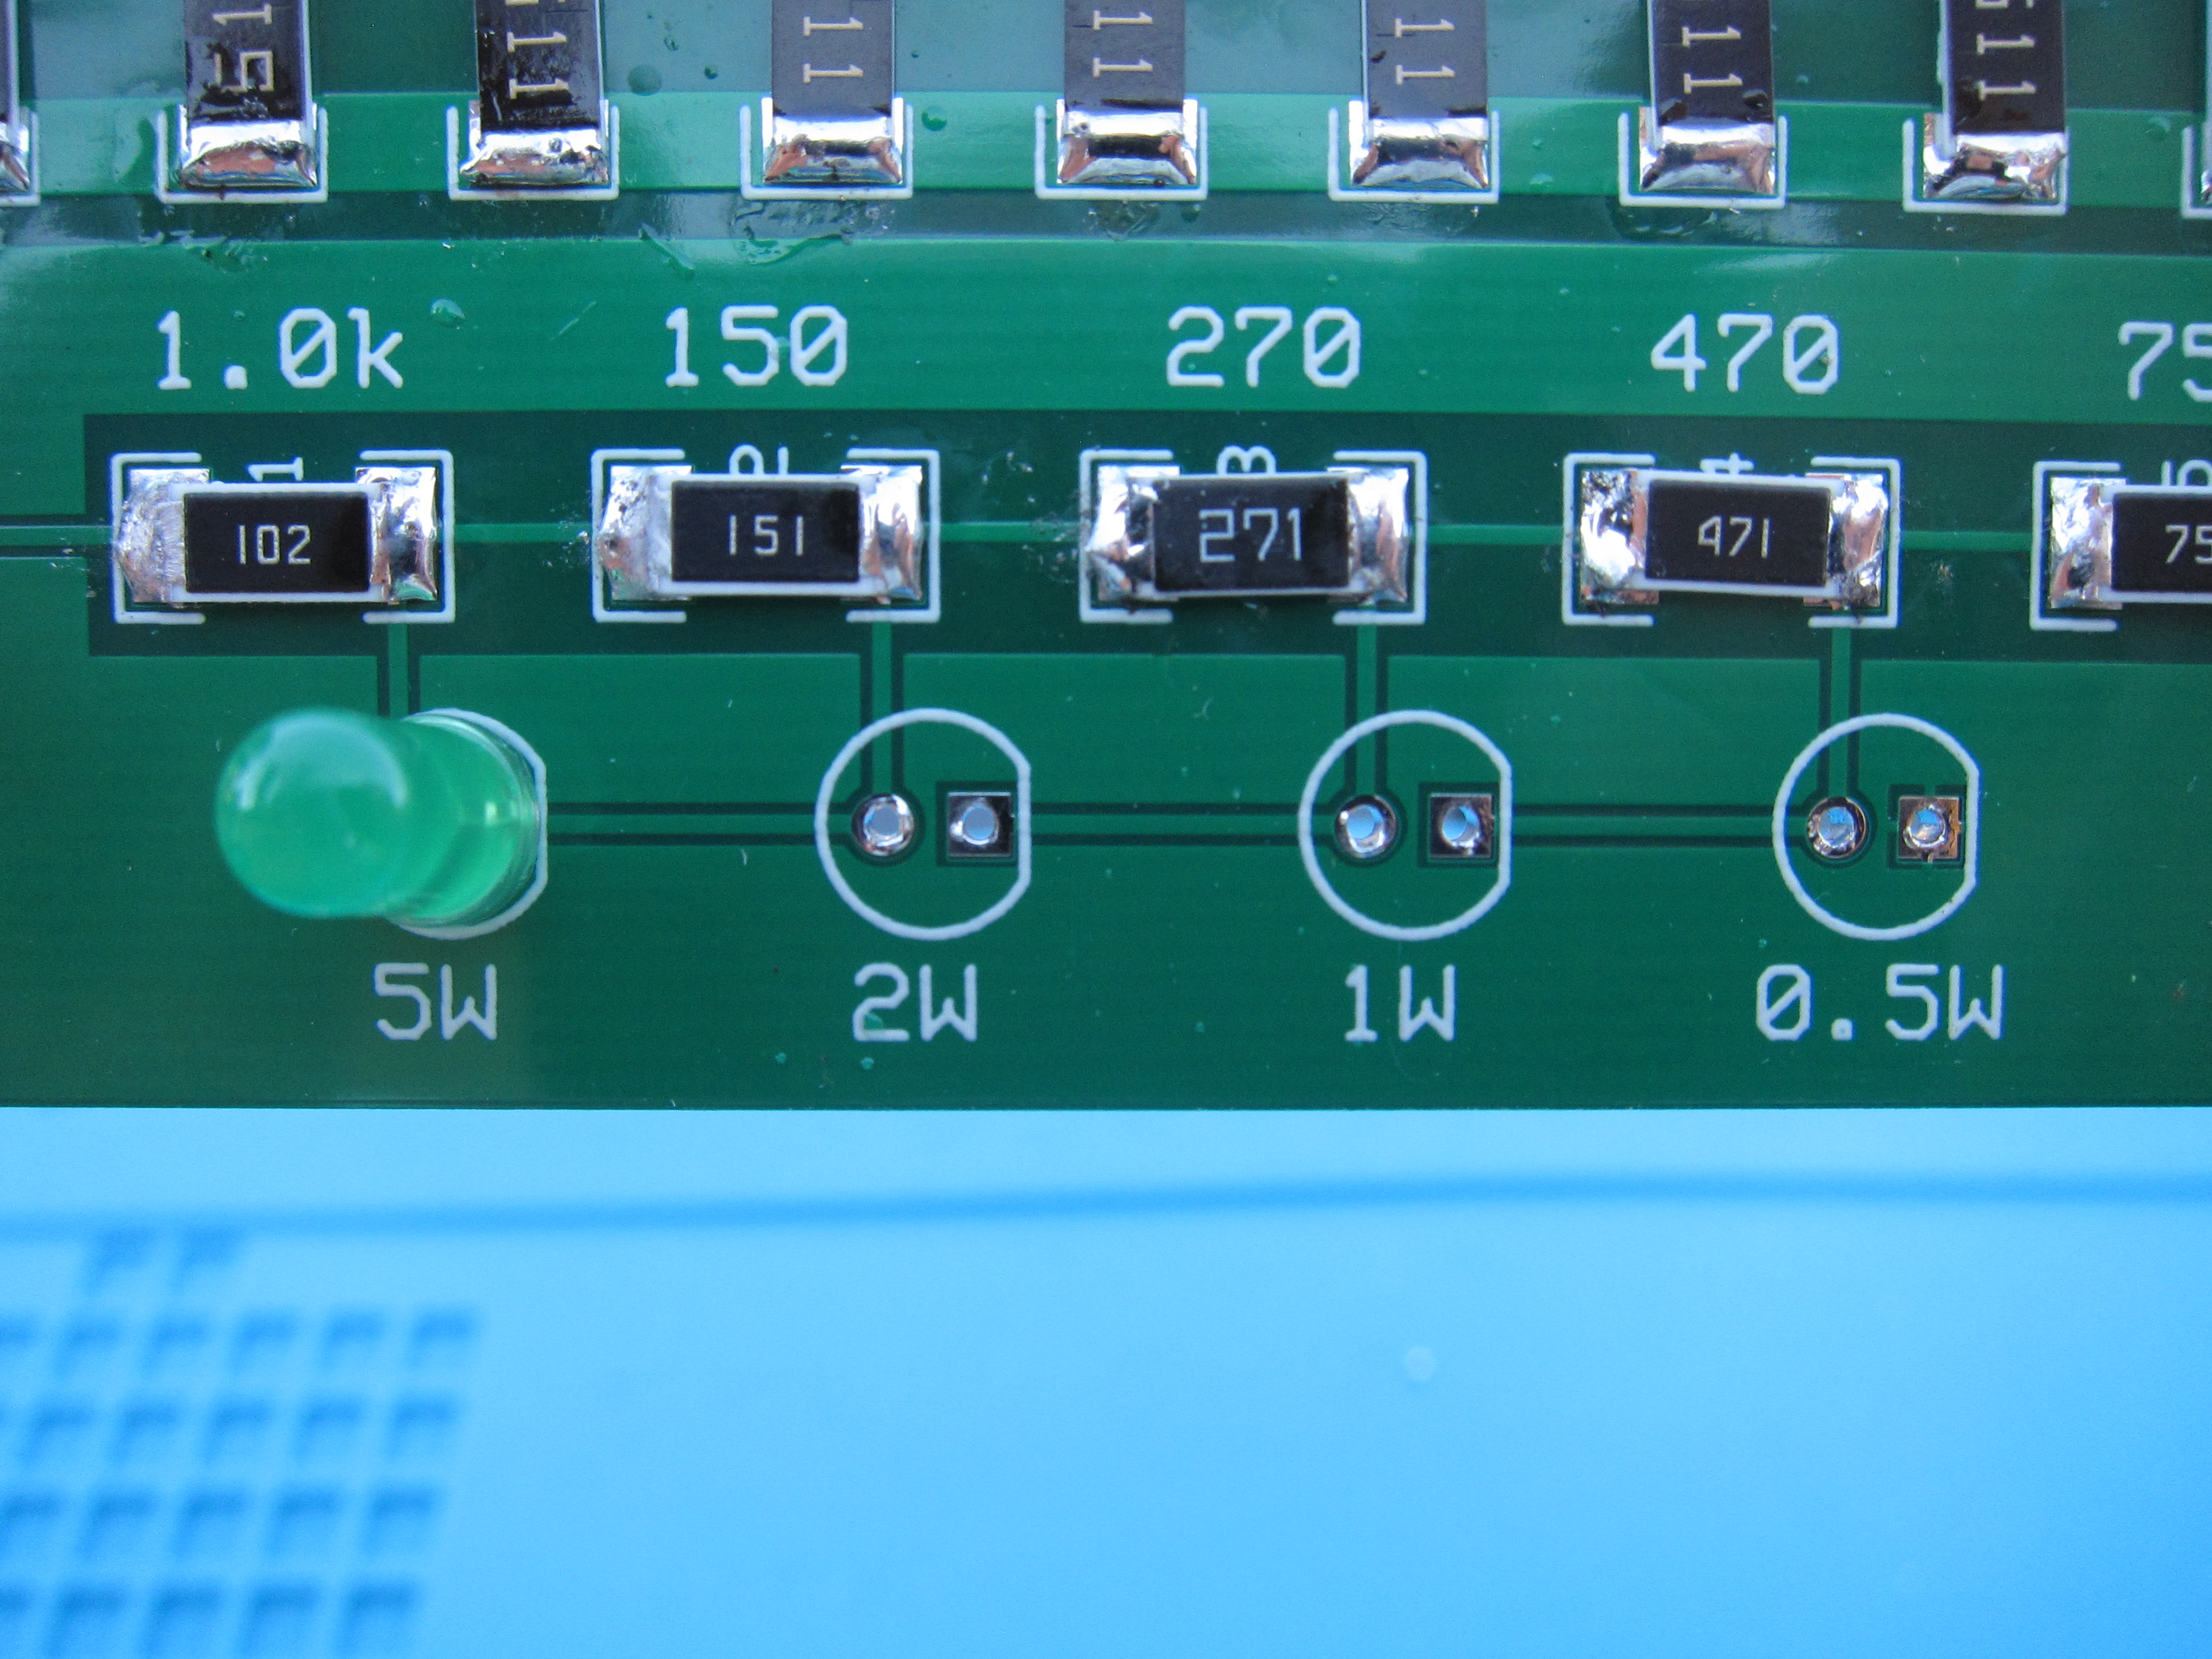

Sure enough, the LEDs lit up once installed the right way. With my Mountain Topper displaying a battery voltage of 11.7V, three of the LEDs were full brightness with the 5W LED at half brightness. I’m a pretty satisfied customer. Now, I need to get that Pititico II completely done and hooked up to this dummy load to see if I can get 0.5W out of it.

I continue to be impressed with the quality of every Four States QRP Group kit that I build. The boards are thick and have good pads to solder to. The components are of nice quality, especially the BNC jacks they have sourced. I wish that all my kits had these jacks on them. If you want to start building kits or are just looking for your next project, I highly recommend any of the Four States offerings.
See more about the Four States QRP Group

A Hiatus, QTH Change, and Antenna Experiments
Since attending OzarkCon in April this year (which I still would like to write about), I took a break from ham radio. In the time since, my family and I moved seven hours north from Arkansas to Kansas, both my wife and I have started new jobs, and have renovated our new-to-us, eighty-year-old house. It…

The 4SQRP Hi-Per-Mite CW Audio Filter
The FT-817/818 has been in production for over 20 years and now that I own one, it is easy to see why. It is a fun radio to operate and fits a lot in a small package. There’s really just one thing that I don’t like about it: the wideness of its filtering can make…
