
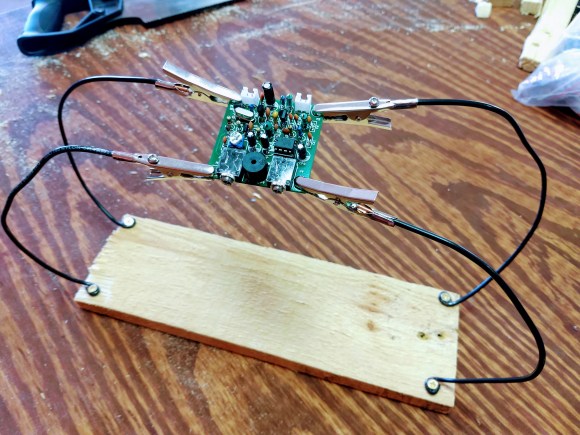
When soldering electronics, it is important that the board that you are working on doesn’t move around on you. Basically, a helping hand set helps you hold on to your soldering projects so that your other hands are free to hold the iron and the solder.
At times, I have found that the basic helping hand sets have a base that is too small to stay put. You can build a better set for yourself for less money than the cheapest, lowest quality ones out there.
All you need are some basic tools and a good junk box.
Supplies
- Solid wire
- I used the solid 12ga house wire that I had on hand. In reality, anything bendy will do.
- Short screws
- If you don’t have any lying around, get a variety pack.
- Wood
- Keep an eye peeled; free wood is everywhere if you’re looking for it. I found a discarded pallet at work.
- Alligator clips
- These are the bits that bite down on your electronic circuits or wires. These I needed to buy since my alligator clips are being used as test leads. Much like woodworking clamps, you can never have too many alligator clips!
Tools
- Drill with drill bits and drivers
- Saw
- Wire Cutters
- Crimpers
Step One: Create the Base
Cut a board to a length of 12in or so. The size isn’t critical. It shouldn’t take up too much room on your bench, nor should it be so small that it becomes unstable as soon as you try to solder a component to your board.

Step Two: Cut the Wires
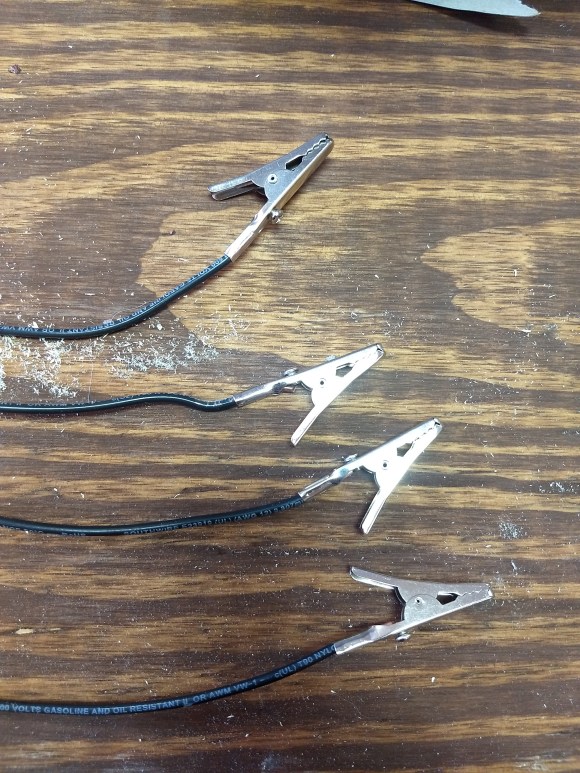
Here, I cut four wires to two lengths: two wires are 6in, two wires are 8in. I thought the different wire lengths might come in handy.
Using the plier teeth of your wire cutters, create loops on the end of each wire. The wire loops should be small enough so that the head of the screw bites down on the wire loop when screwed to the board.
Of course, you could use anywhere between two to six or eight wires with clips. It’s your project so design it for your needs.

Step Three: Attach the Clips
Strip the jacket off of the end of your wires, then slip the alligator clips onto the ends of the wires. Crimp the clips to the wire.


Step Four: Attach the Wires to the Base
I decided to attach my wires to the four corners of the board. Below is a photo of the first one. You can tell by the extra holes that I’m using scrap lumber.
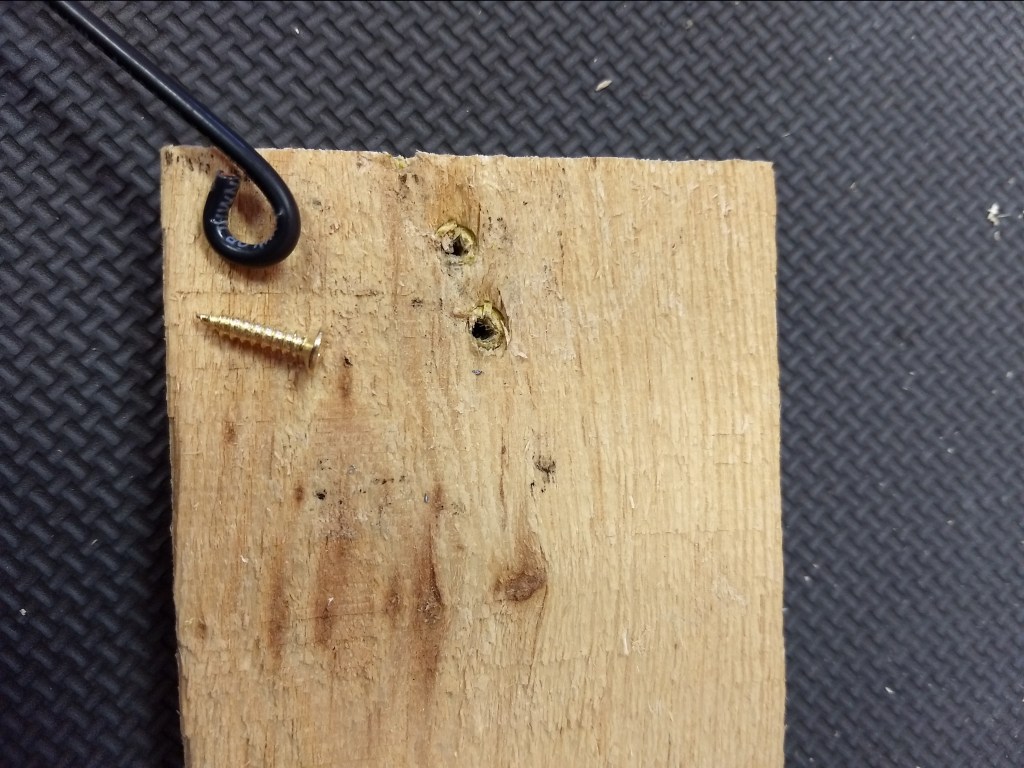
When I attached mine, I tried to make them snug enough so that they wouldn’t spin freely, but would still move around the screw if I wanted to reorient them.
Step Five: Get to Work

Hopefully yours will be different than mine. On projects like this, improvisation is half the fun. After all, everyone’s junk box contains different stuff. See what you can come up with using stuff you already have.
