
One of my favorite radios in the shack is the QCX, a QRP kit offered by qrp-labs.com. While the QCX has been in production since 2017, the 2020 updated version featured a nice, tailor made case (optional, but highly recommended) and a pcb which offered a more spaced out design for electronic components. These updates make the project much easier, especially for beginners to tackle.

This radio is worth looking into for several reasons:
- Clear instructions and all necessary parts included
- The instruction manual is hands down, the nicest thing I have seen and sets a high bar for other kit makers. Lots of full color photos and diagrams.
- Full-bore 5W QRP output
- Many affordable QRP kits output .3W to 1W, which is roughly four to eight times lower than 5W.
- 5W is enough power to make contacts regularly with a full size antenna, even as a CW beginner. Any day when I got on the air, I have made a contact.
- A selective receiver
- A receiver can be compared to binoculars. If they’re too wide, you see too much. Too narrow and perhaps its hard to focus on what you need to. The QCX has a receiver designed to let through a 200Hz signal, which is tight enough to block out other strong signals. Many other ultra budget radios are said to have a receiver like a barn door, letting in 2000 to 3000Hz. It can be difficult to block out others who are busy making QSOs with a receiver this wide.
- Easy to use, intuitive menus
- For a radio having only three buttons, the menus are easy to navigate and you rarely need to go into them to change settings.
- Morse decoder and practice modes
- A nice feature which can help ensure that you are sending intelligible code. At times, the decoder comes in handy when working other stations and my brain goes offline temporarily.
- If you are a bit shy about getting on the air just yet or you end up getting a radio before you are licensed, the practice mode feature can give you instant feedback on how clean of code you are sending.
- Beacon modes, such as WSPR
- WSPR is a mode which is designed for sending out low power transmissions to test propagation or your antenna setup. Think of it this way: when you send out CQ, you are calling other stations. If you don’t want anyone to answer you, it is not only confusing, it is in poor form. If you setup your radio to send out a WSPR signal, the other person’s radio has to be setup to receive these signals and port them to a website so that others can see what signals are going where.
- Tuneable with a frequency readout
- The radio receiver in our car is tuneable, so all radios can change frequency, right? Not so. Many ultra-budget QRP radios are not. They are bound like Sisyphus to a rock, or better said, a quartz crystal. This means that you cannot change frequency, even if someone else is there. The QCX can change frequency throughout the whole band.
- Built-in keyer
- Most modern QRO radios have keyers, or circuits that help you form dits and dahs, but not all QRP radios have these.
- Optional development board, TCXO, GPS module, etc
- If you get into experimentation, there are several components offered by QRP Labs that can help you develop projects of your own, which some operators have done with success.
- Fully featured and well designed, yet inexpensive
- It is hard to believe that this radio is only $55. There are cheaper radios, but none of them come close to the ease of use and power output of this kit.
My experiences with QCXs
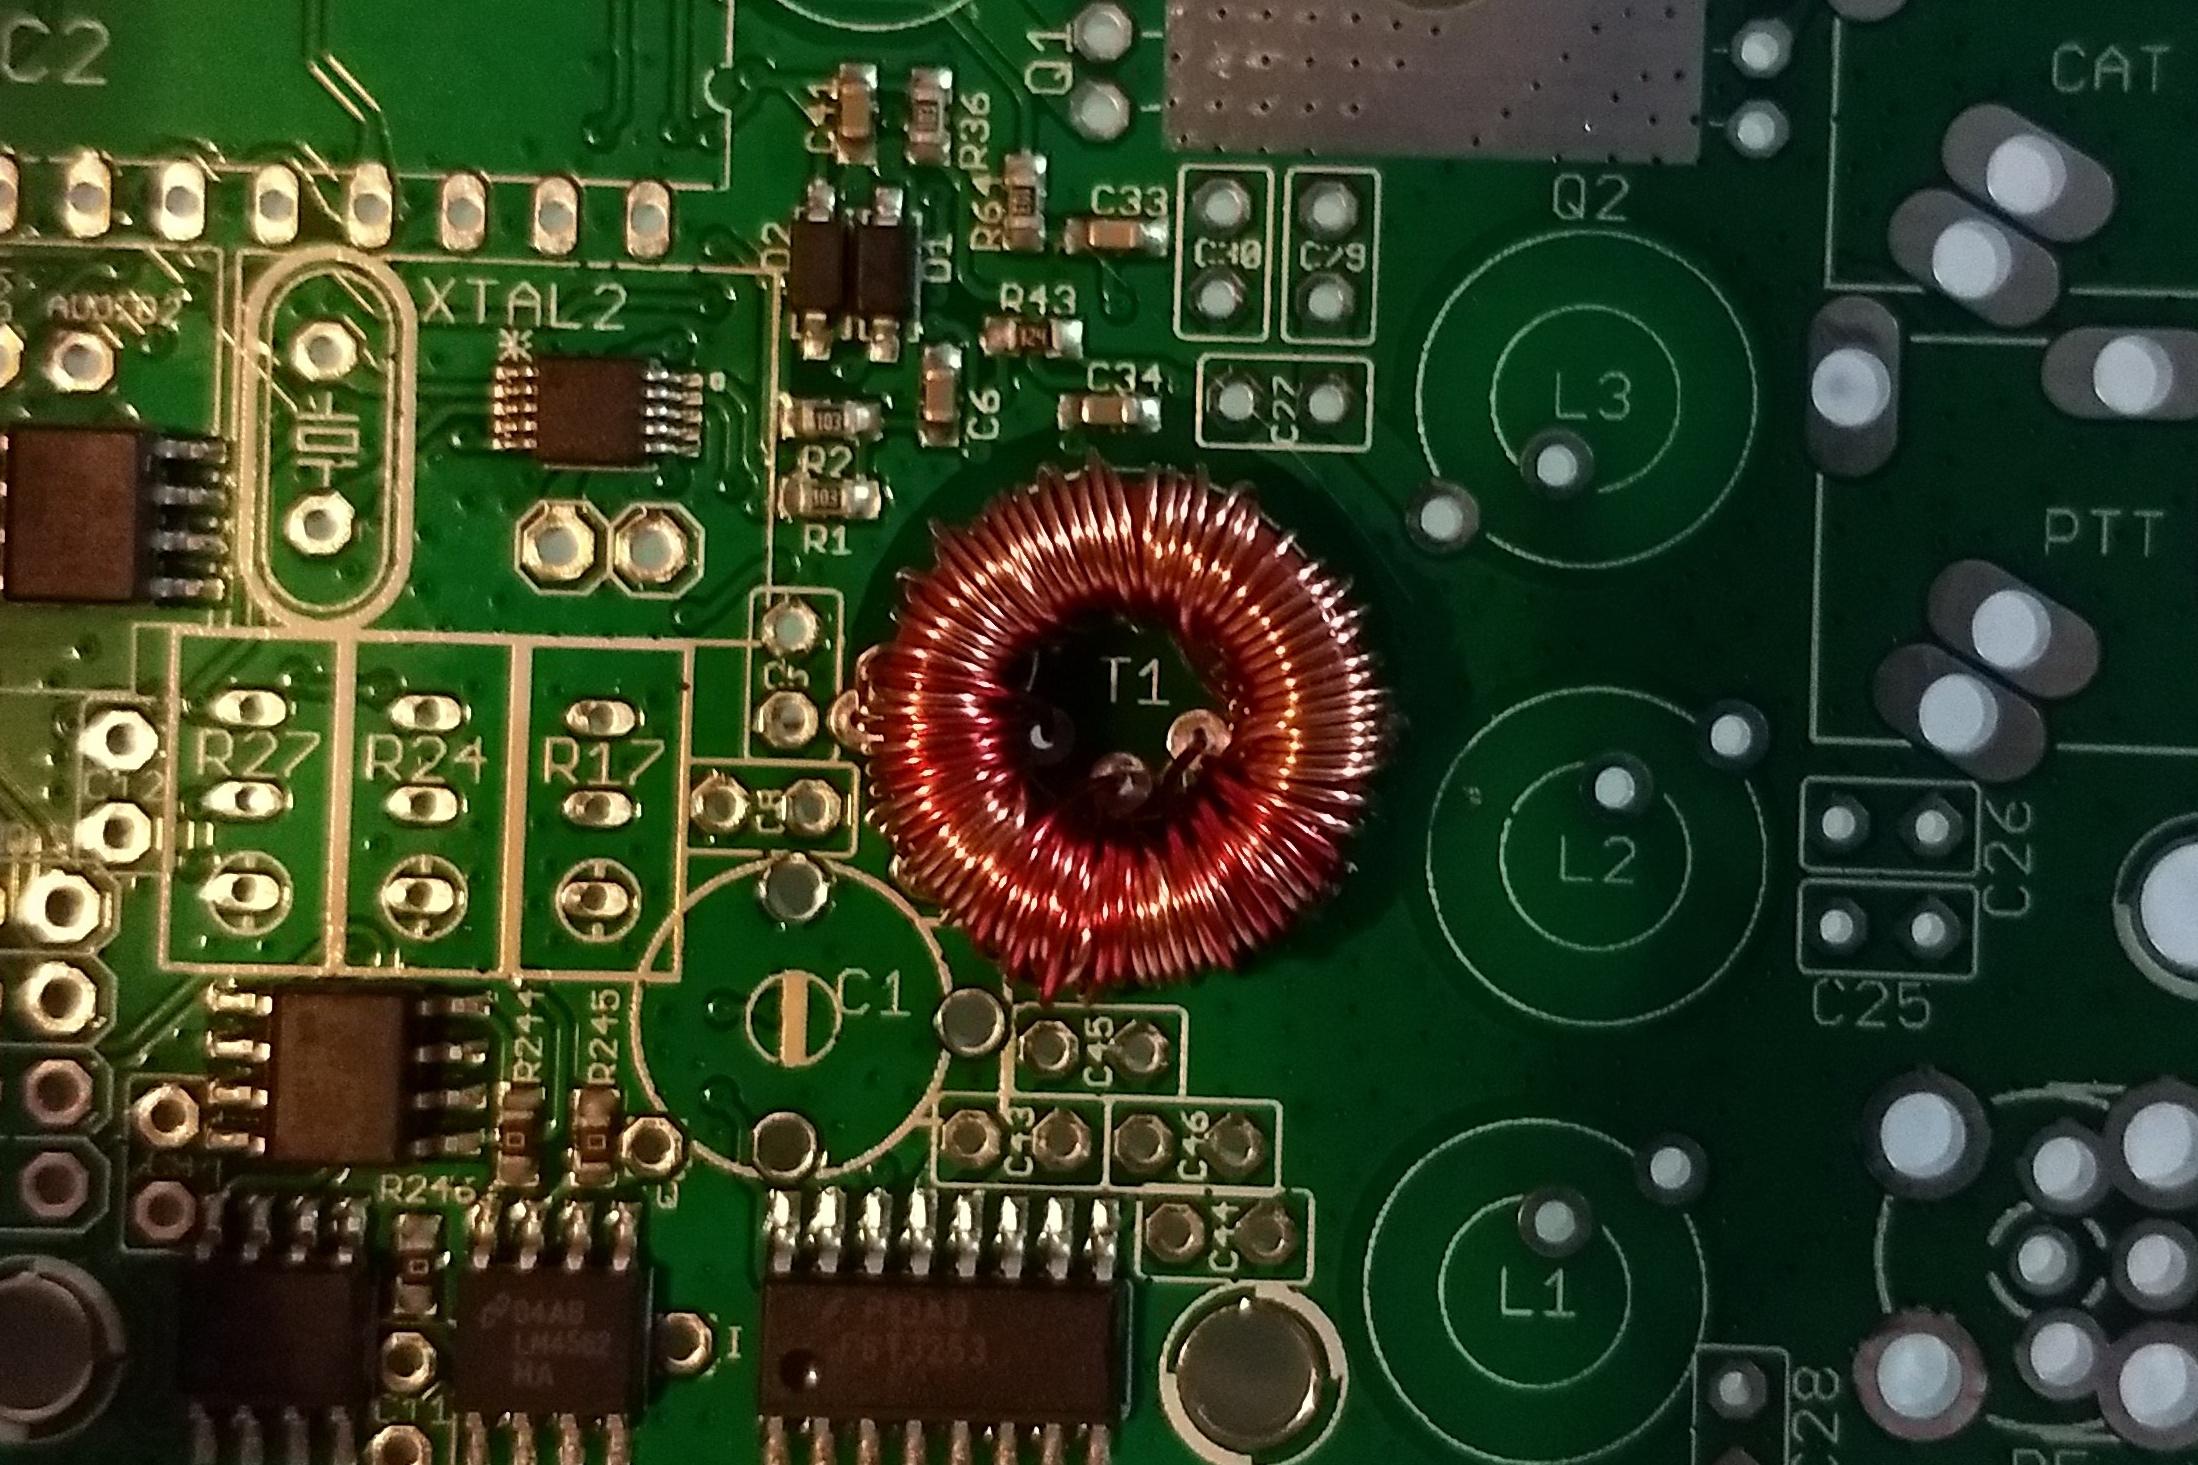
Since 2017, I have been a fan of the QCX line of radios. In fact, the second soldering kit that I built was a QCX for 20m. I spent several nights going through the instructions, carefully soldering each component and winding the toroids. I remember being so nervous that I would make a mistake yet so excited to have it completed. Finally, I got it all put together and aligned, then plugged it into my antenna.

It was magical hearing those signals for the first time out of a kit that I built myself, like I had pulled back the curtain on a world that I had heard about but had not yet experienced first hand. I couldn’t wait to get on the air, but I didn’t know the code yet. Nor did I know how to learn it. Unfortunately, I killed that radio shortly after building it because I started poking and prodding it with a multimeter. Curiosity killed that radio, but I still have it. I’m sure that I’ll fix it one of these days when I have the time and tools.
I took the easy way out and decided to buy a new radio: a QCX for 30m. This time, I didn’t install those header pins so that it would be much harder for curiosity to get the best of me. After building it, I installed it into a clear case. It’s a bit rough looking, but functional and it shows off the guts of the thing. People like to look at it and are always surprised to hear that it was a kit that you can build yourself.

When I got the idea for this website, I decided that I would build another QCX, this time a QCX+ for 40m. Since 2017, the electronic guts haven’t changed much, but the physical layout has. It is easier to put together since there is more elbow room for soldering.
Of course, a page devoted to the QCX is not complete without mention of the newest QCX mini version. Mine is built for 80m and is what I hope to take out winter camping where everyone has room for a full size 80m dipole.

There’s really just one thing that I wish it had: AGC, or automatic gain control. Whenever a strong station comes in, you have to be quick with the volume knob so that you don’t lose your hearing. It’s a mild annoyance, and one that I bet I could remedy with some research and my trusty soldering iron.
If you end up with one of the QCXs, I am sure that you will be a happy operator.

One reply on “The QCX”
[…] Summers’s QRP Labs transceivers are incredible pieces of equipment. I’ve built several and below details my build of his newest offering: the QMX for 20 through 10 meters. I won’t […]
LikeLike