
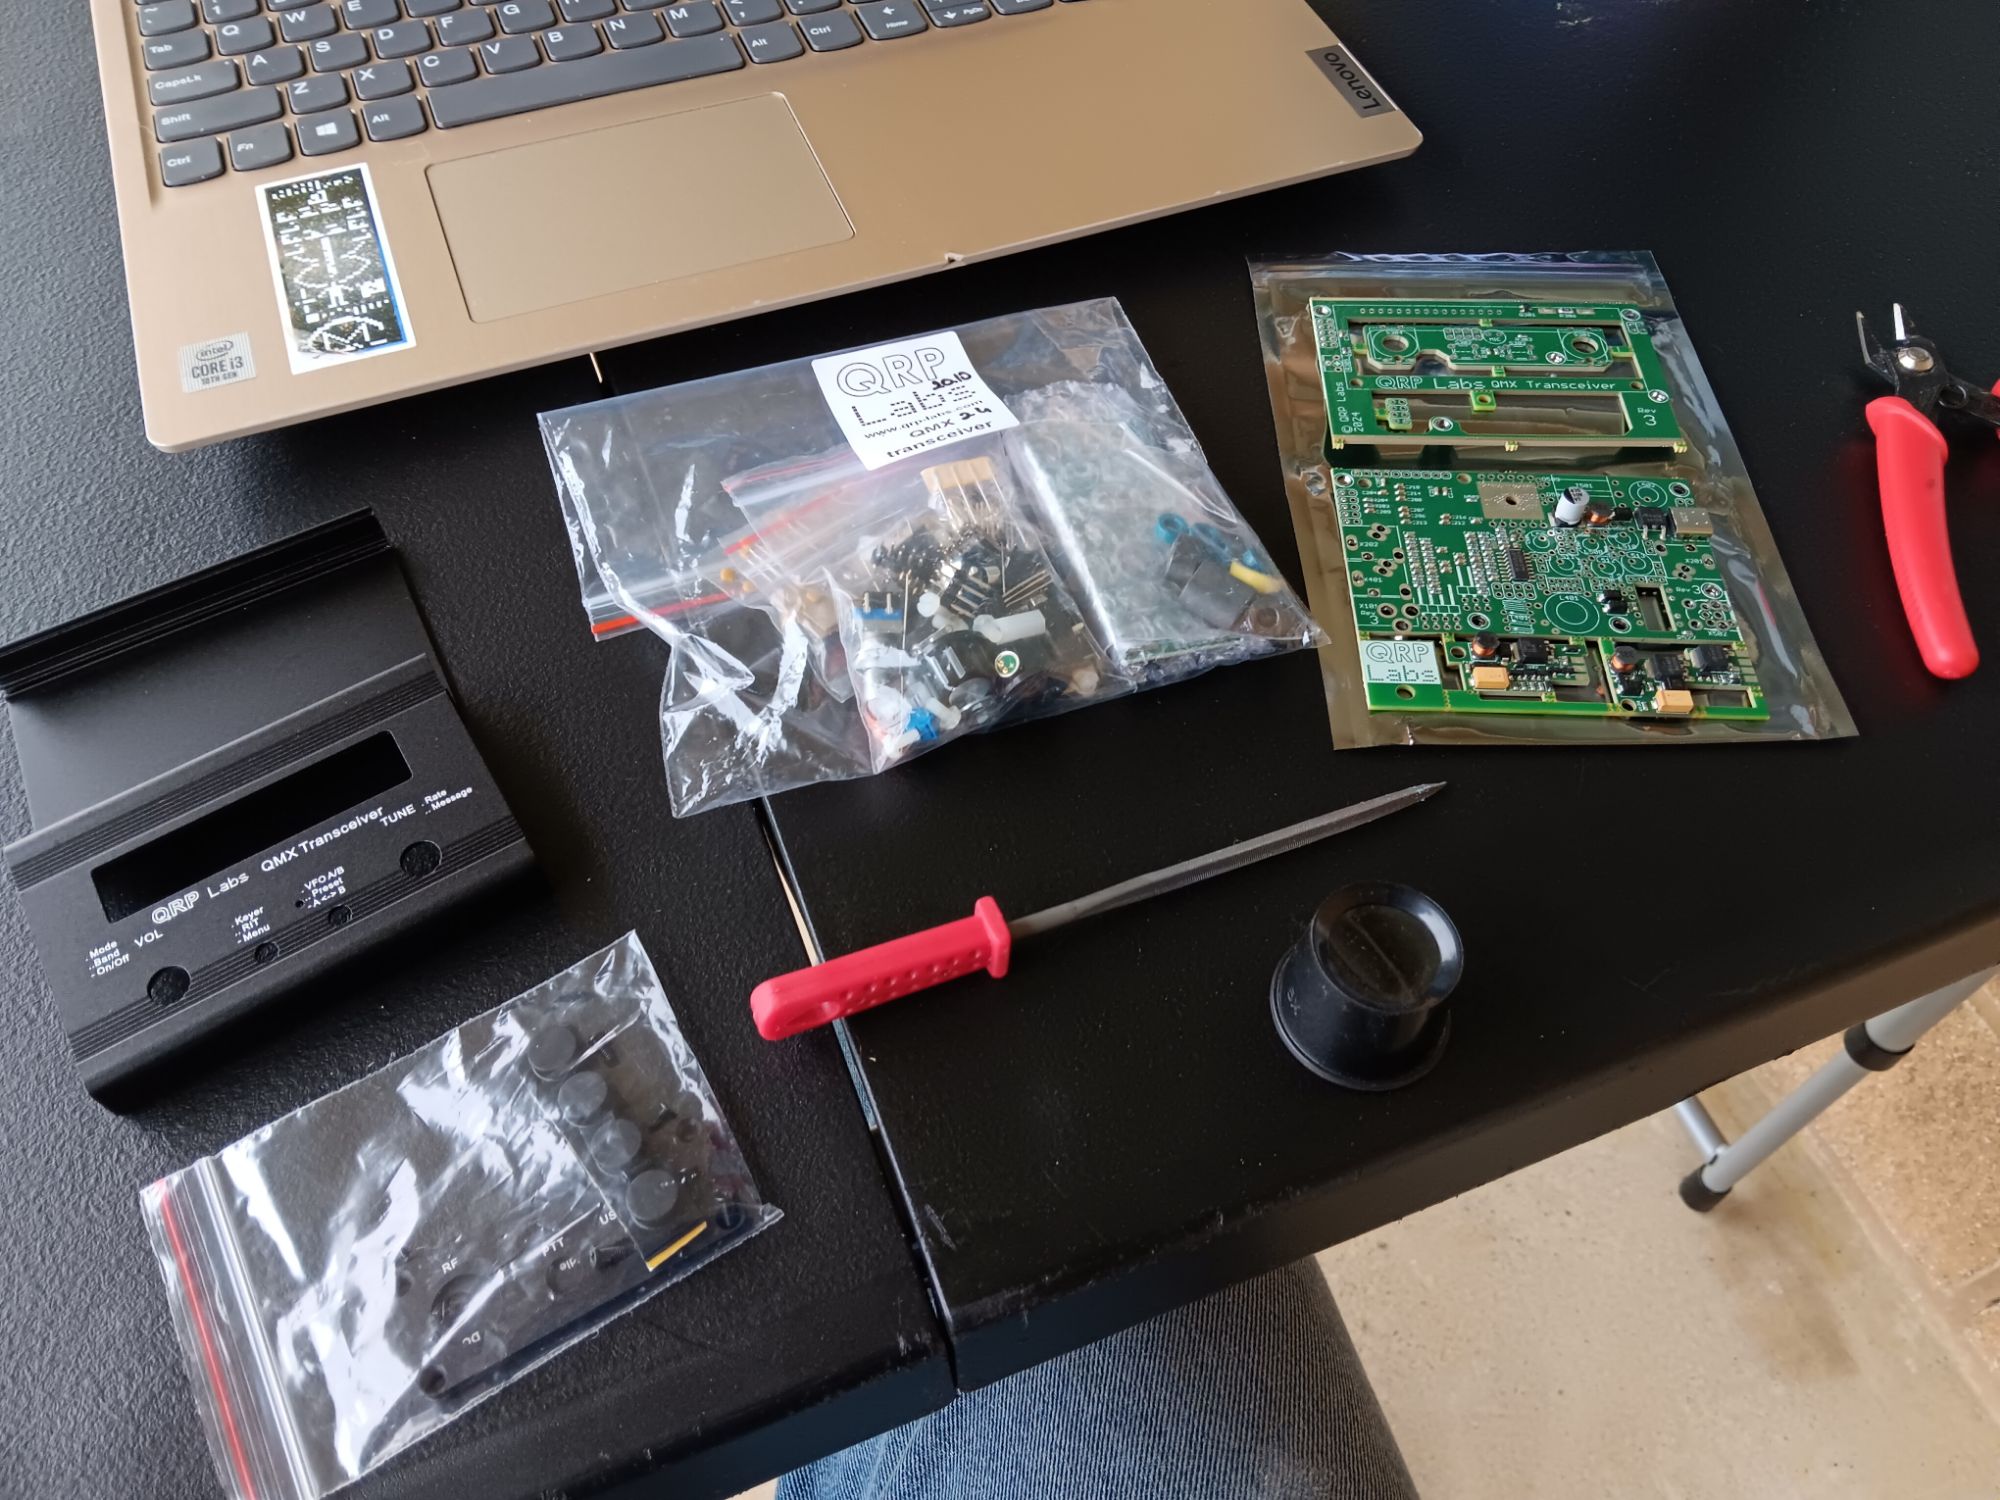
Hans Summers’s QRP Labs transceivers are incredible pieces of equipment. I’ve built several and below details my build of his newest offering: the QMX for 20 through 10 meters. I won’t reiterate all the details of the radio which you can find on his website. Instead, I’ll offer all the photos and limited commentary of my build process, spanning six sessions and twelve hours.
All the Bits


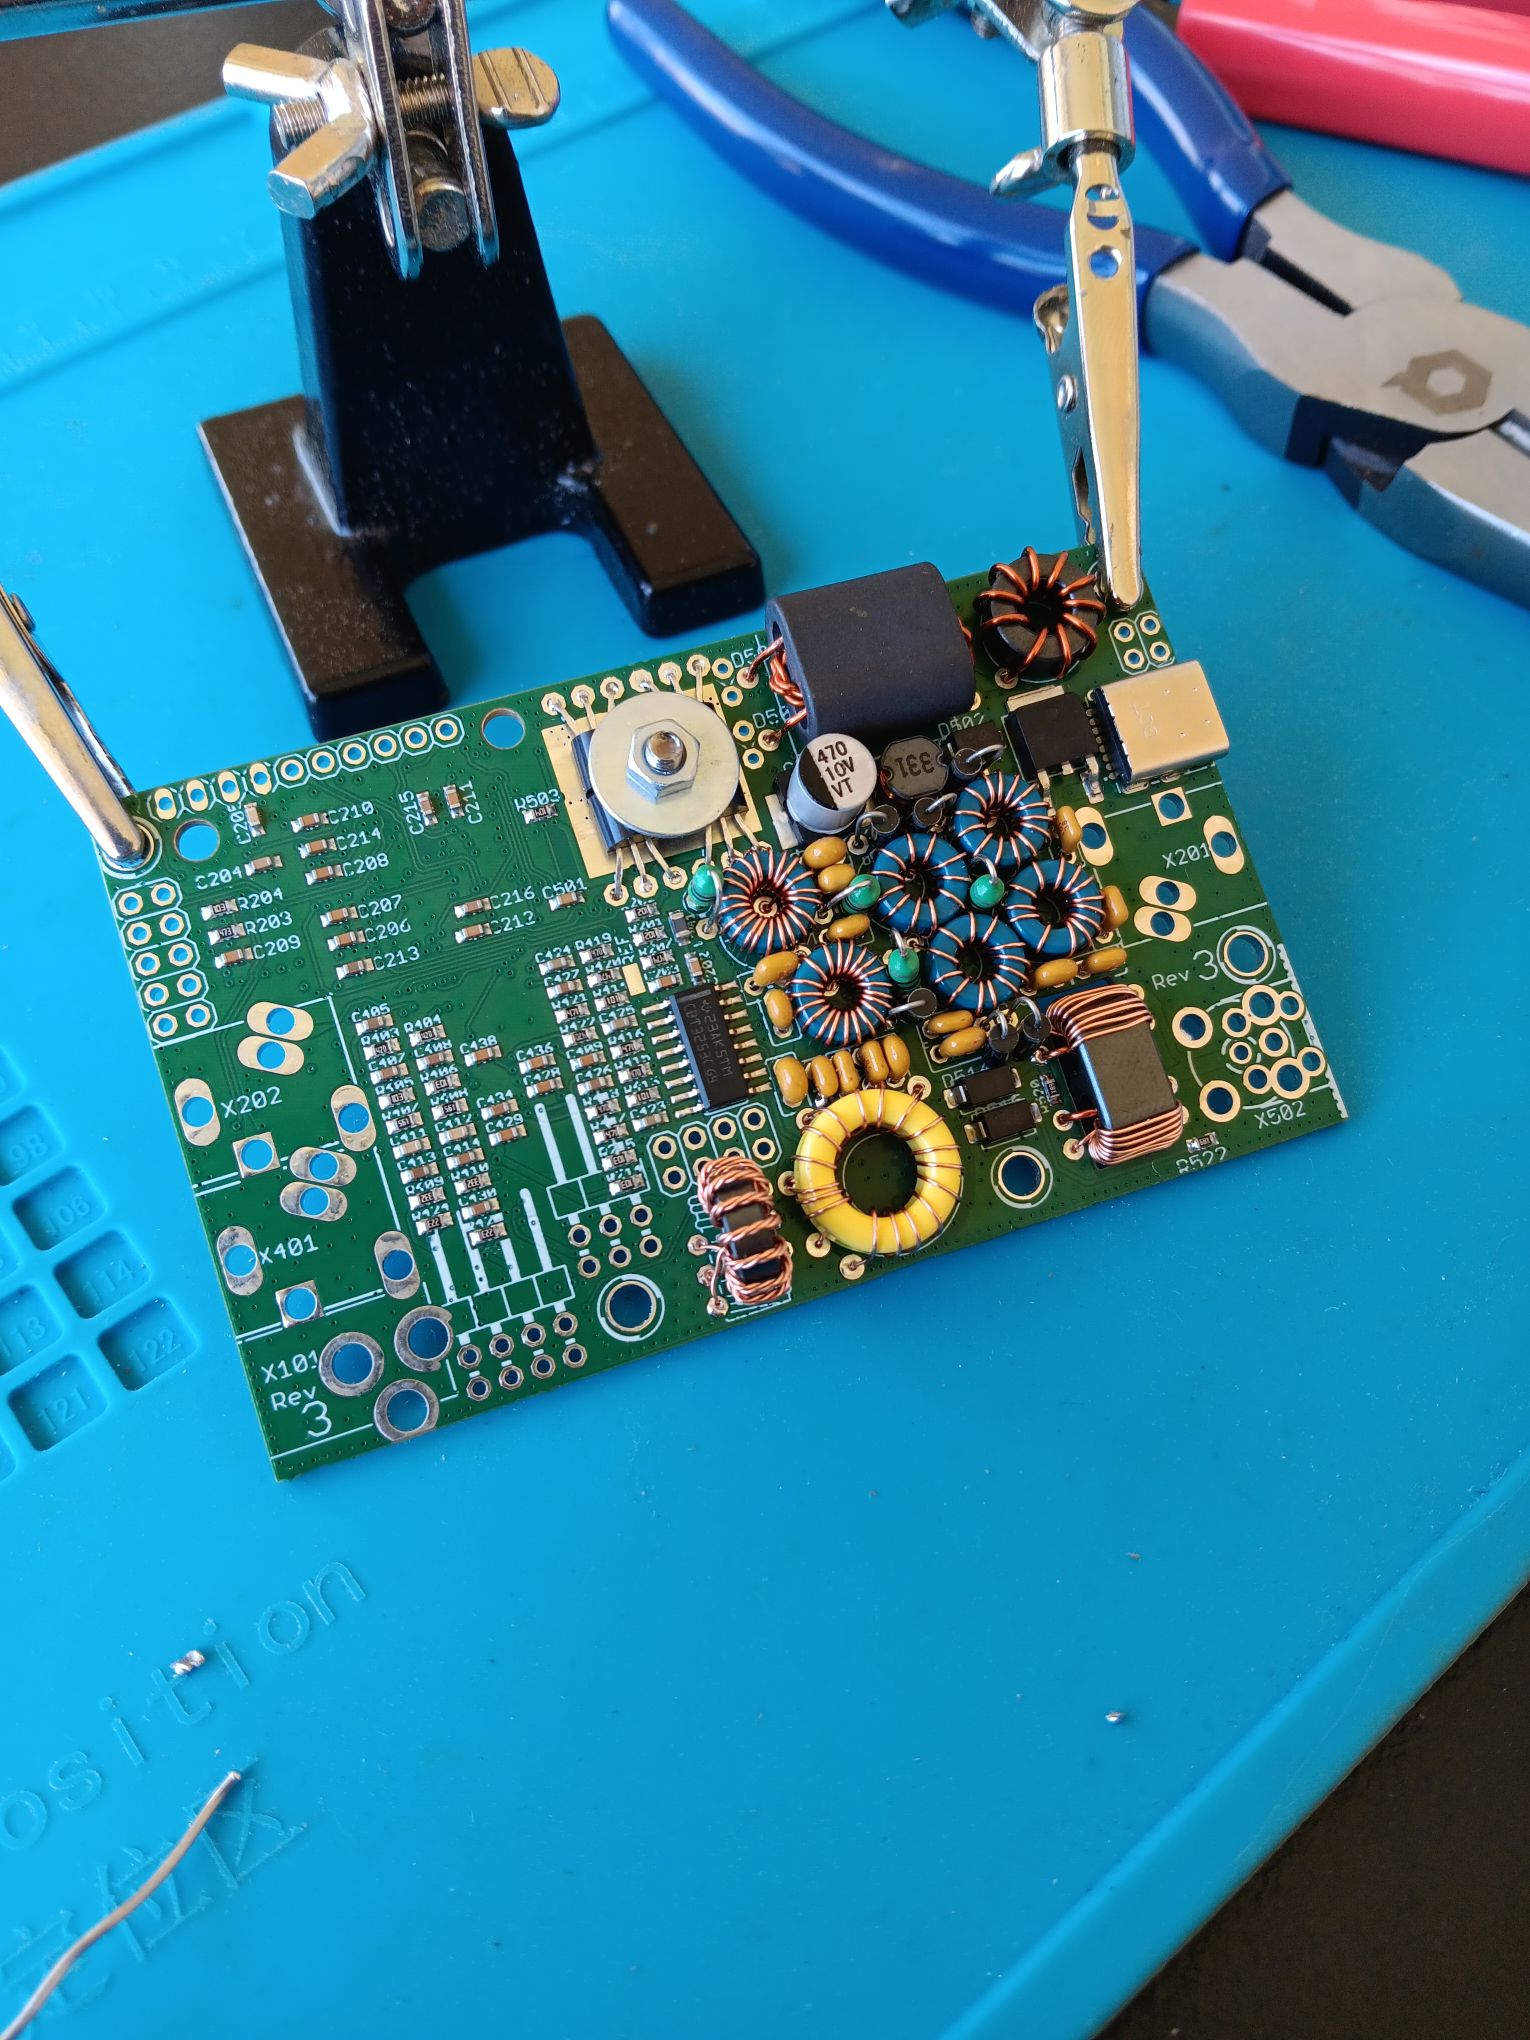
Installing the Discrete Components
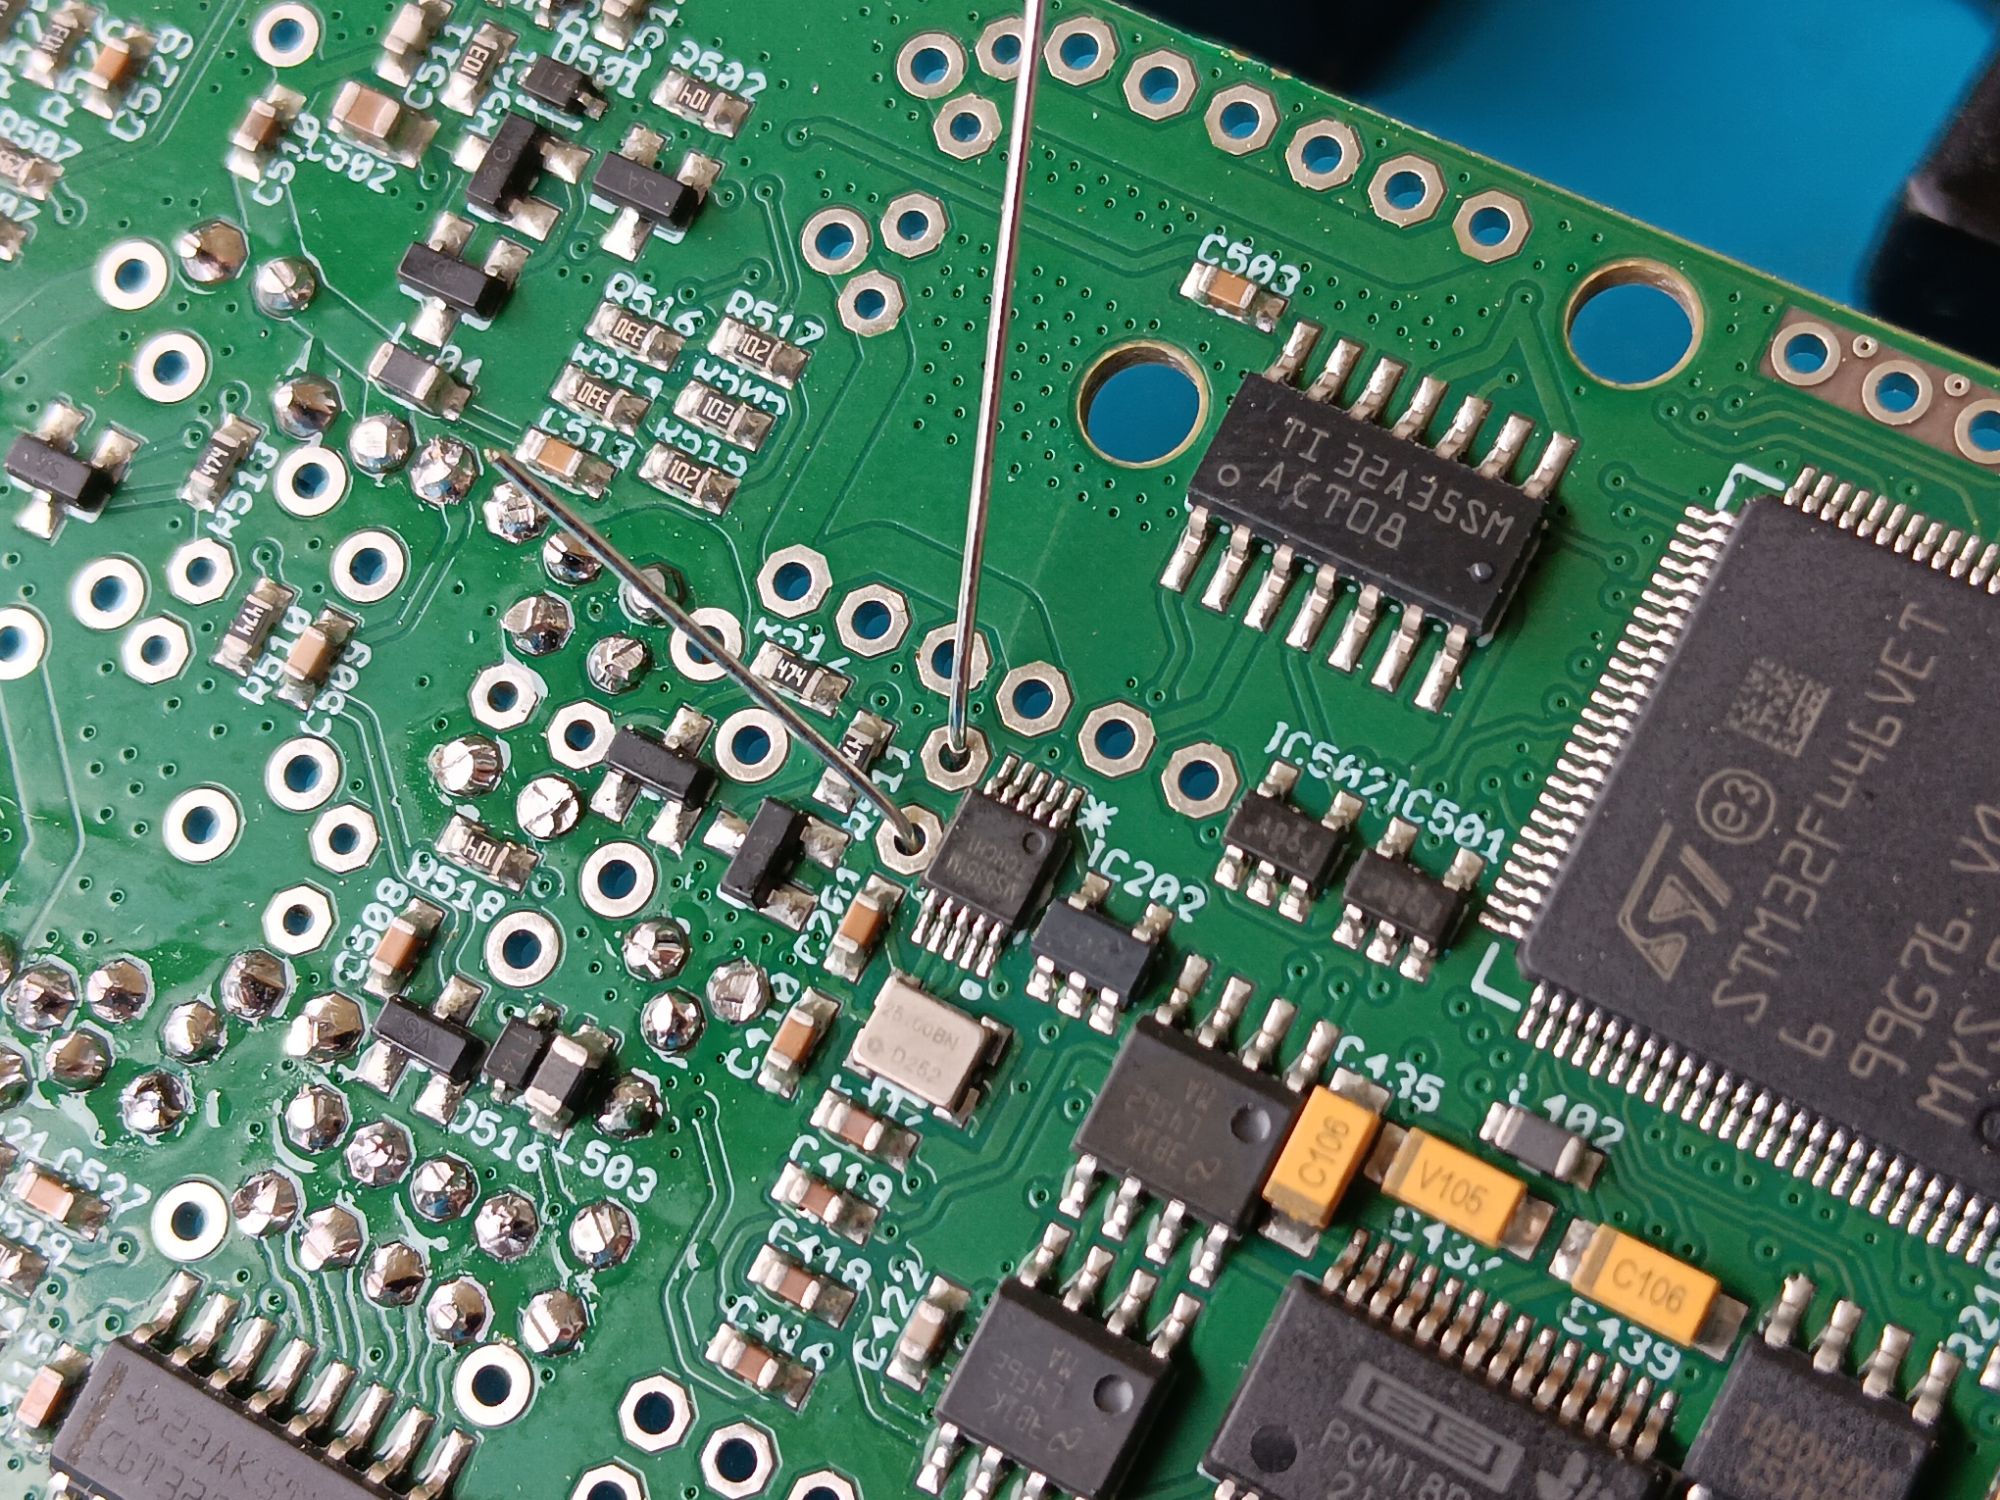
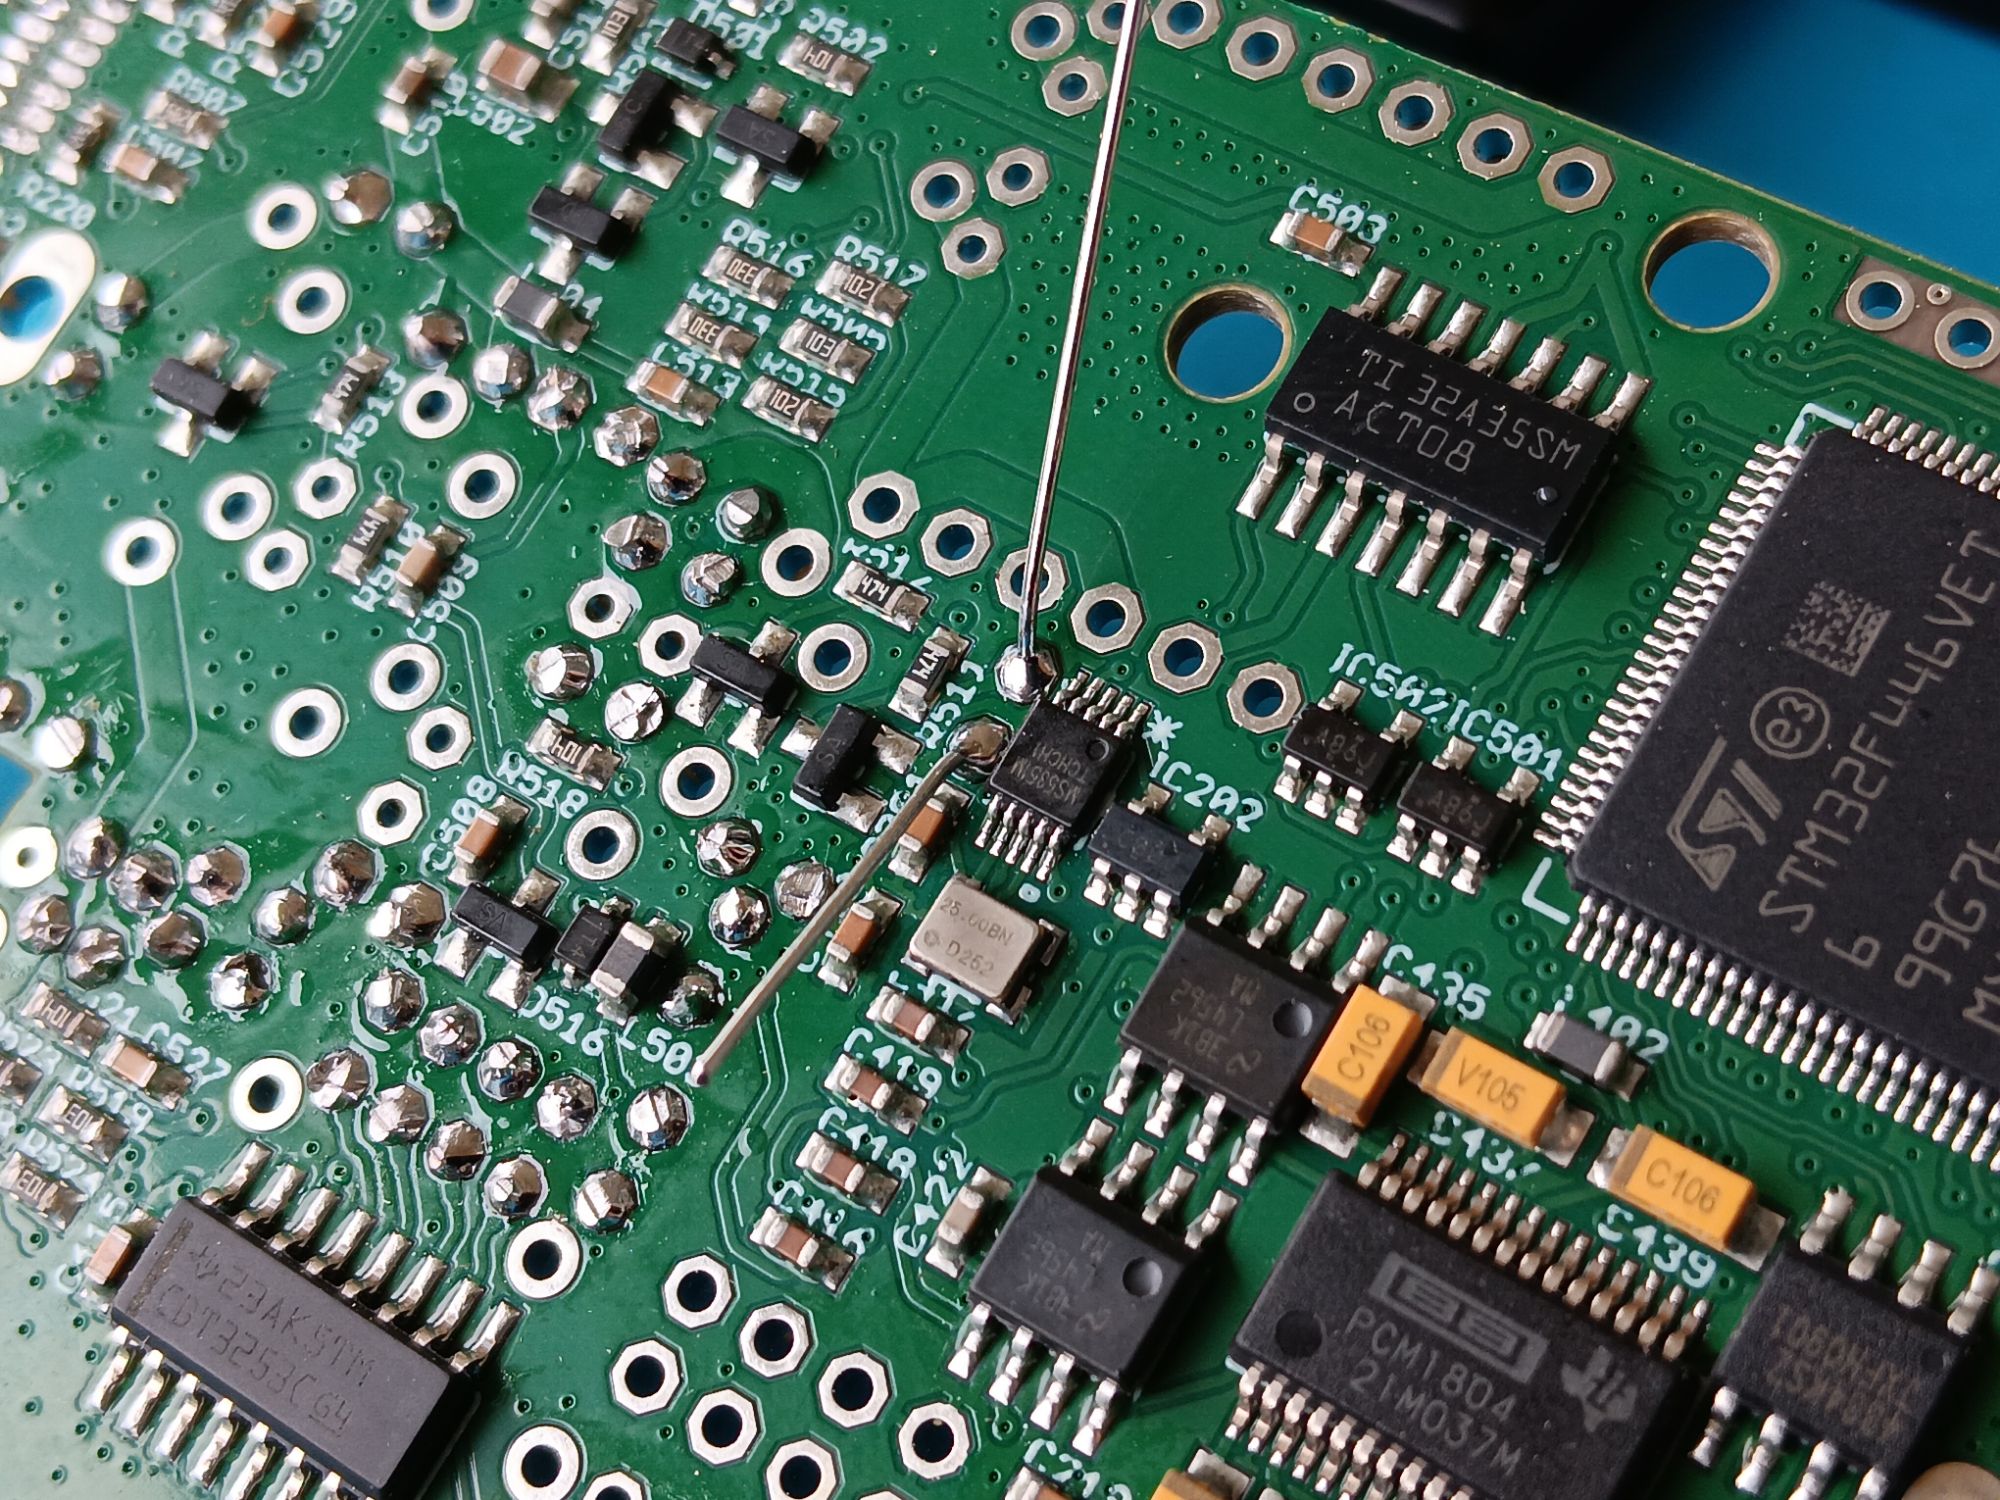
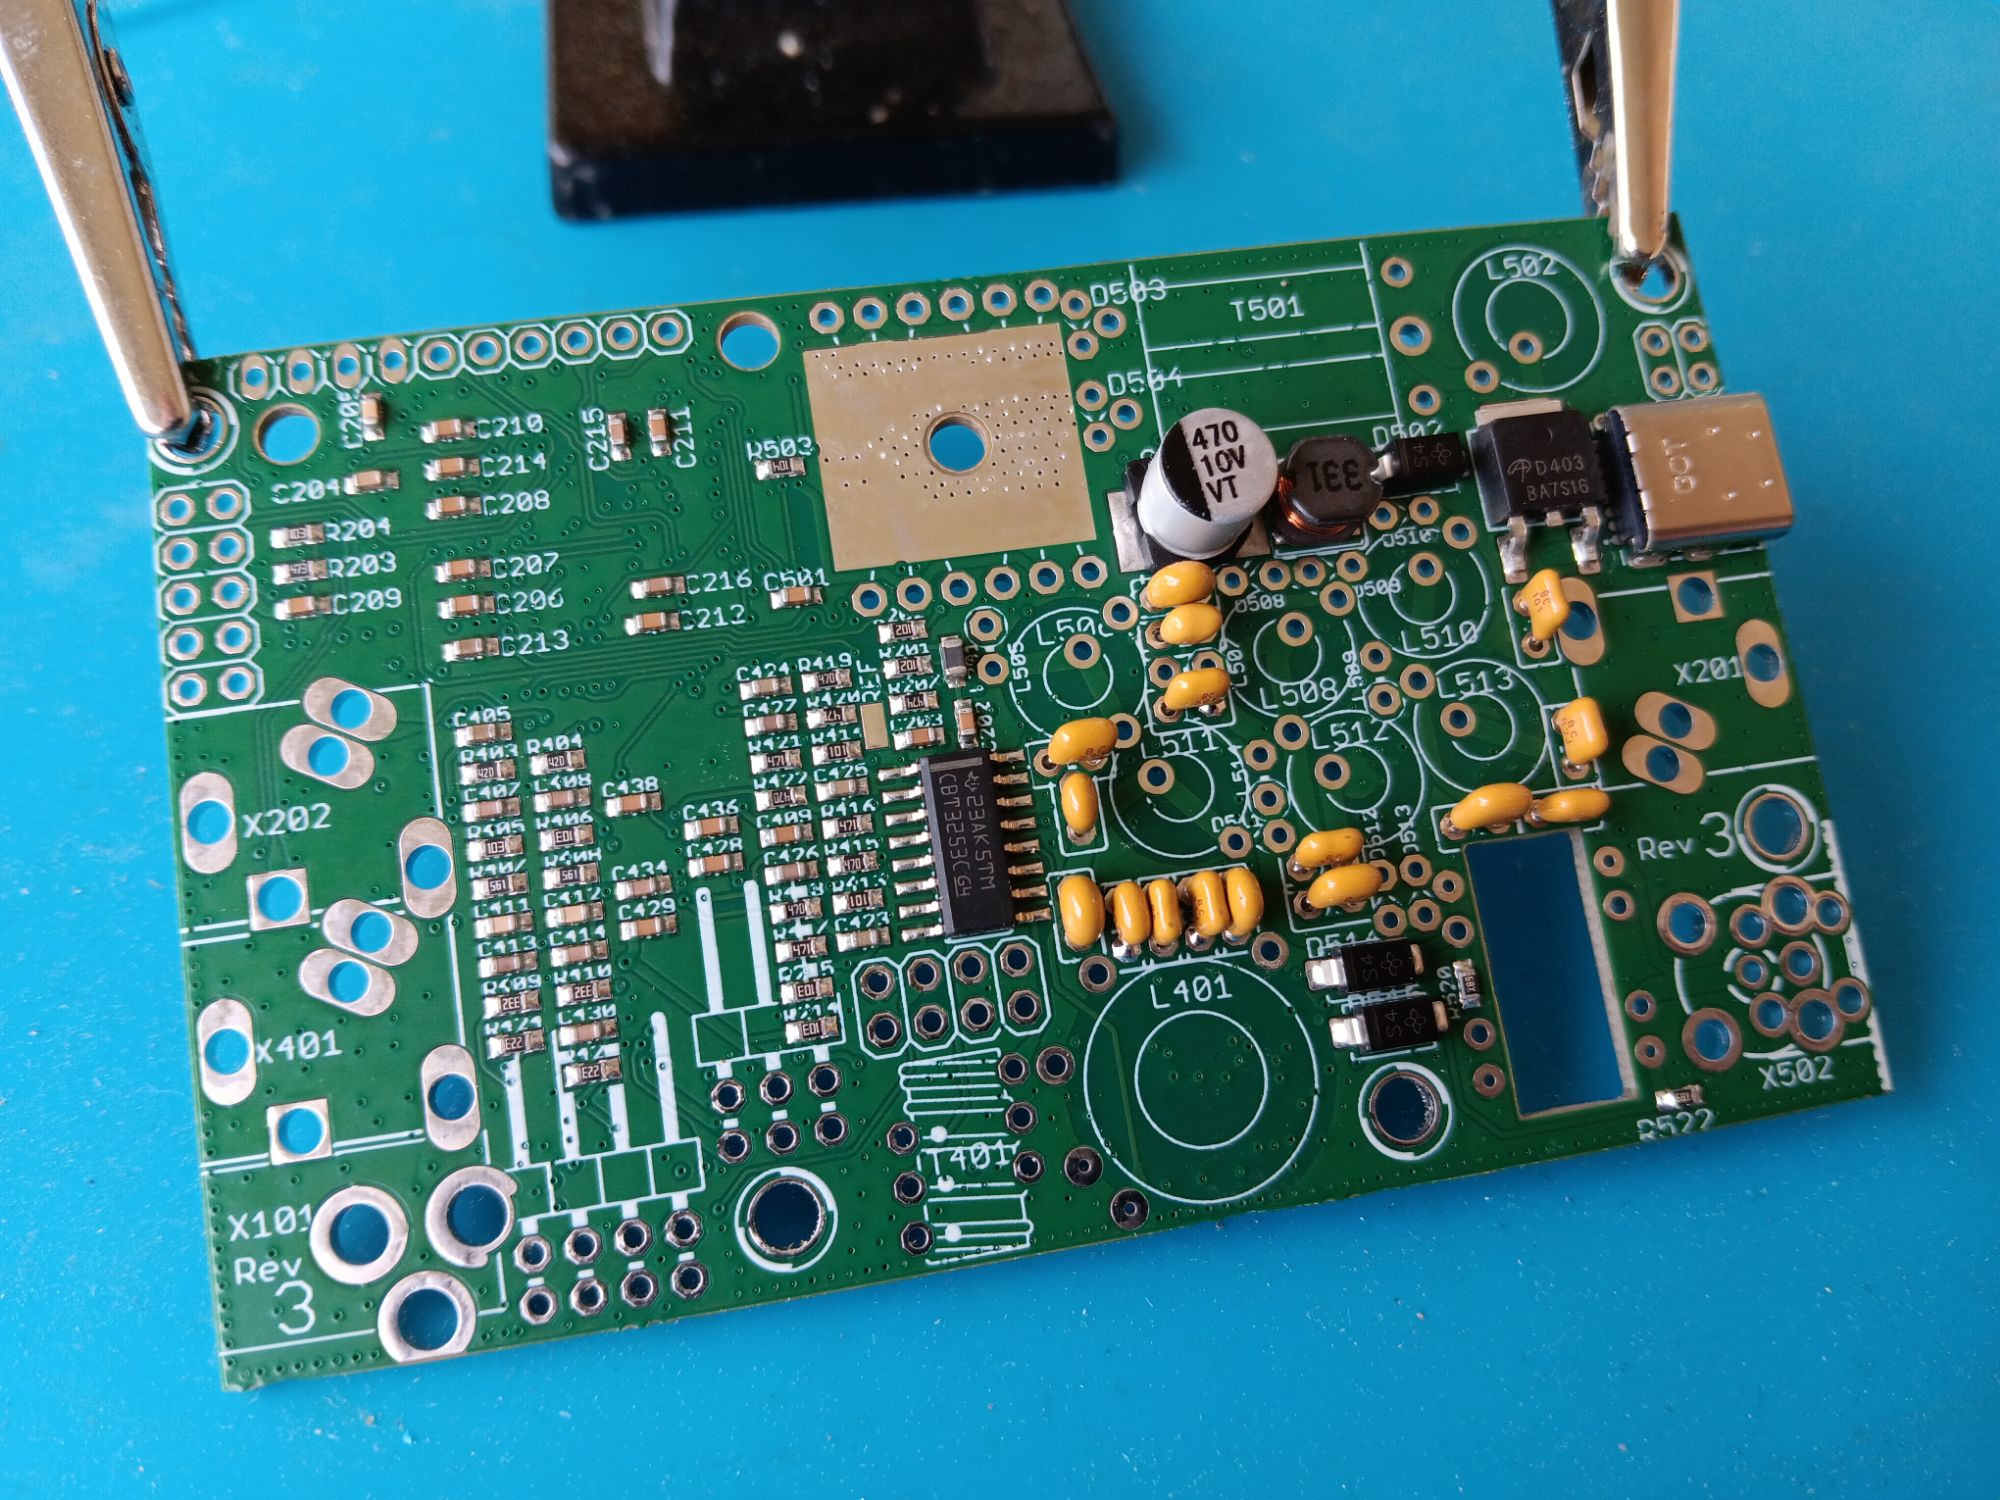
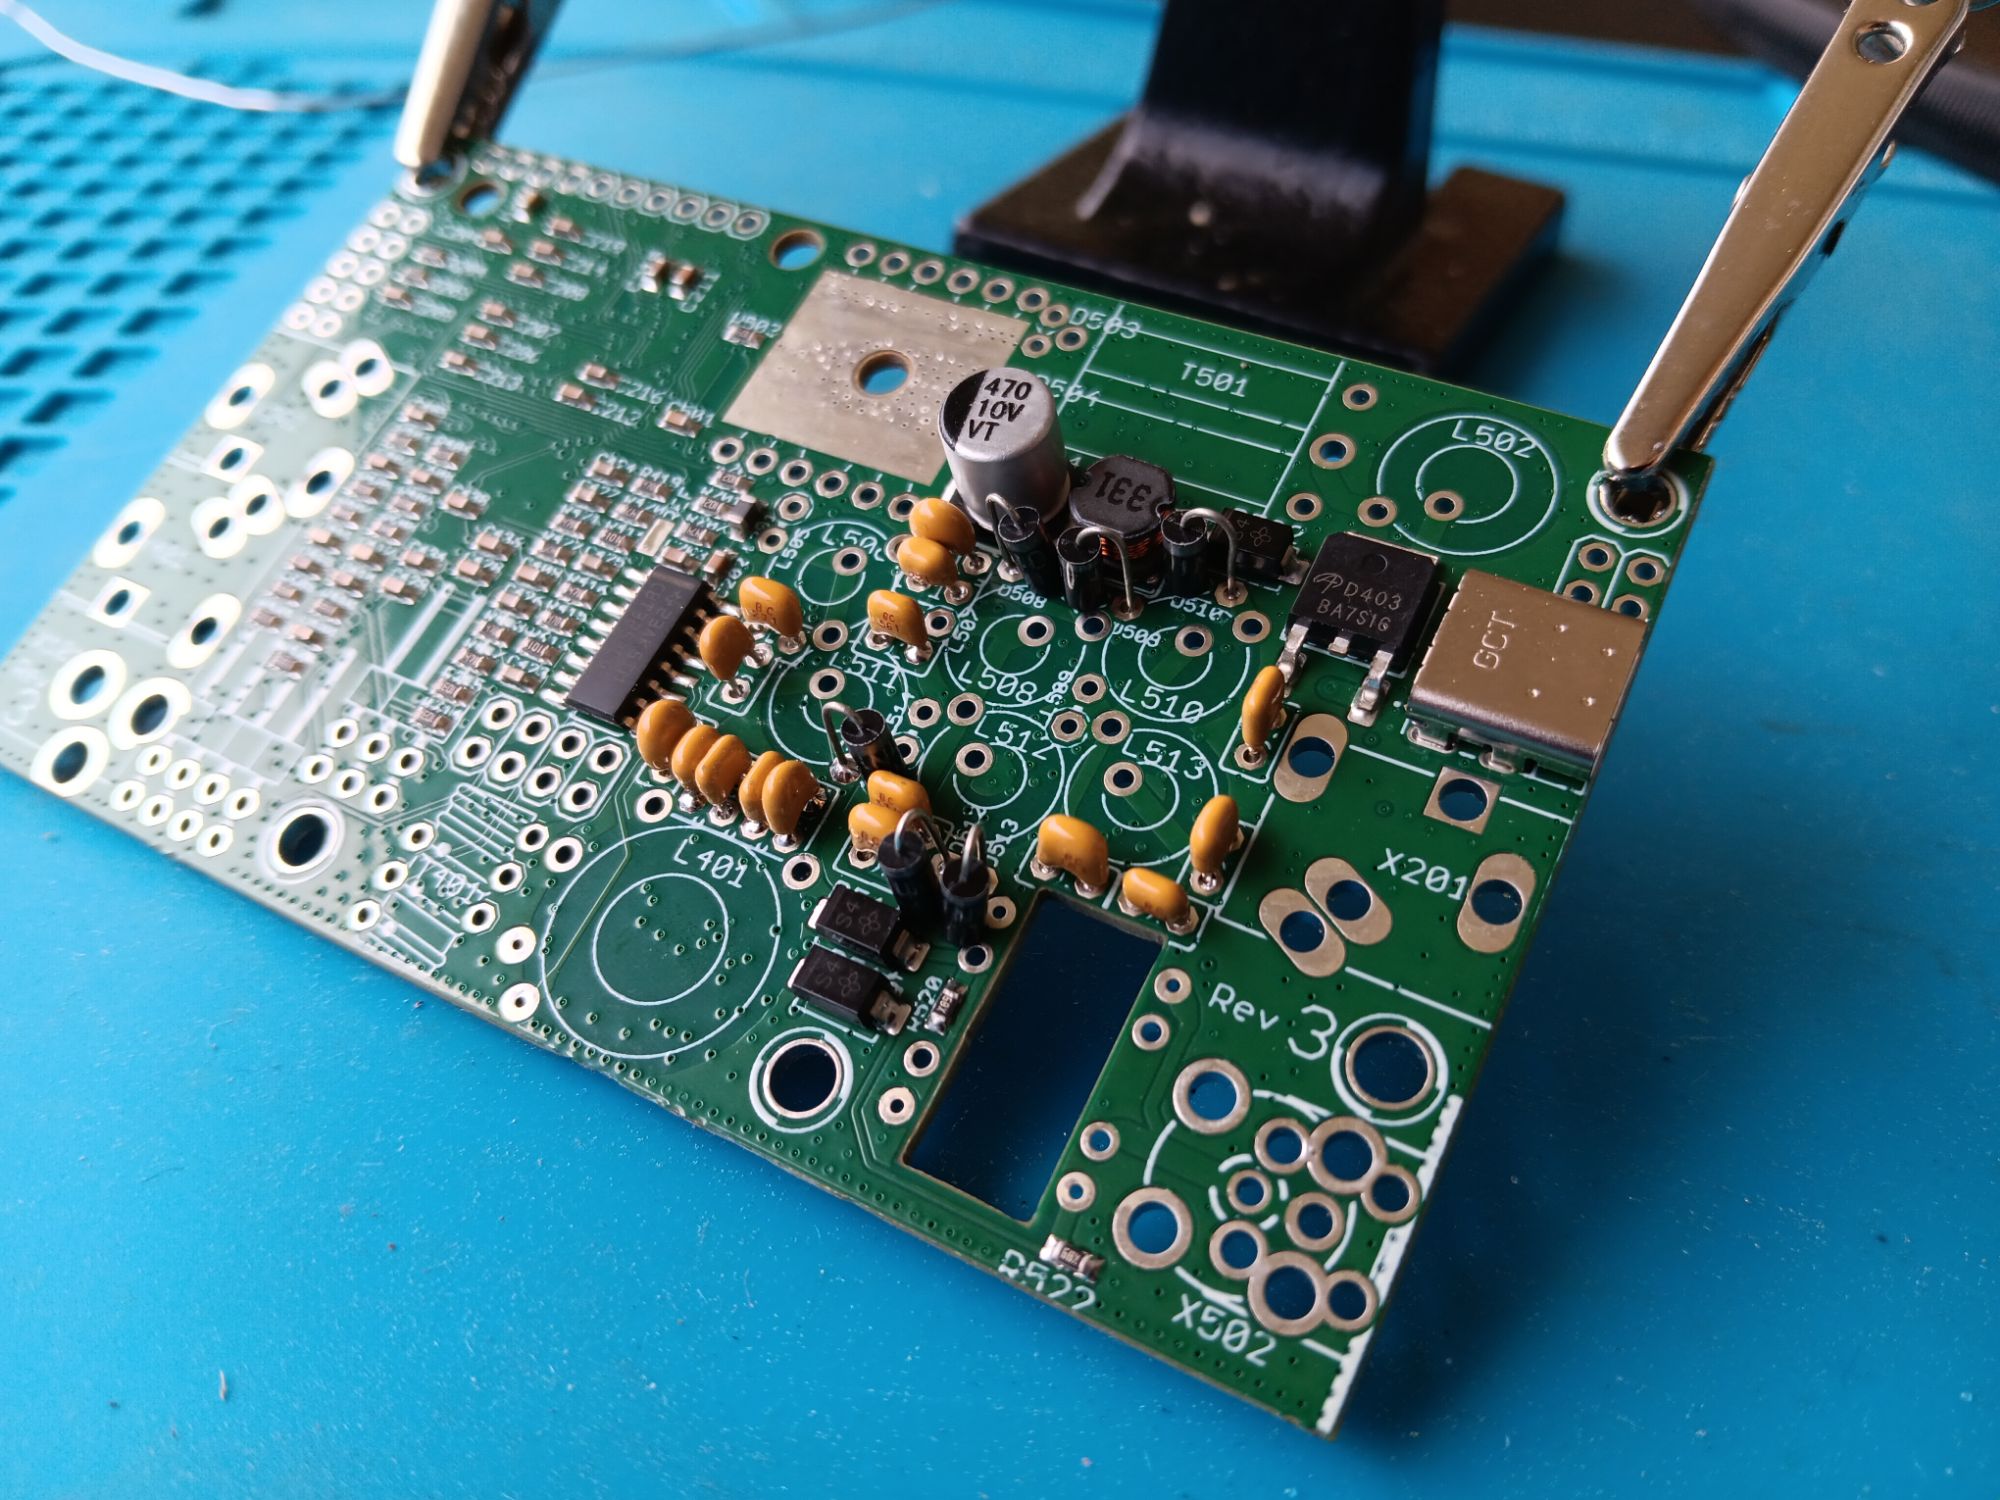
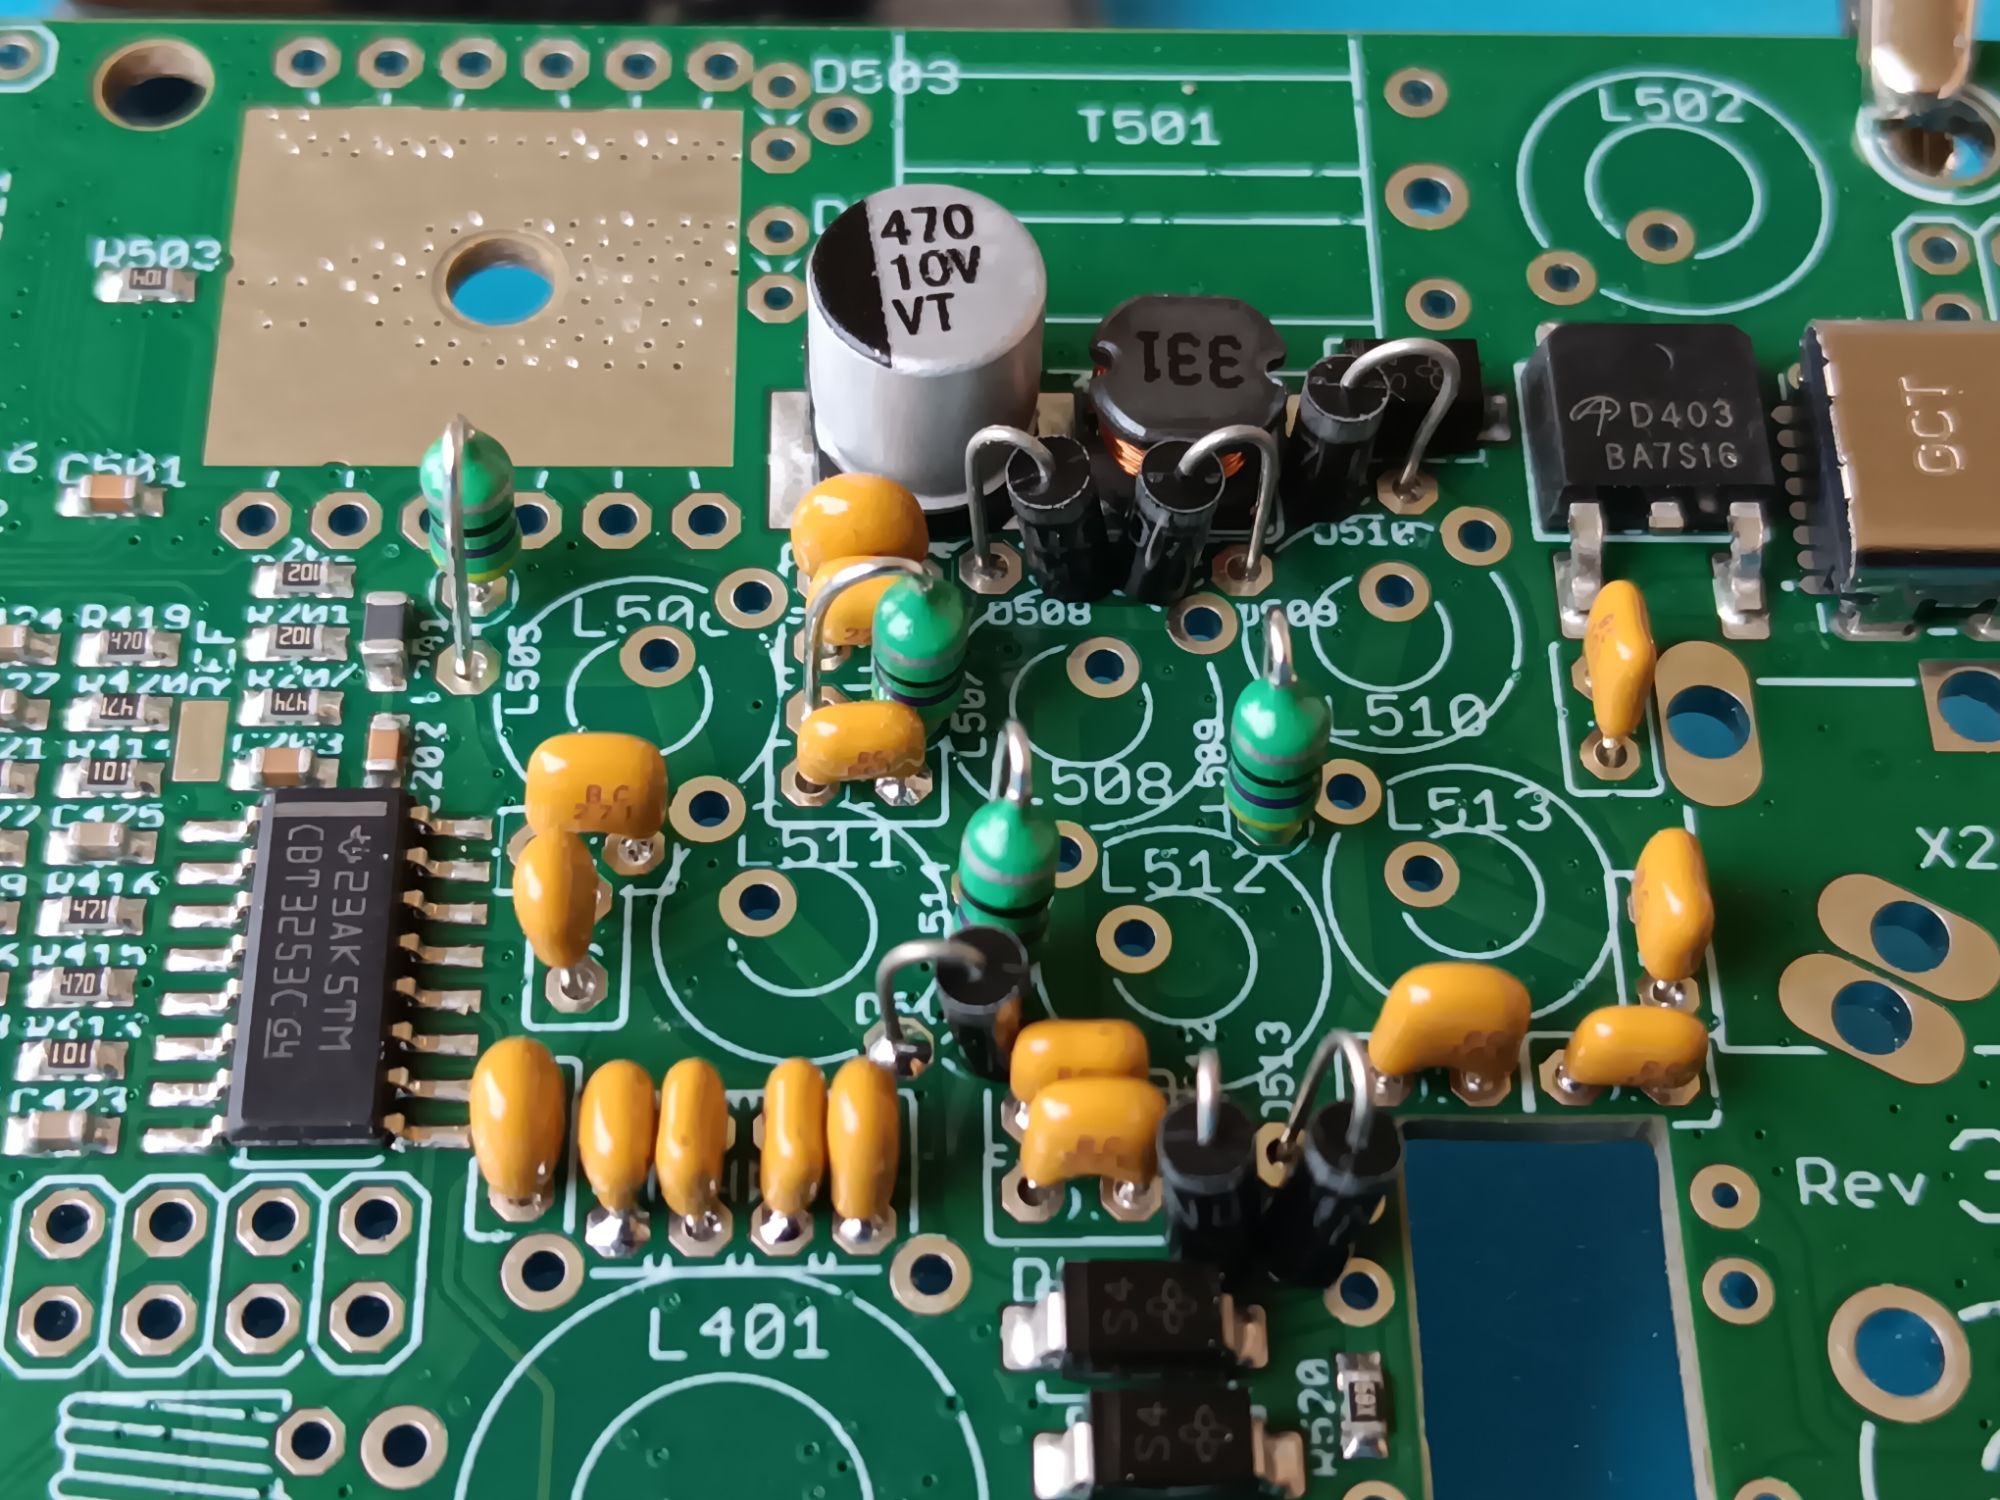
I did my best to keep the components vertical but this was tough at times due to the lack of space.


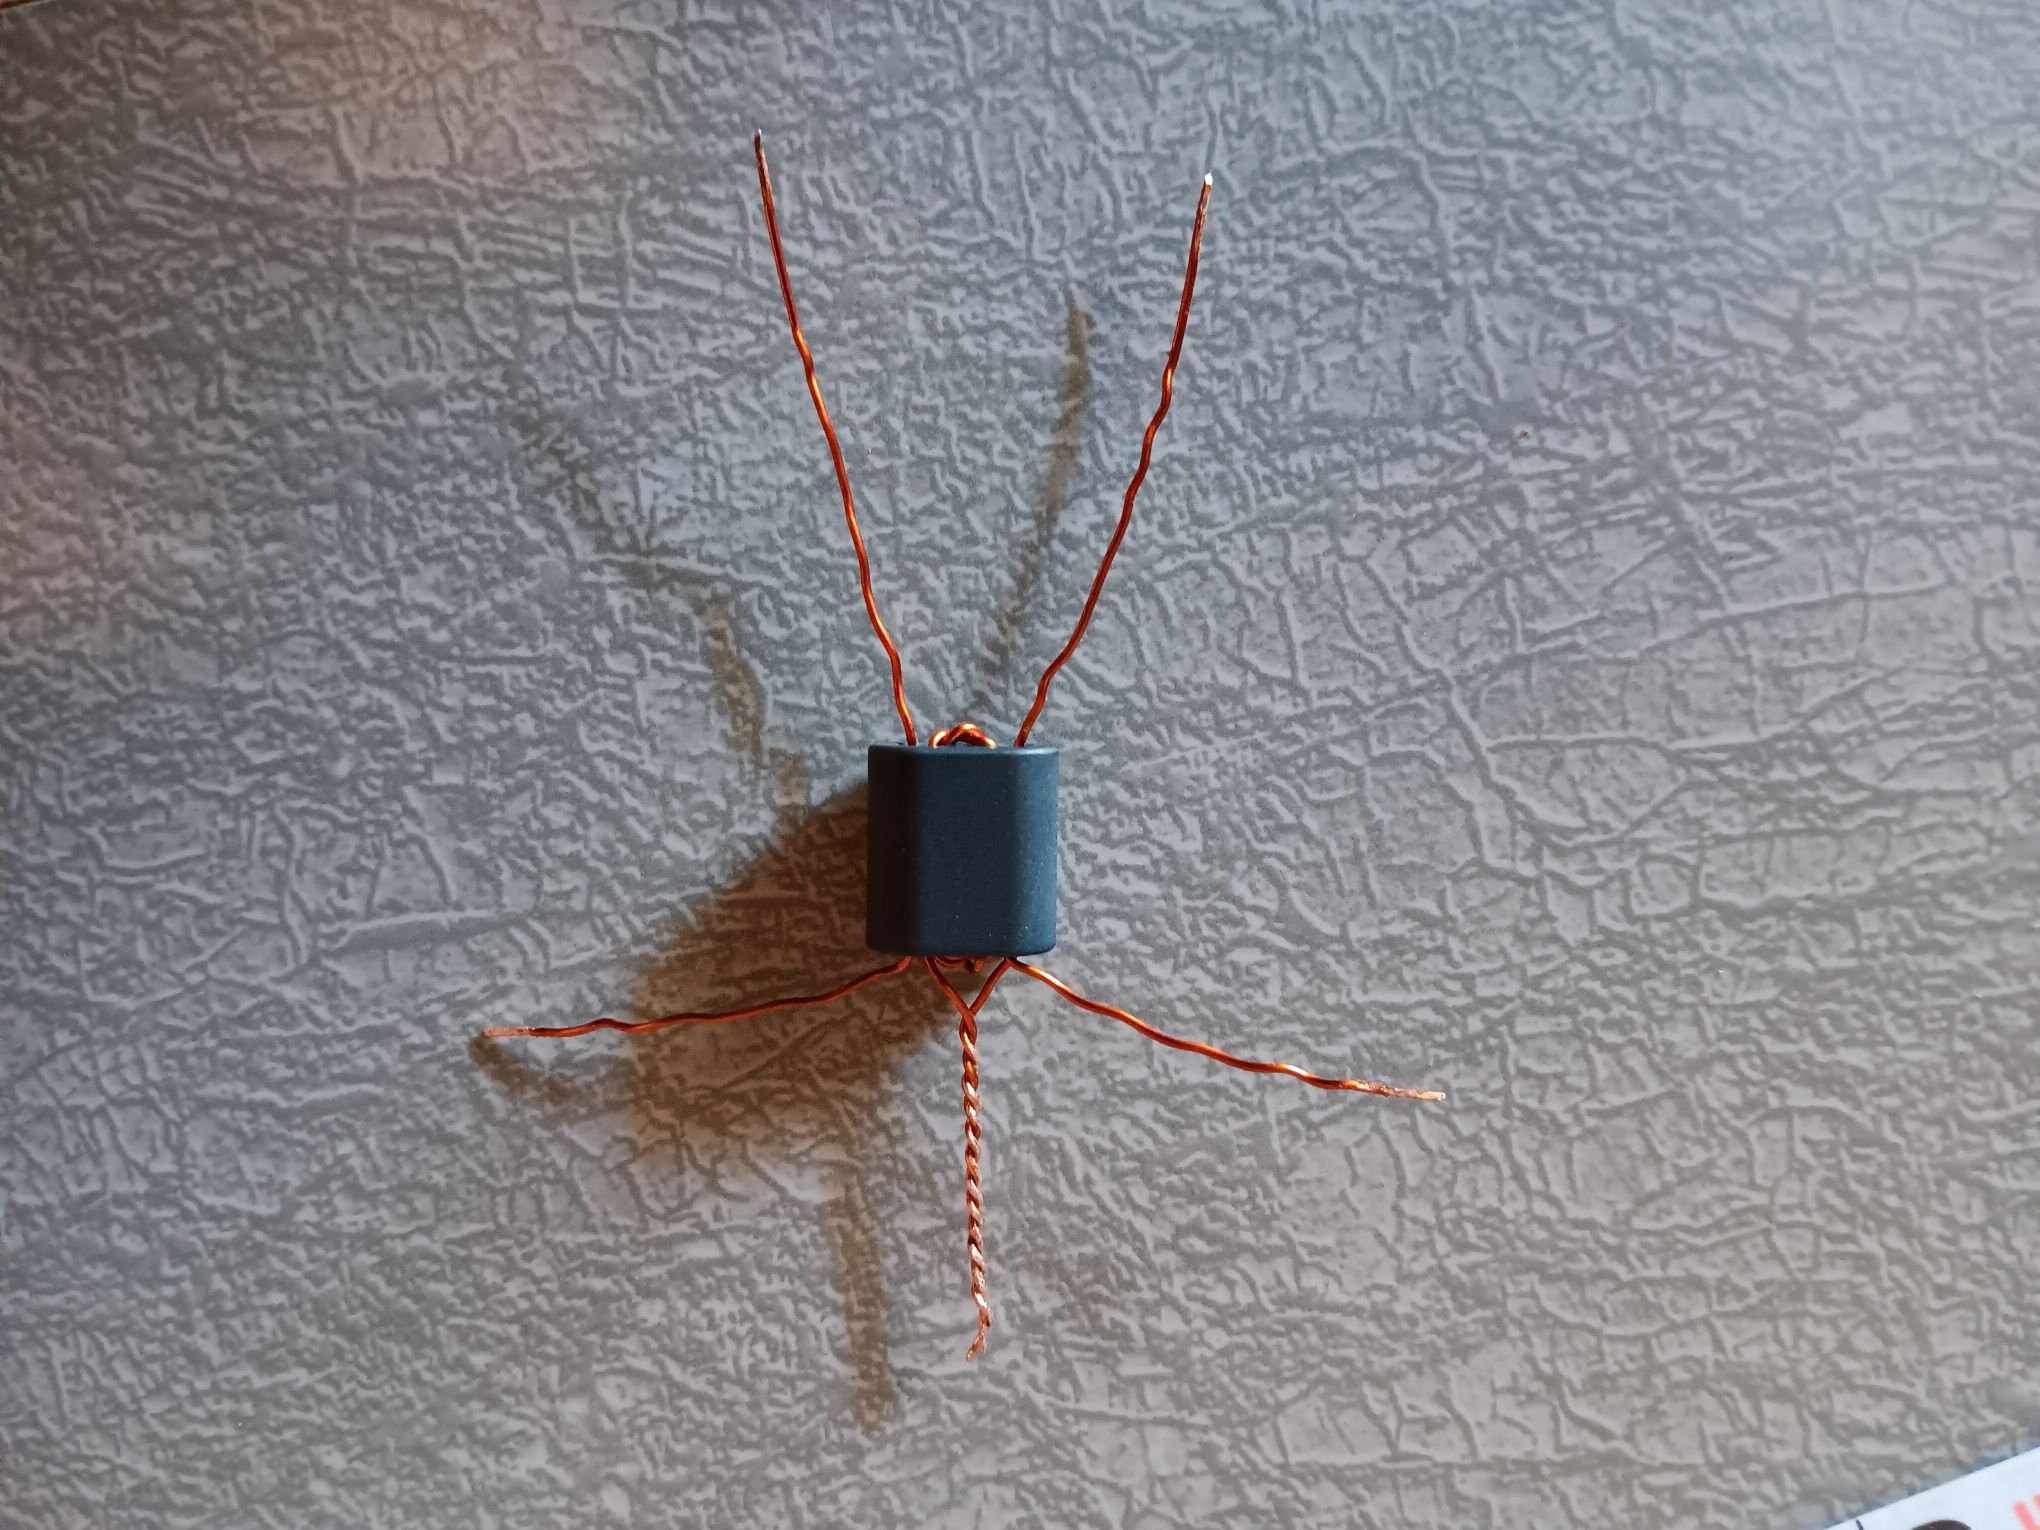
Winding the Toroids
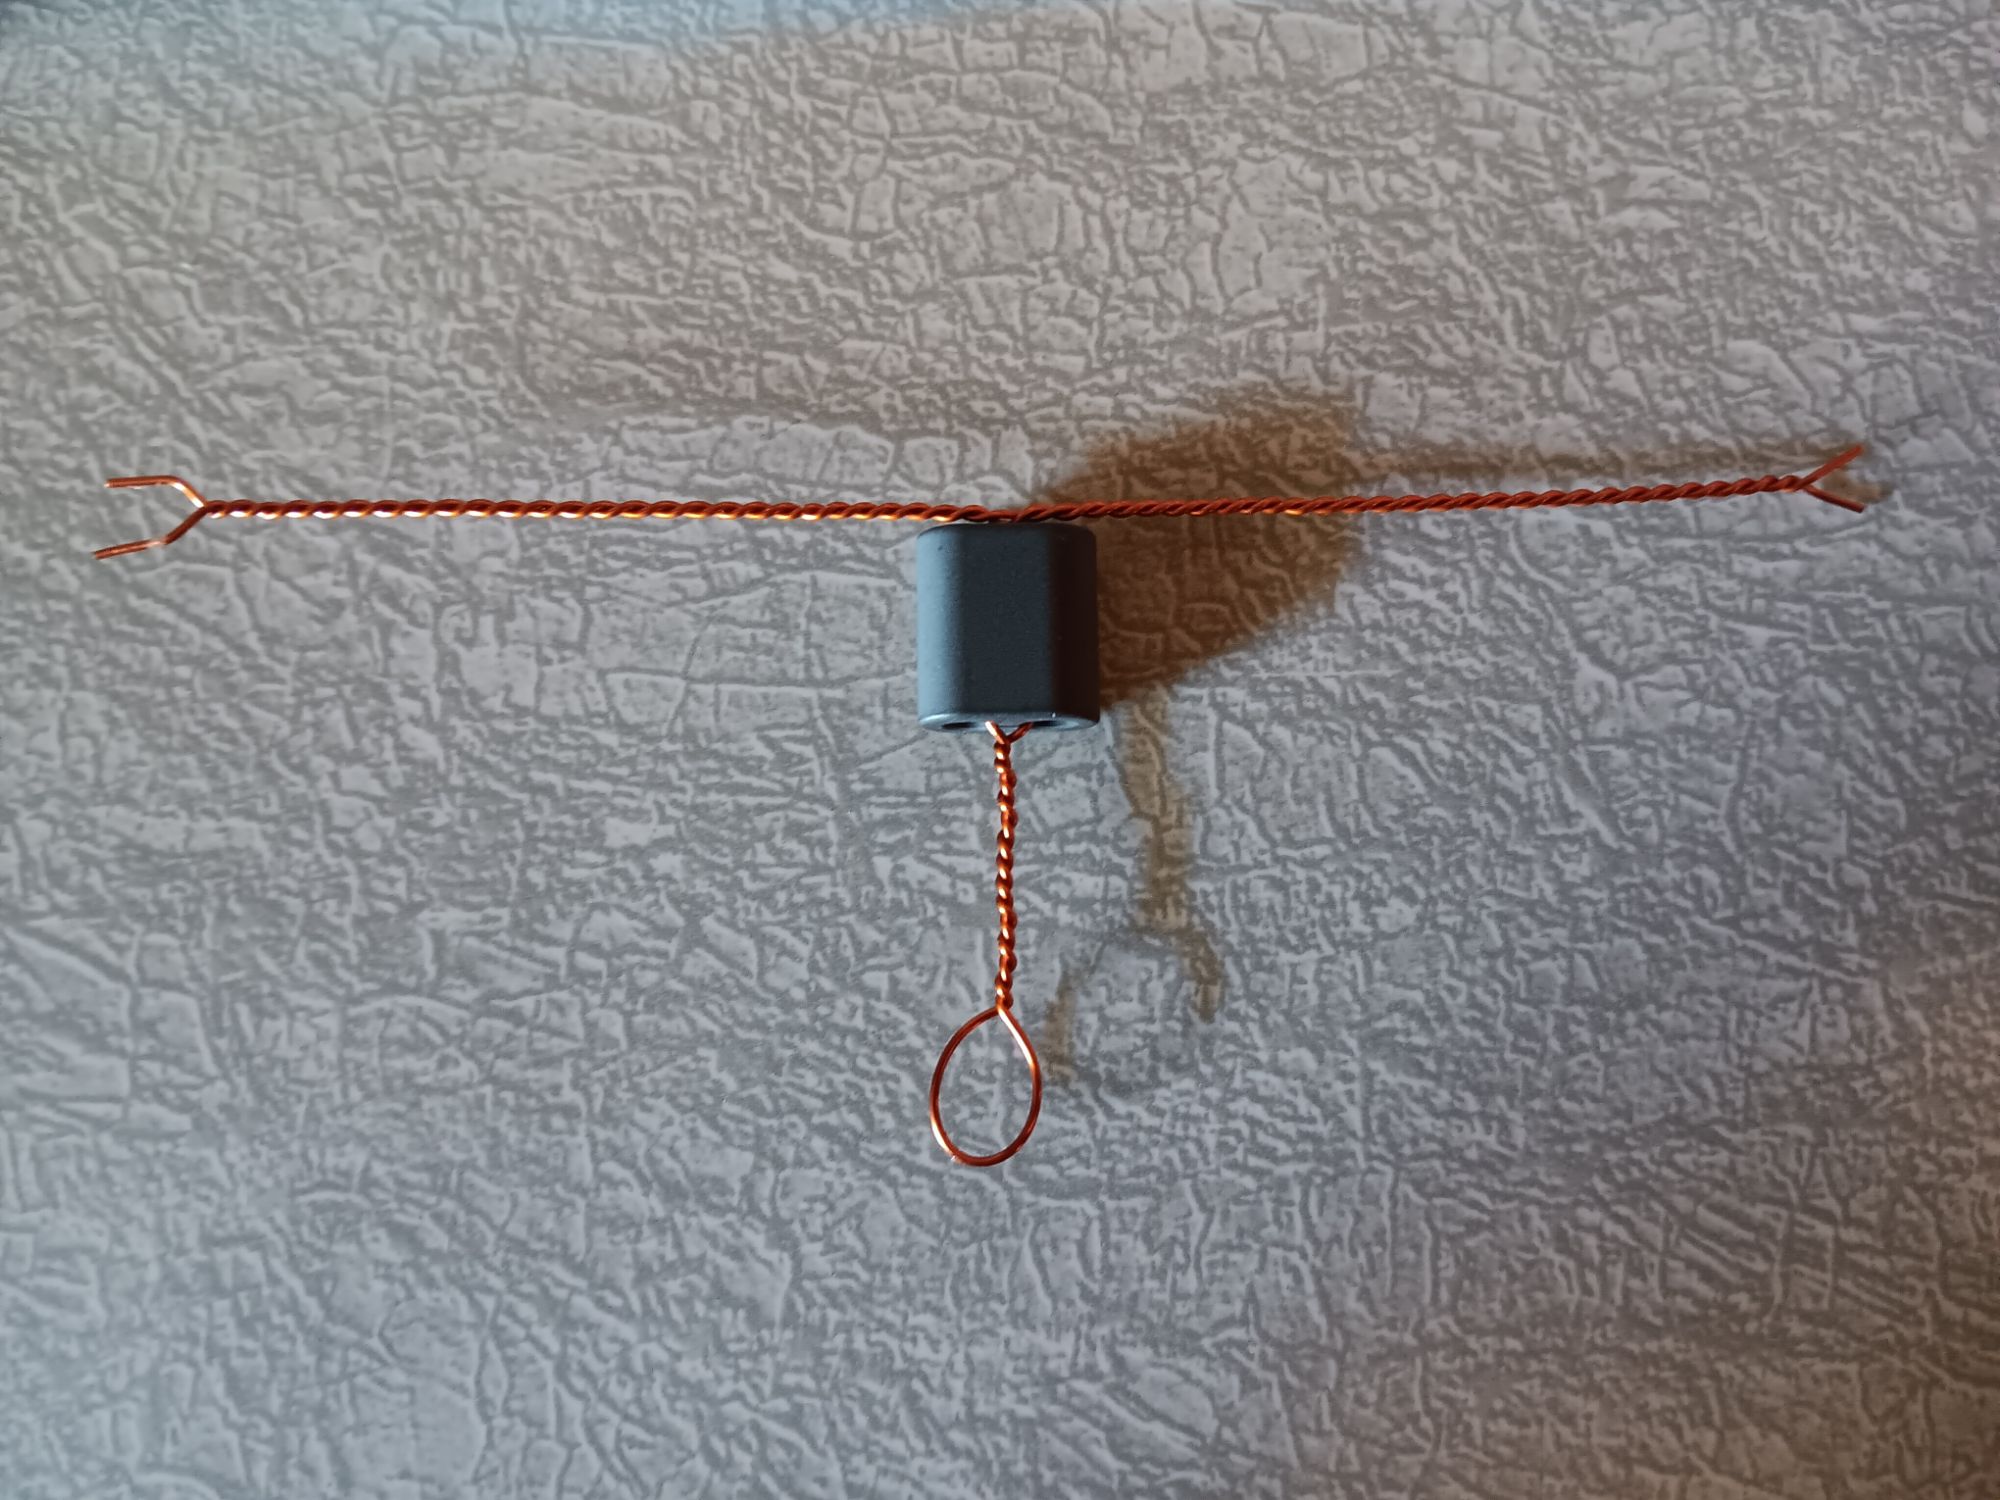
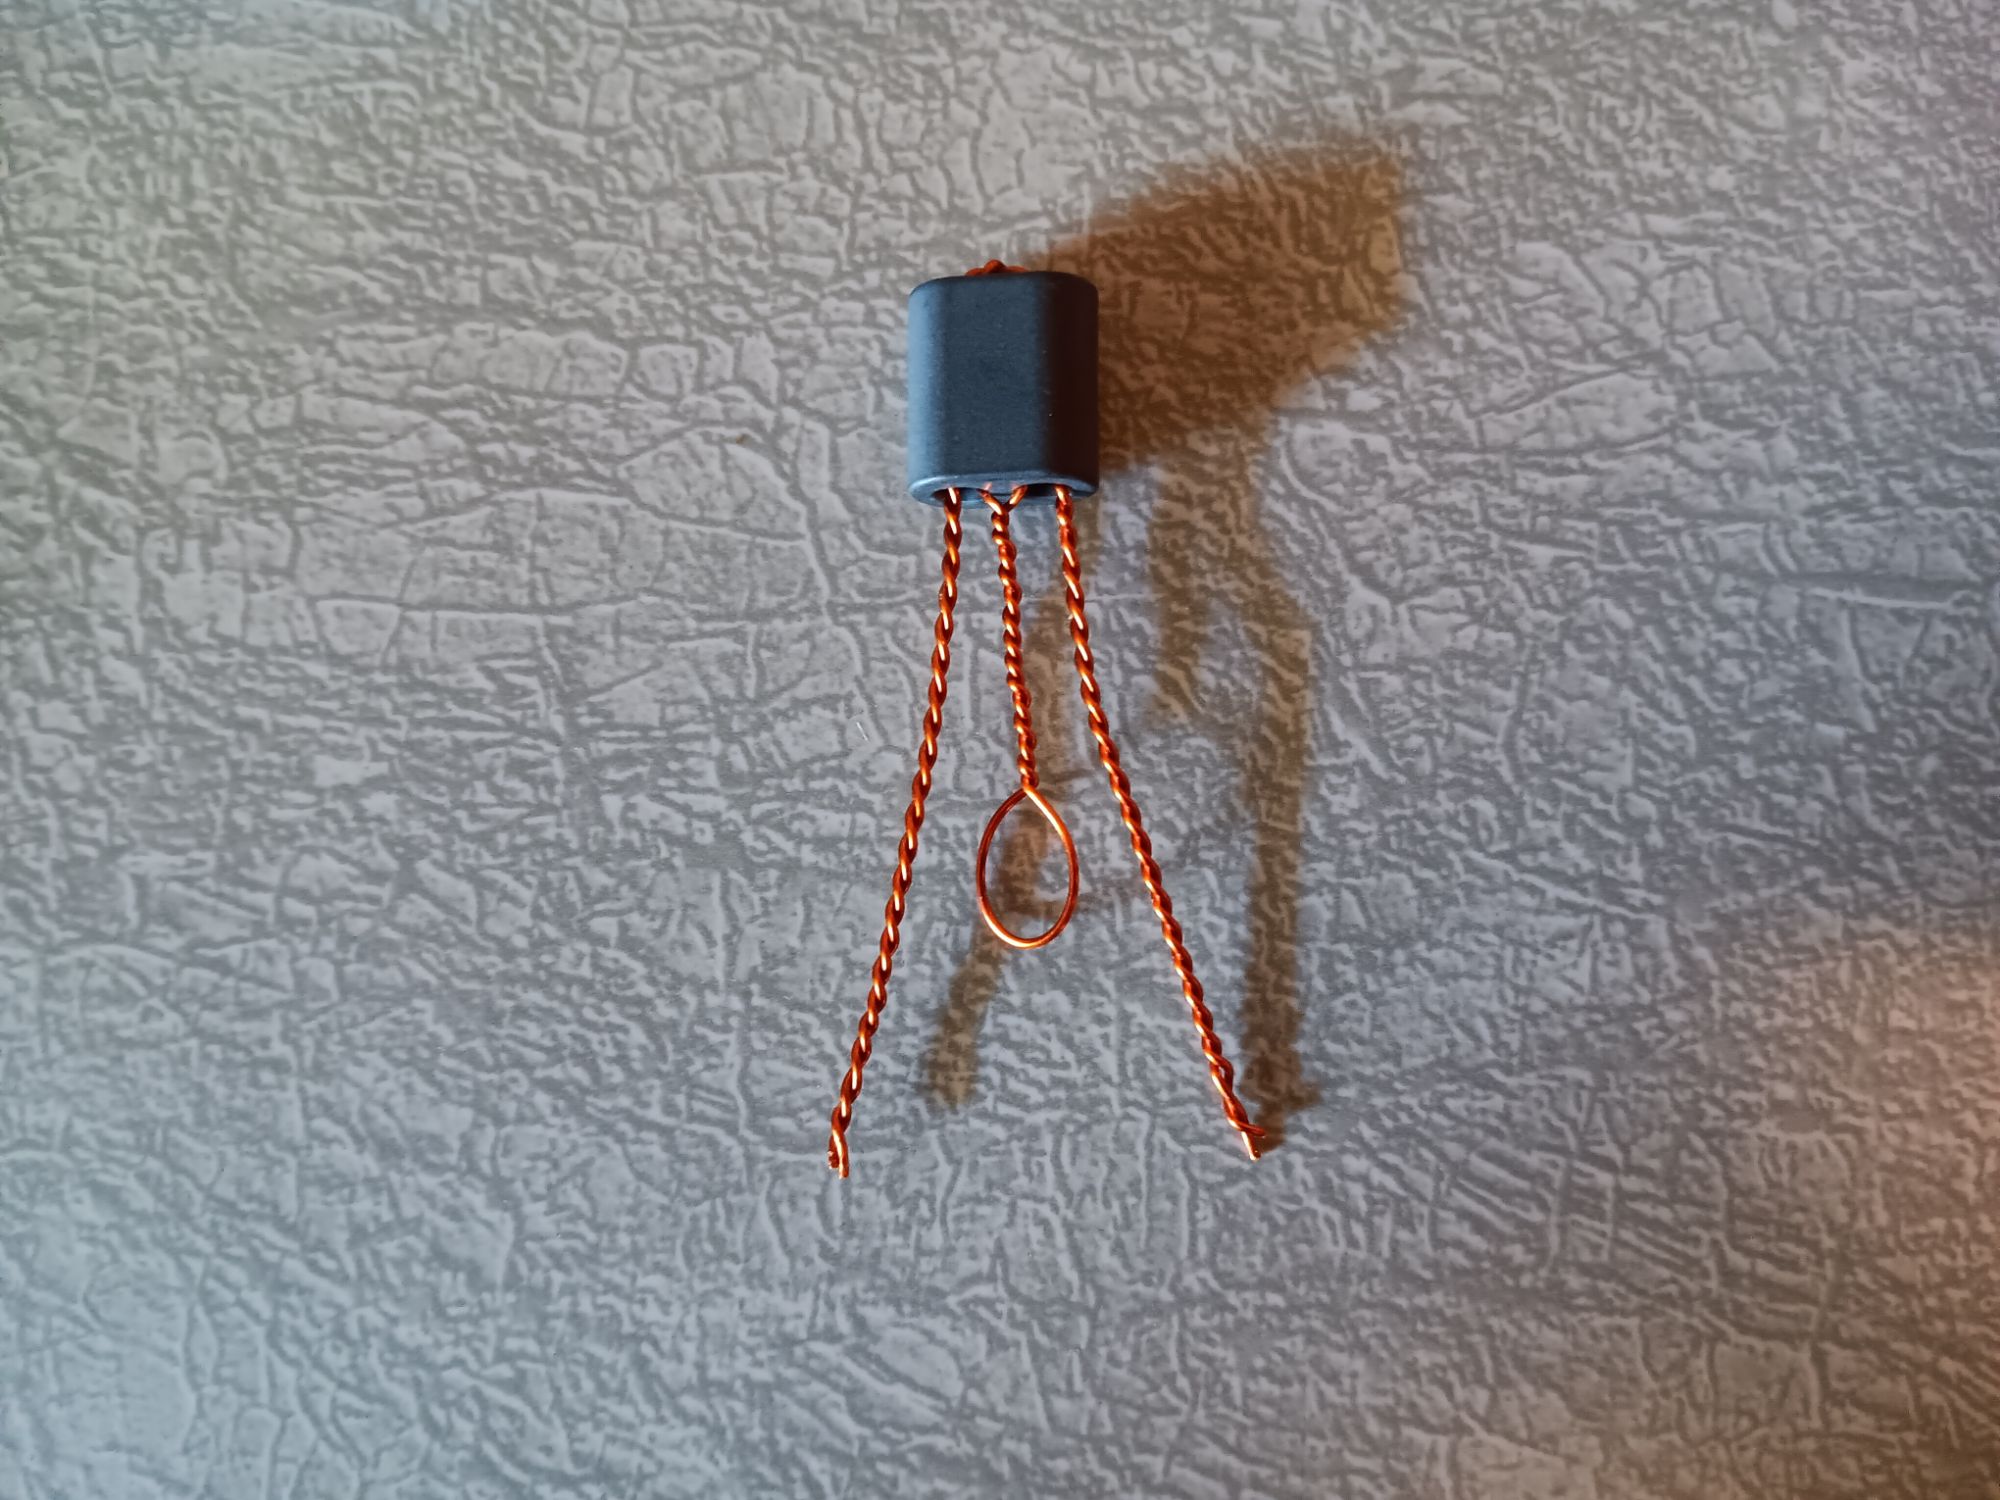


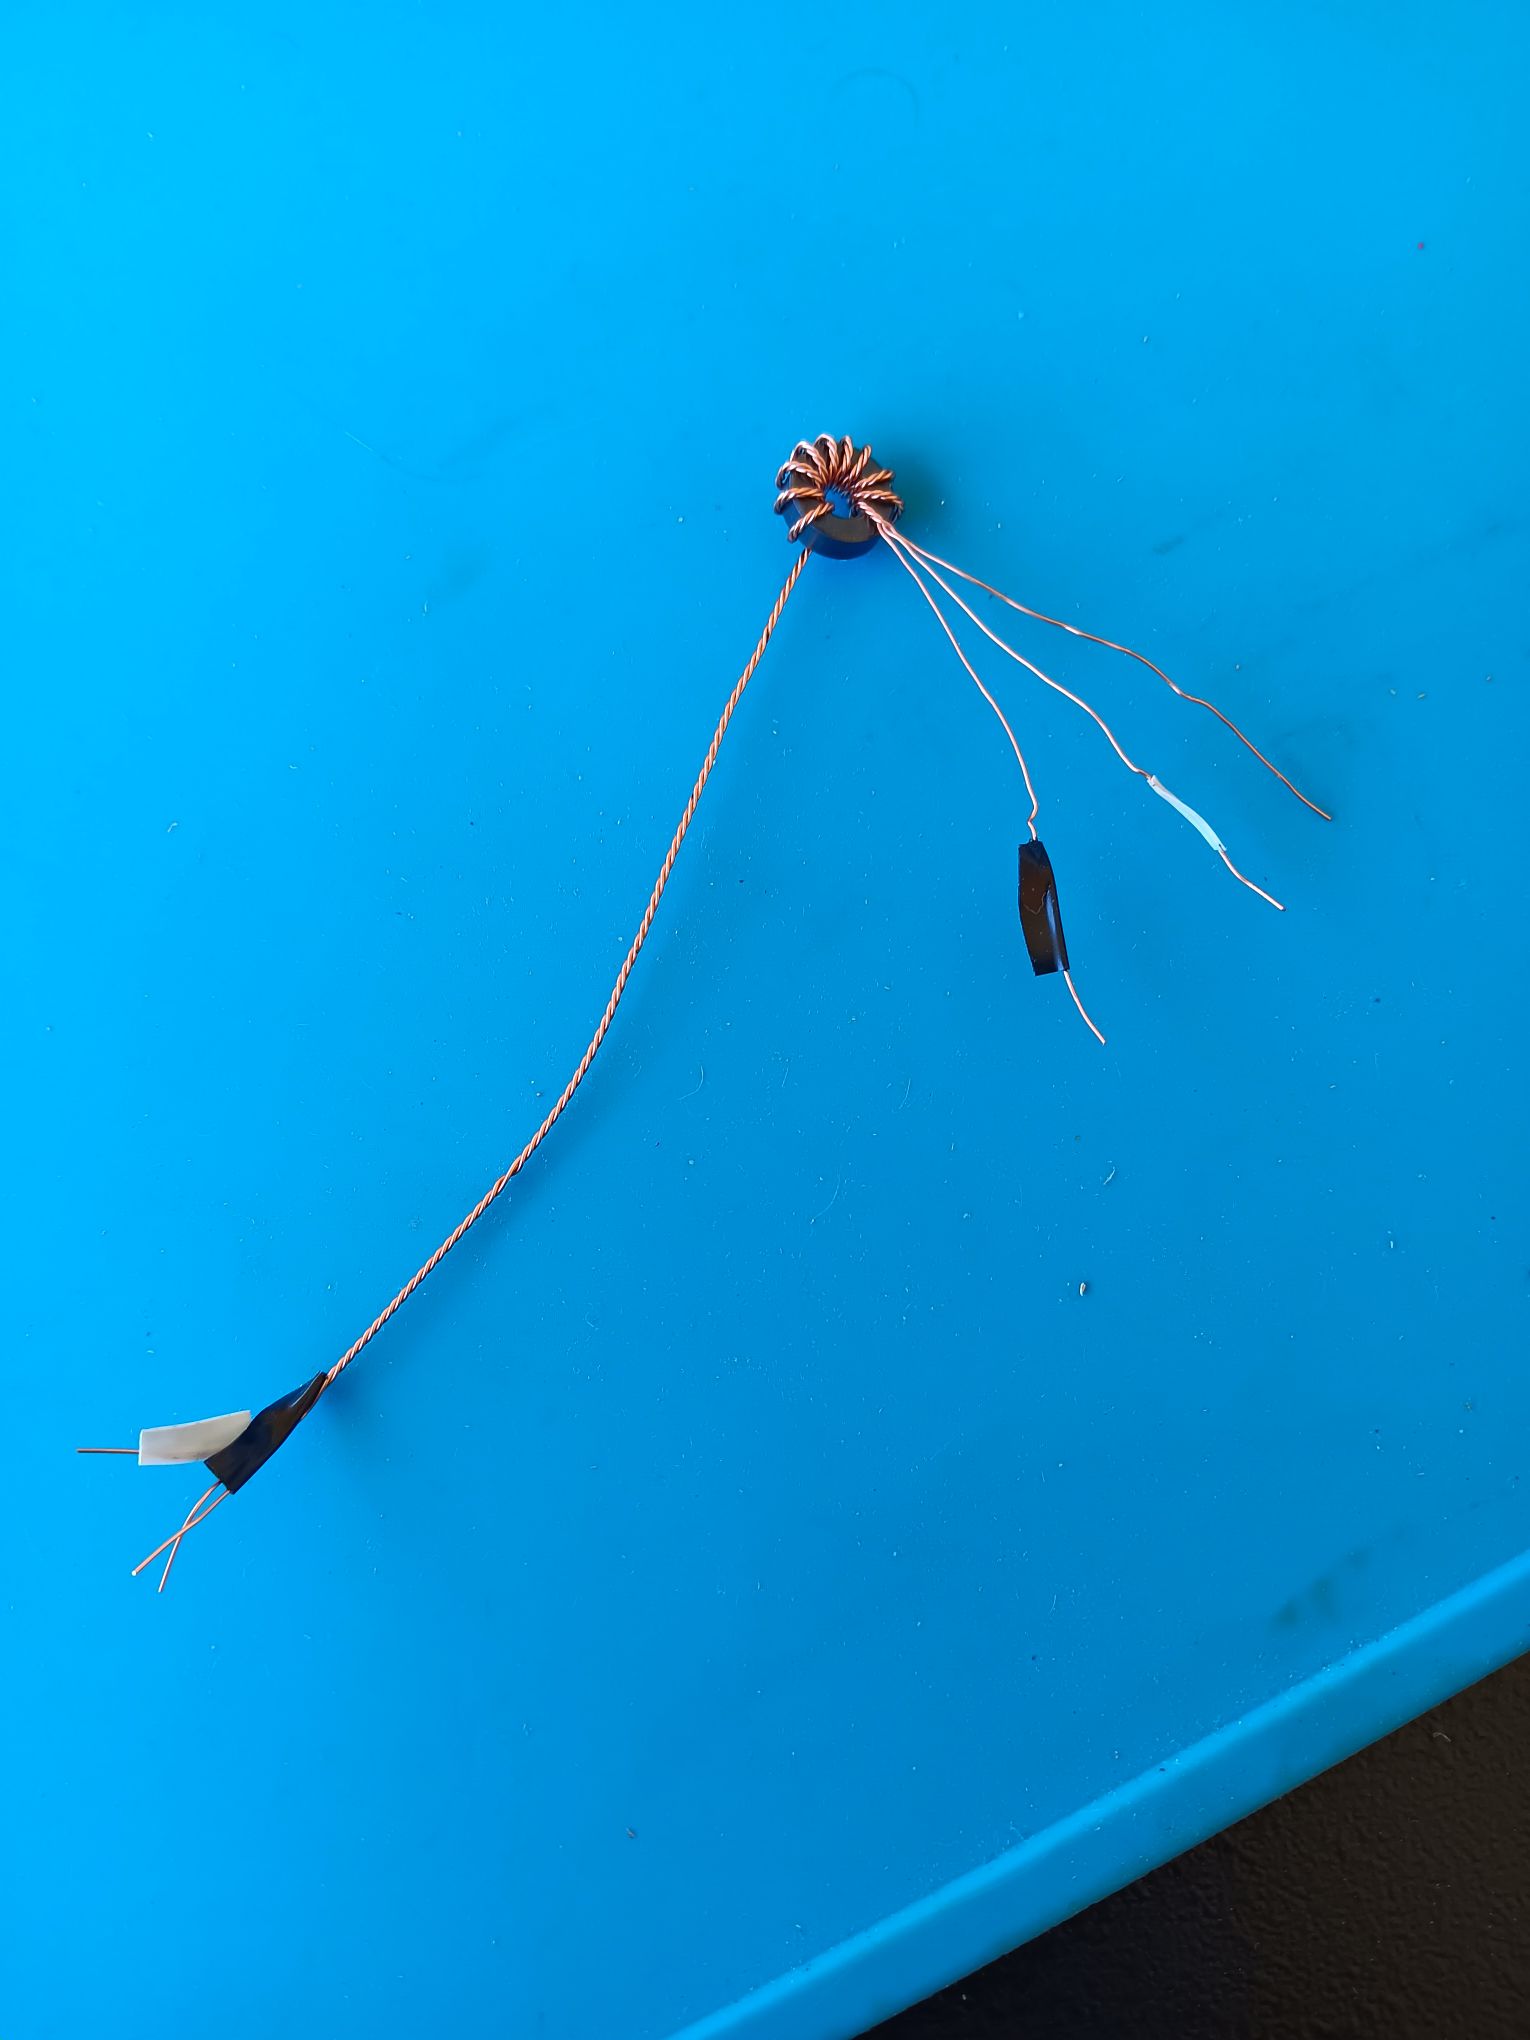
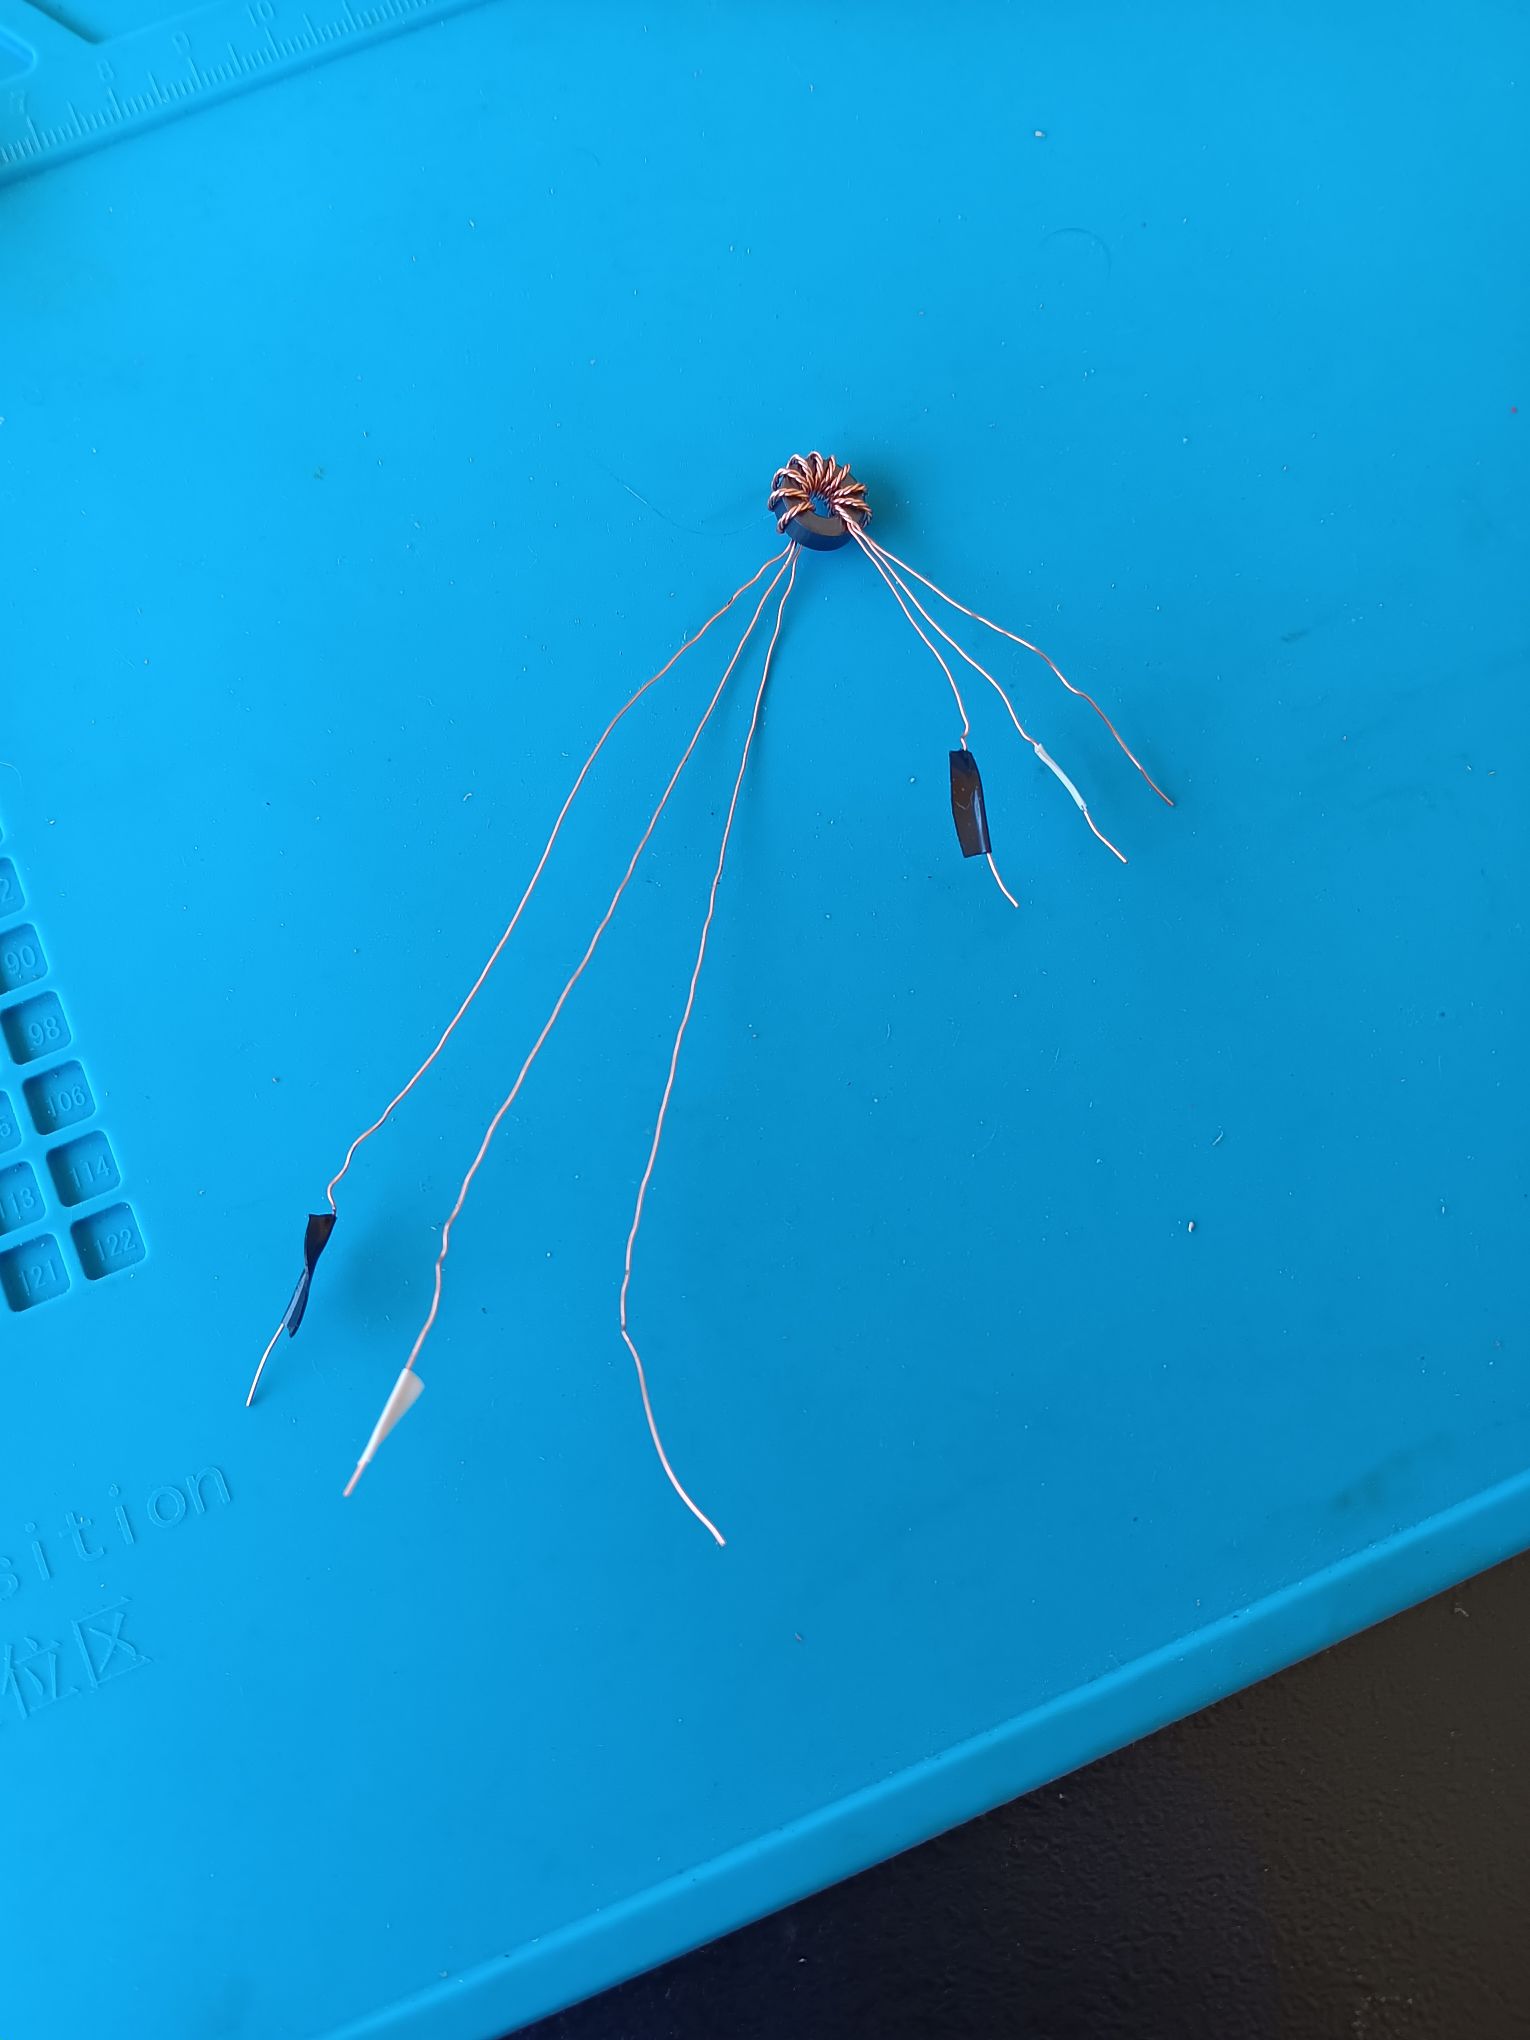
Frequently, the insulation is all the same black color.
To make sure we are connecting the phases correctly, we tape the conductors at both ends before we pull them into the conduit.
Doing it this way eliminates the hassle of using the multimeter to ring them out.
Once soldered to the board, I double checked the phasing for extra peace of mind.
The phase tape method worked out fine.
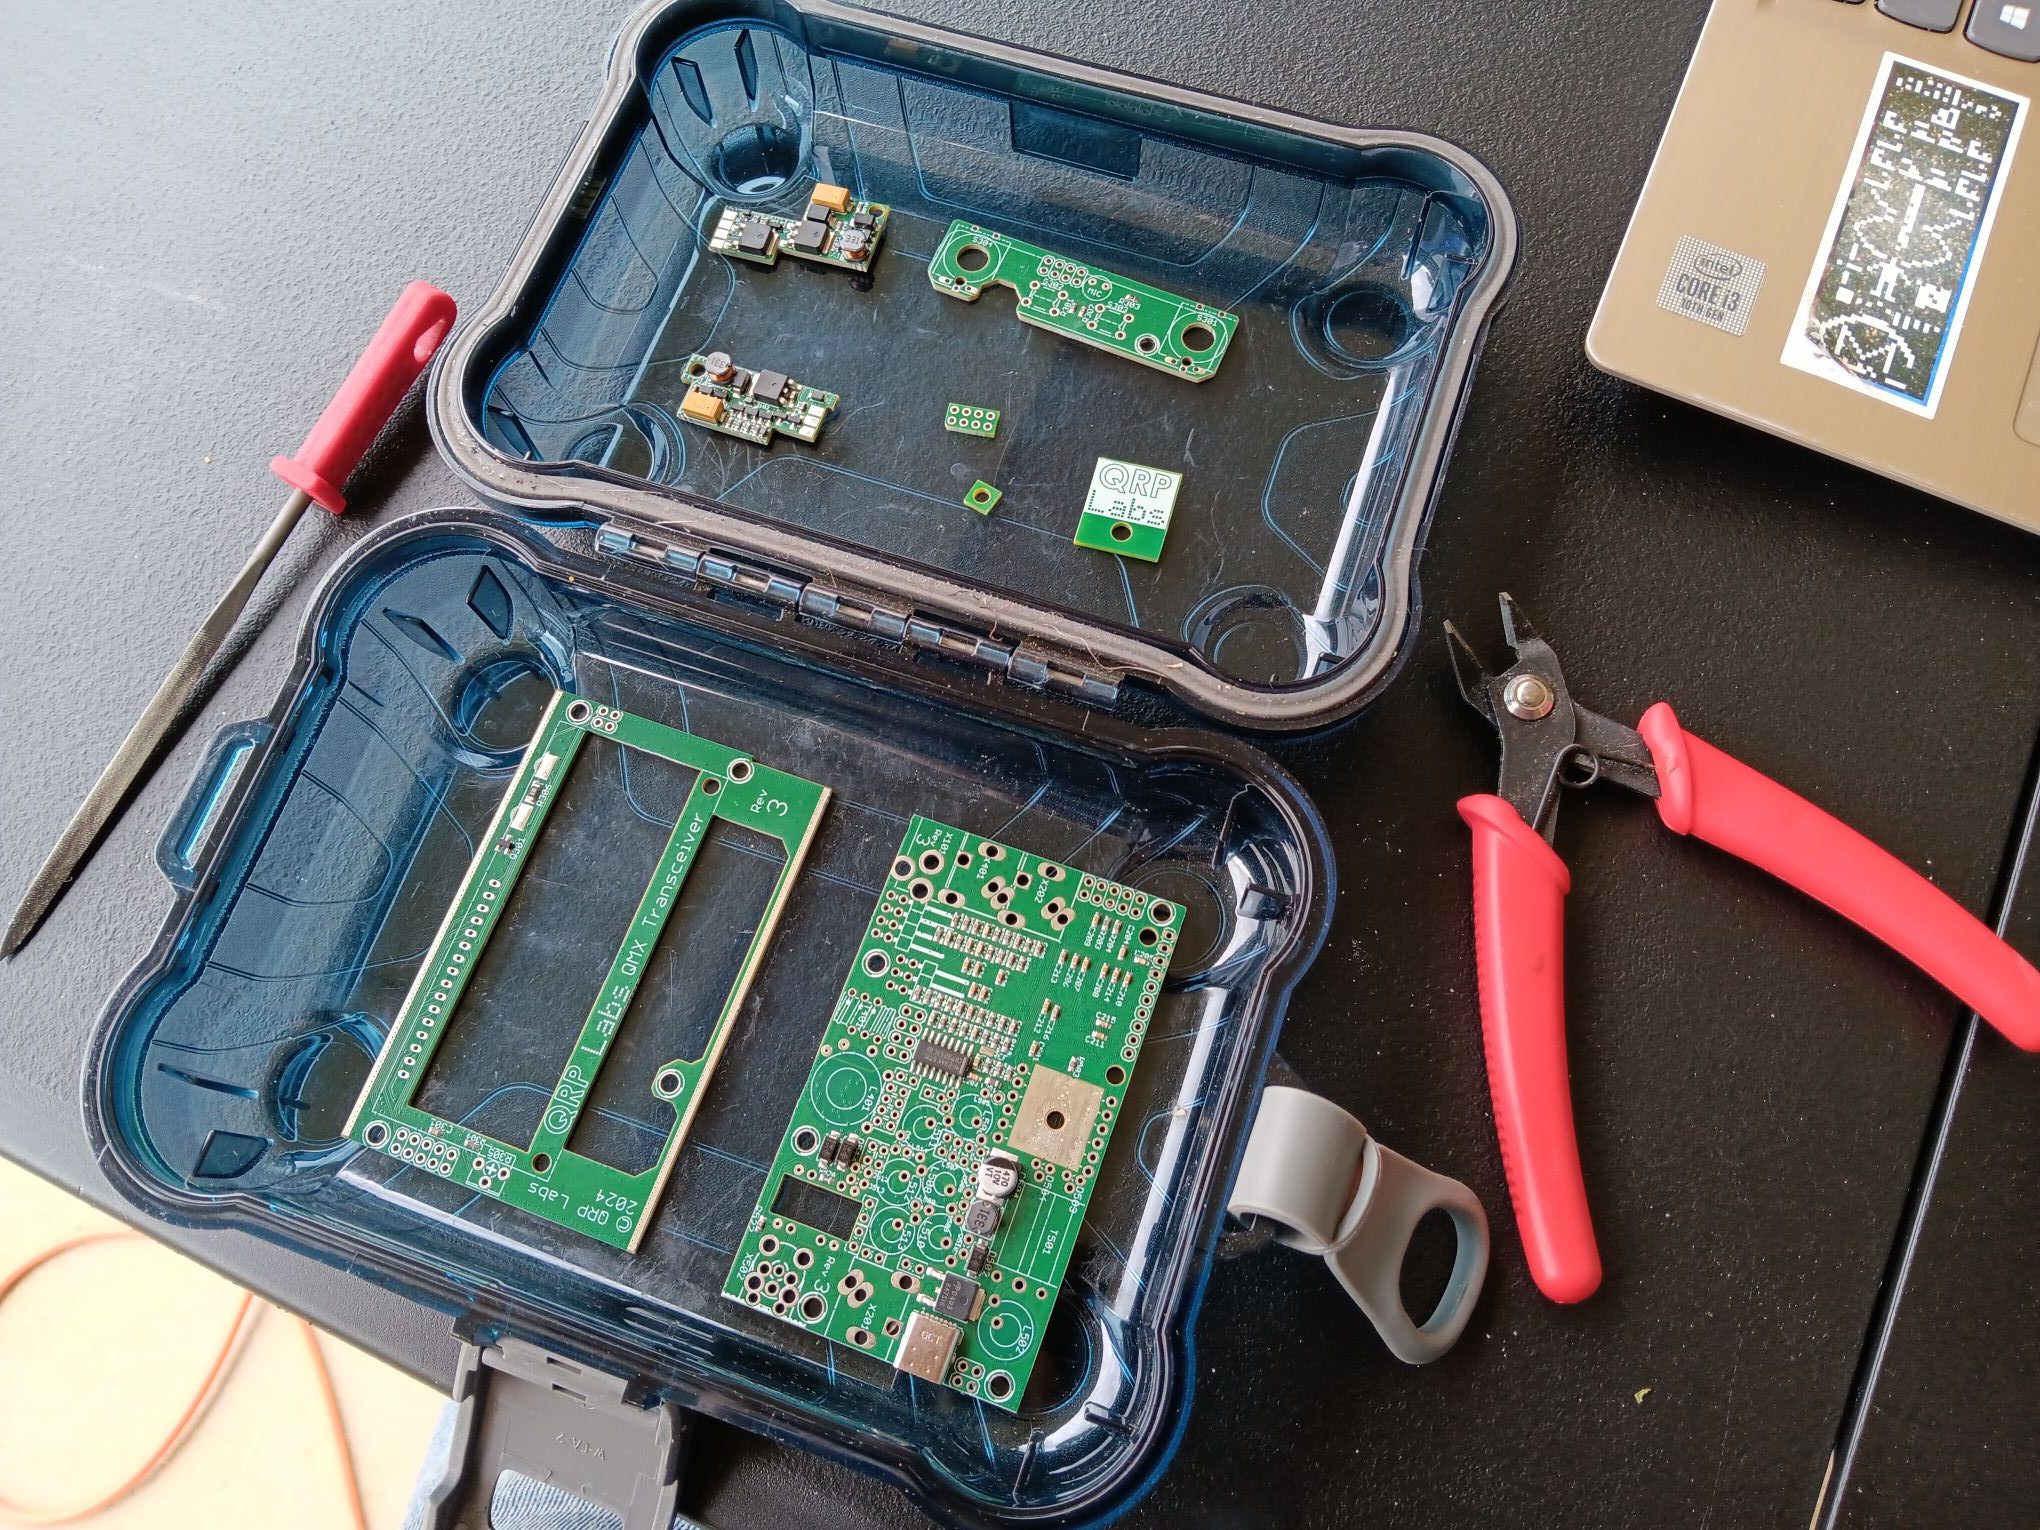
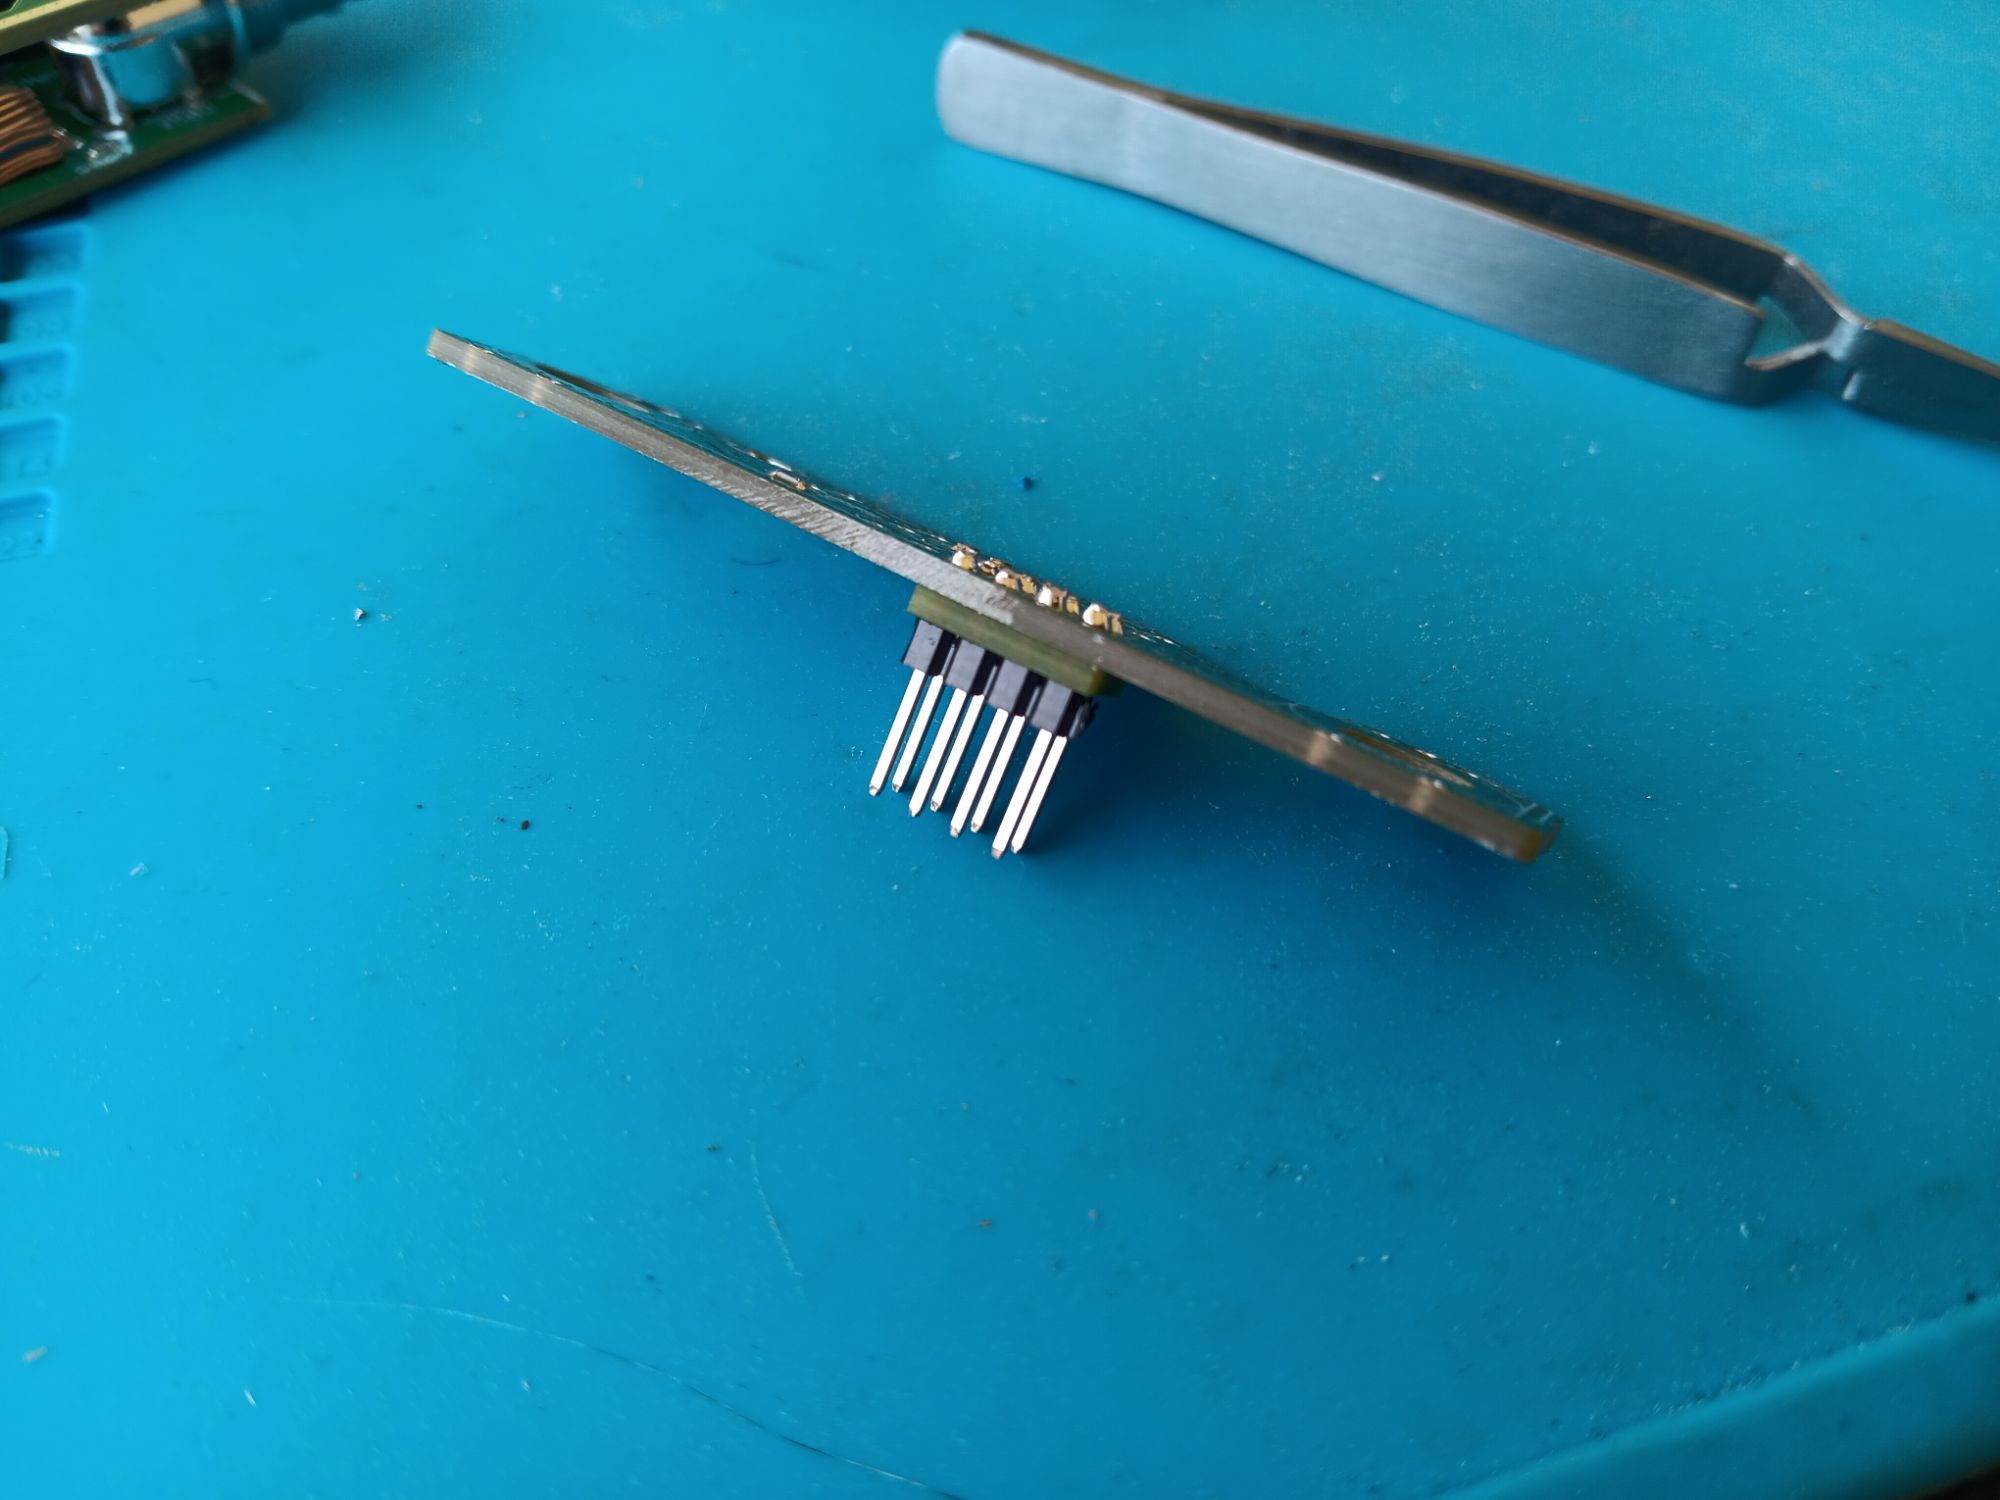
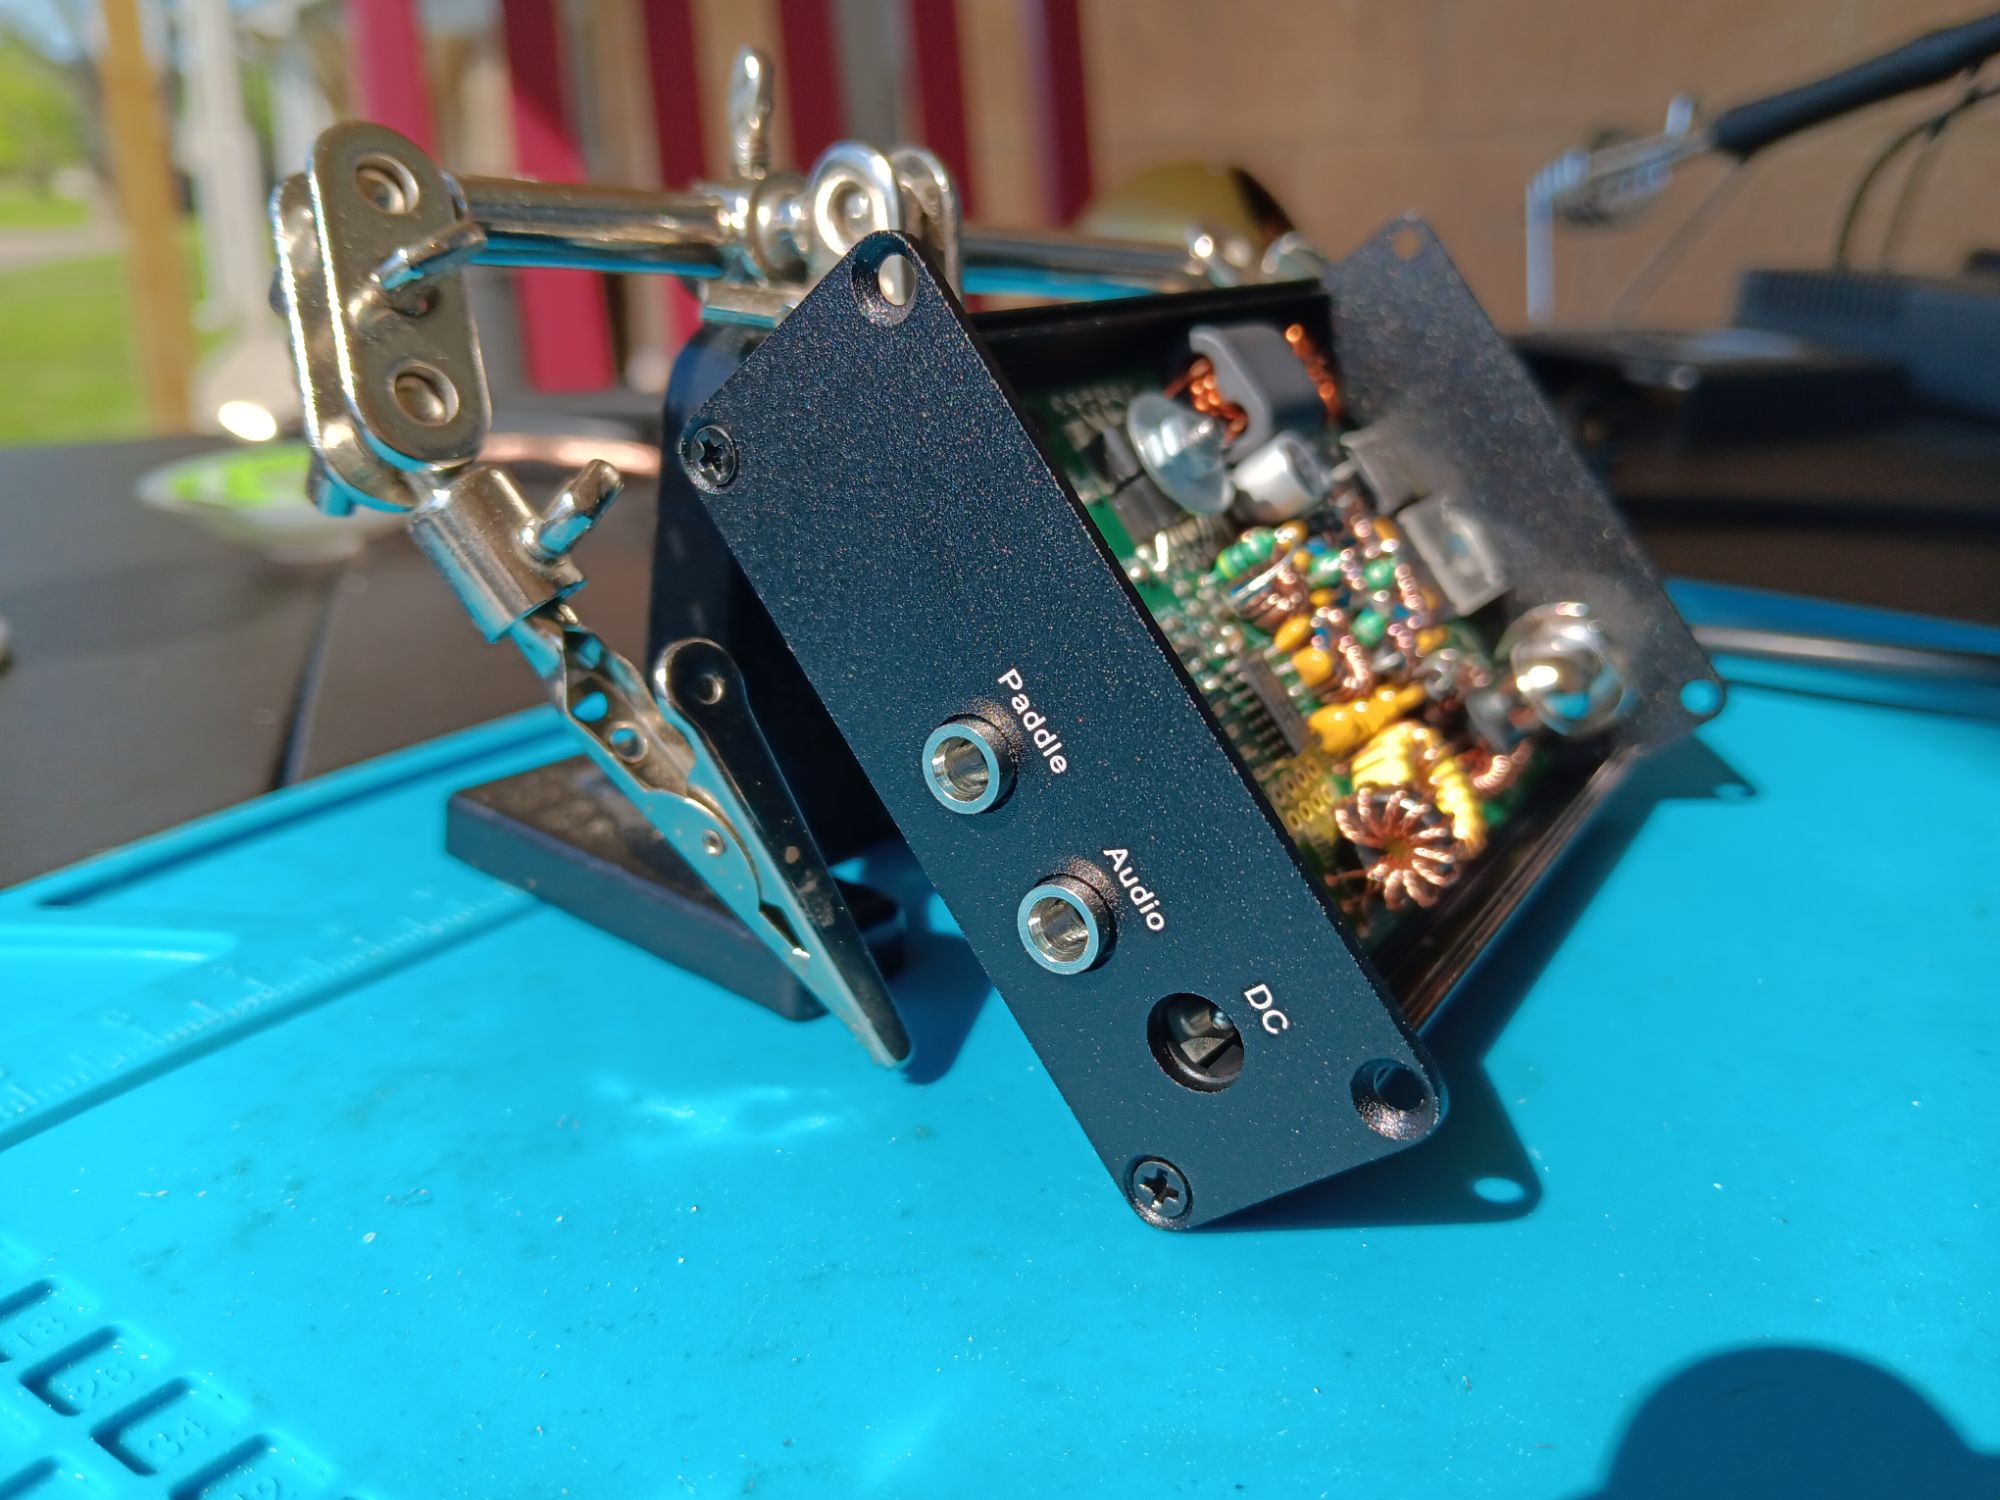
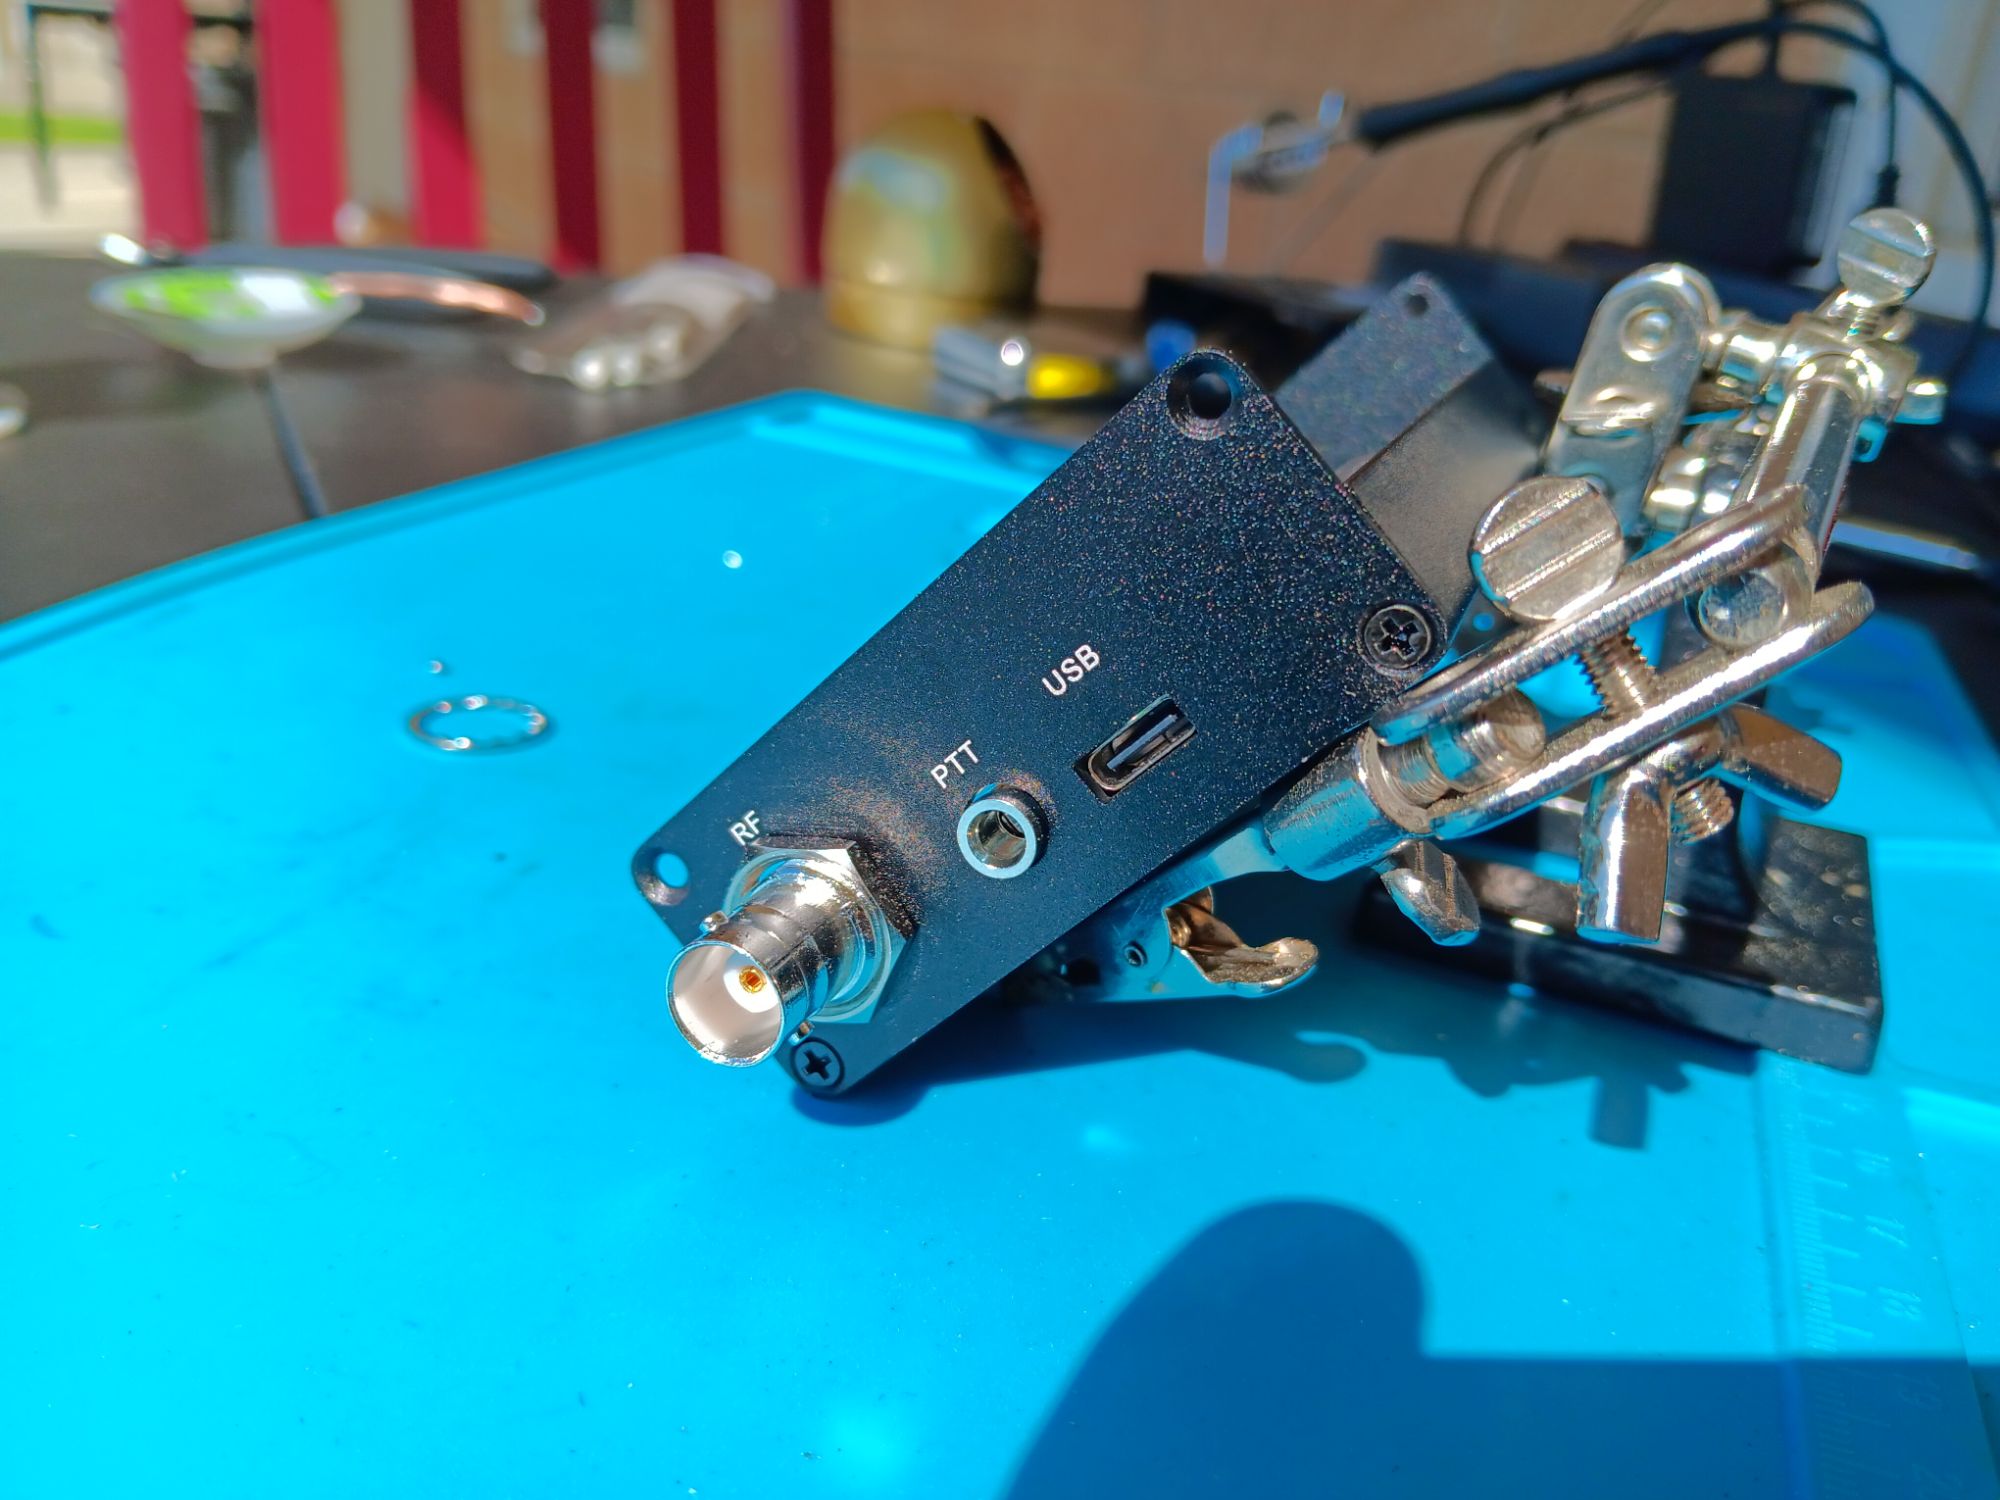
Installing the Headers and Connectors
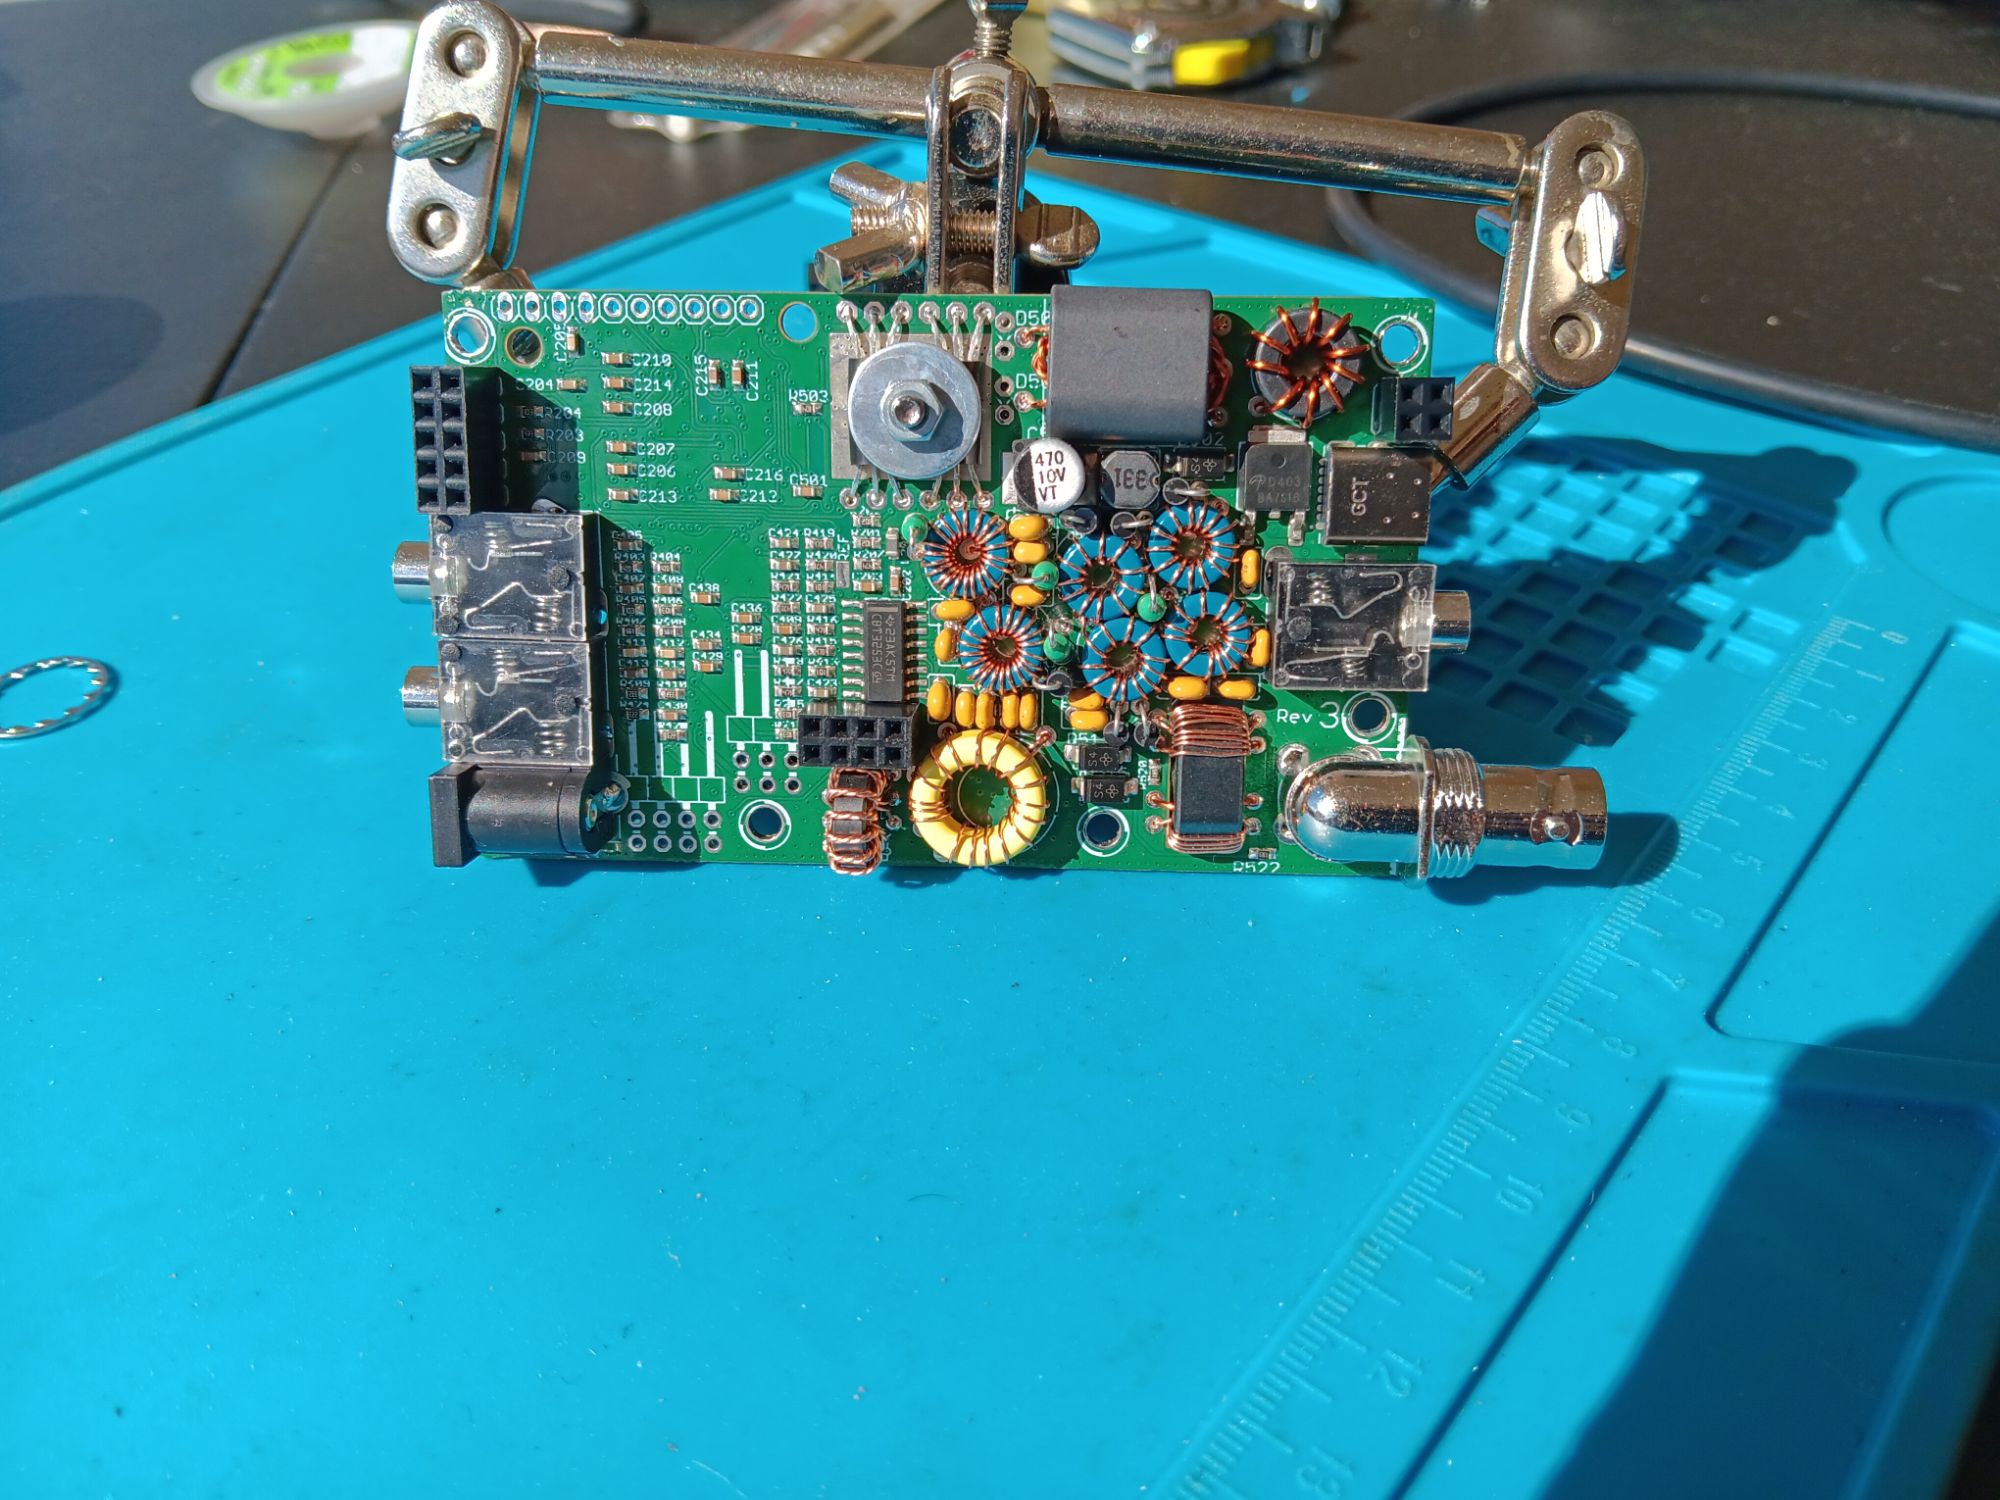


Building the Screen and Buttons


I’m glad I found this mistake before I had it all buttoned up.
It pays to check your work as you go.
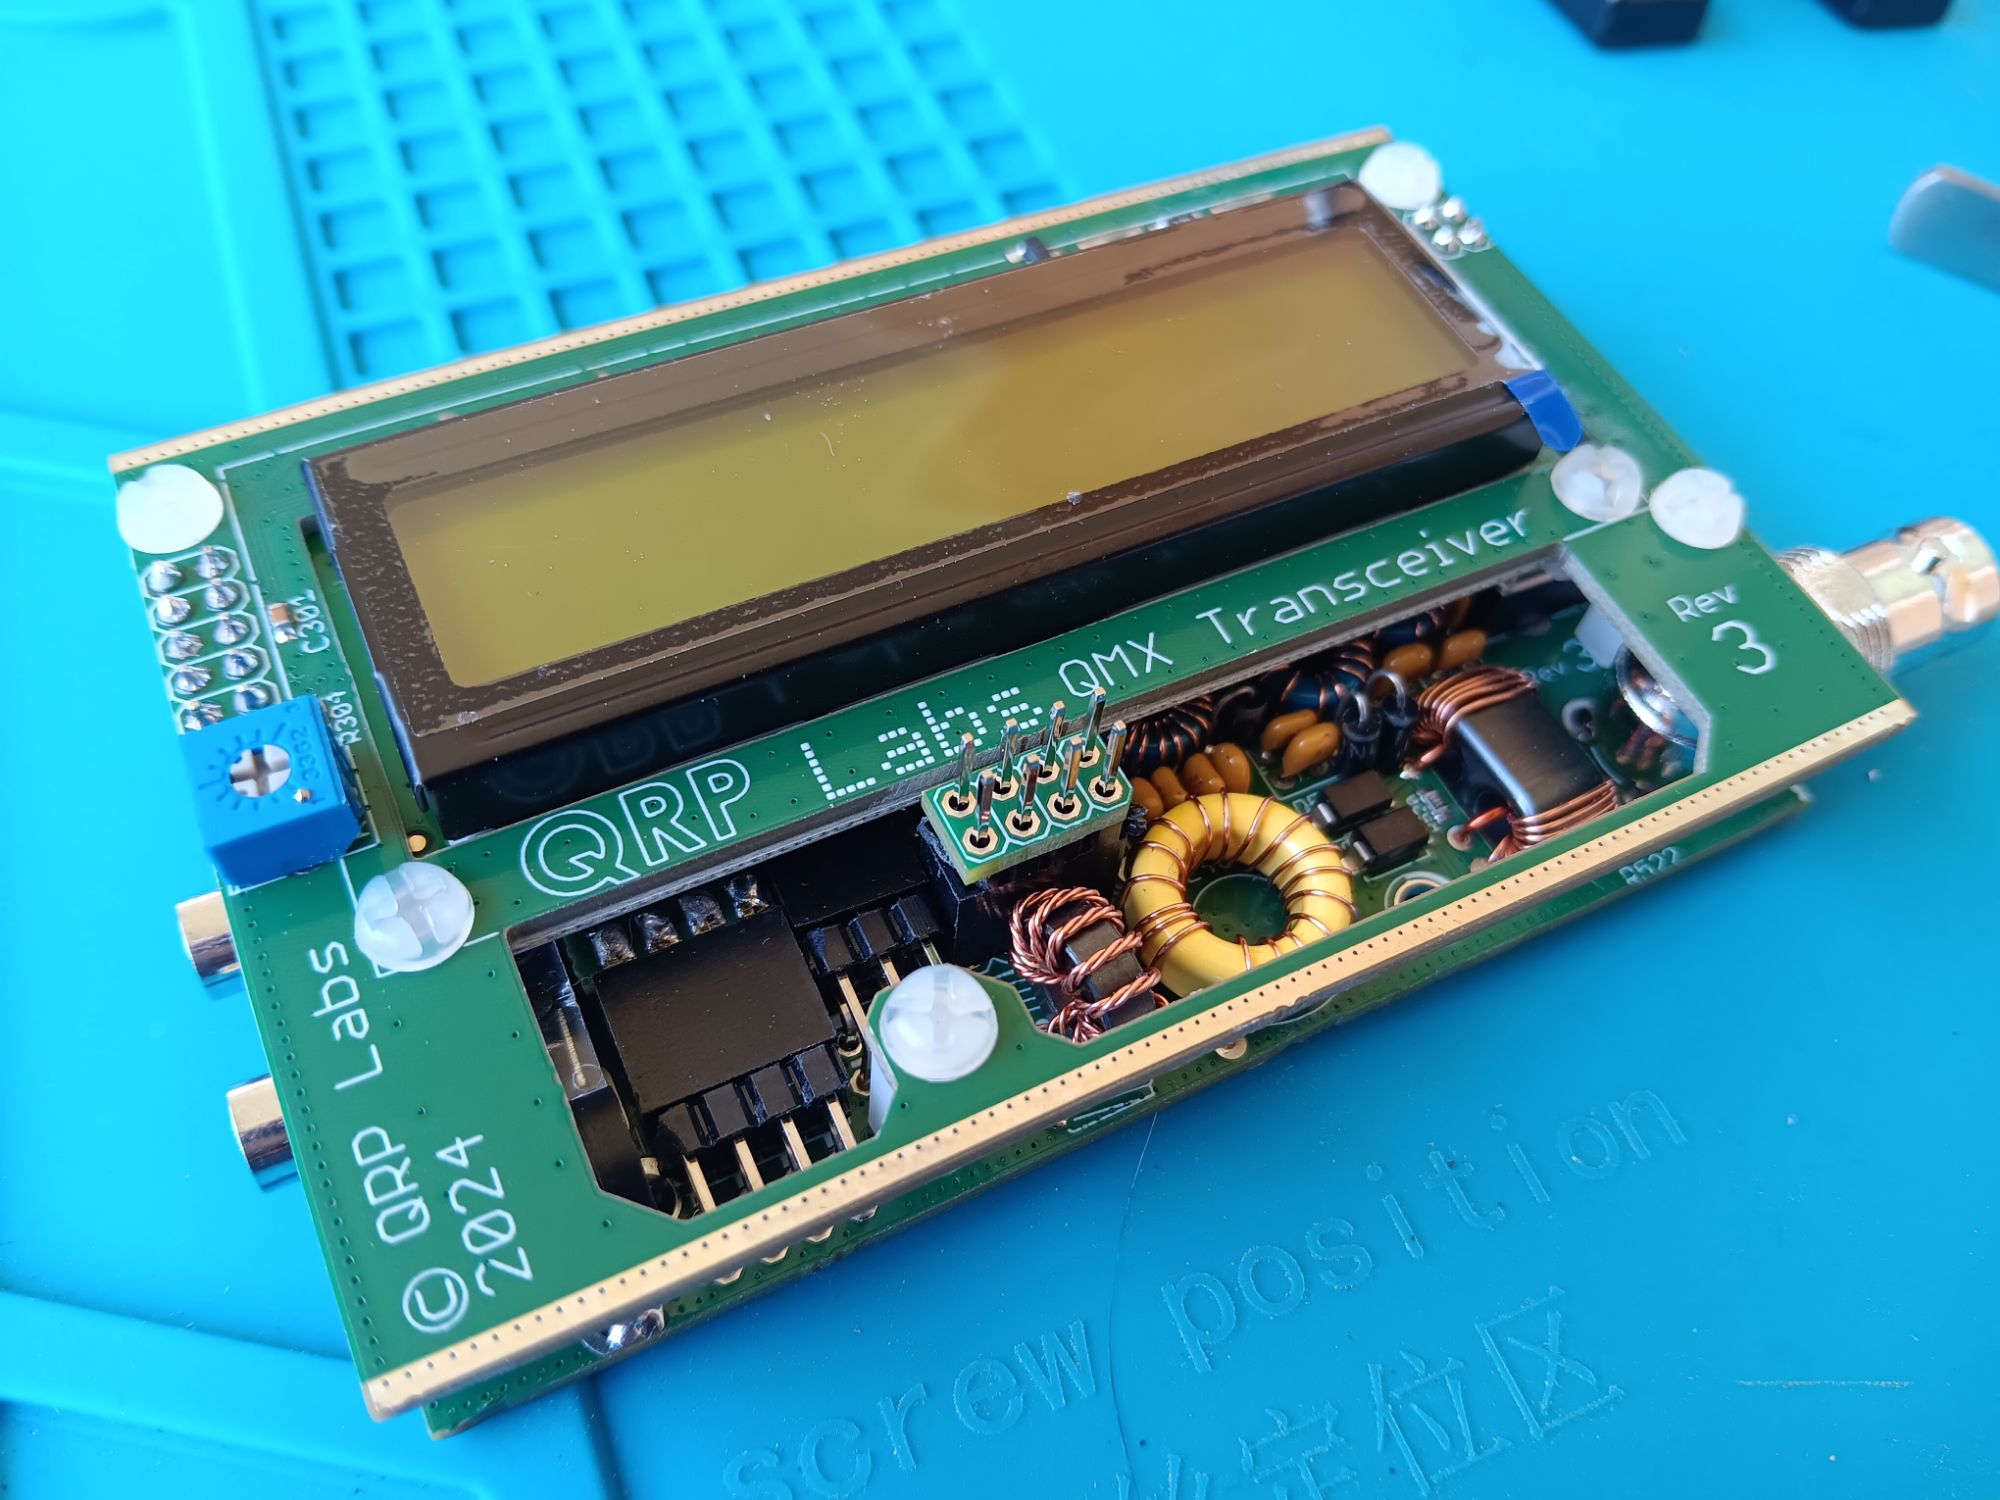
Checking the Enclosure Alignment

Applying Power
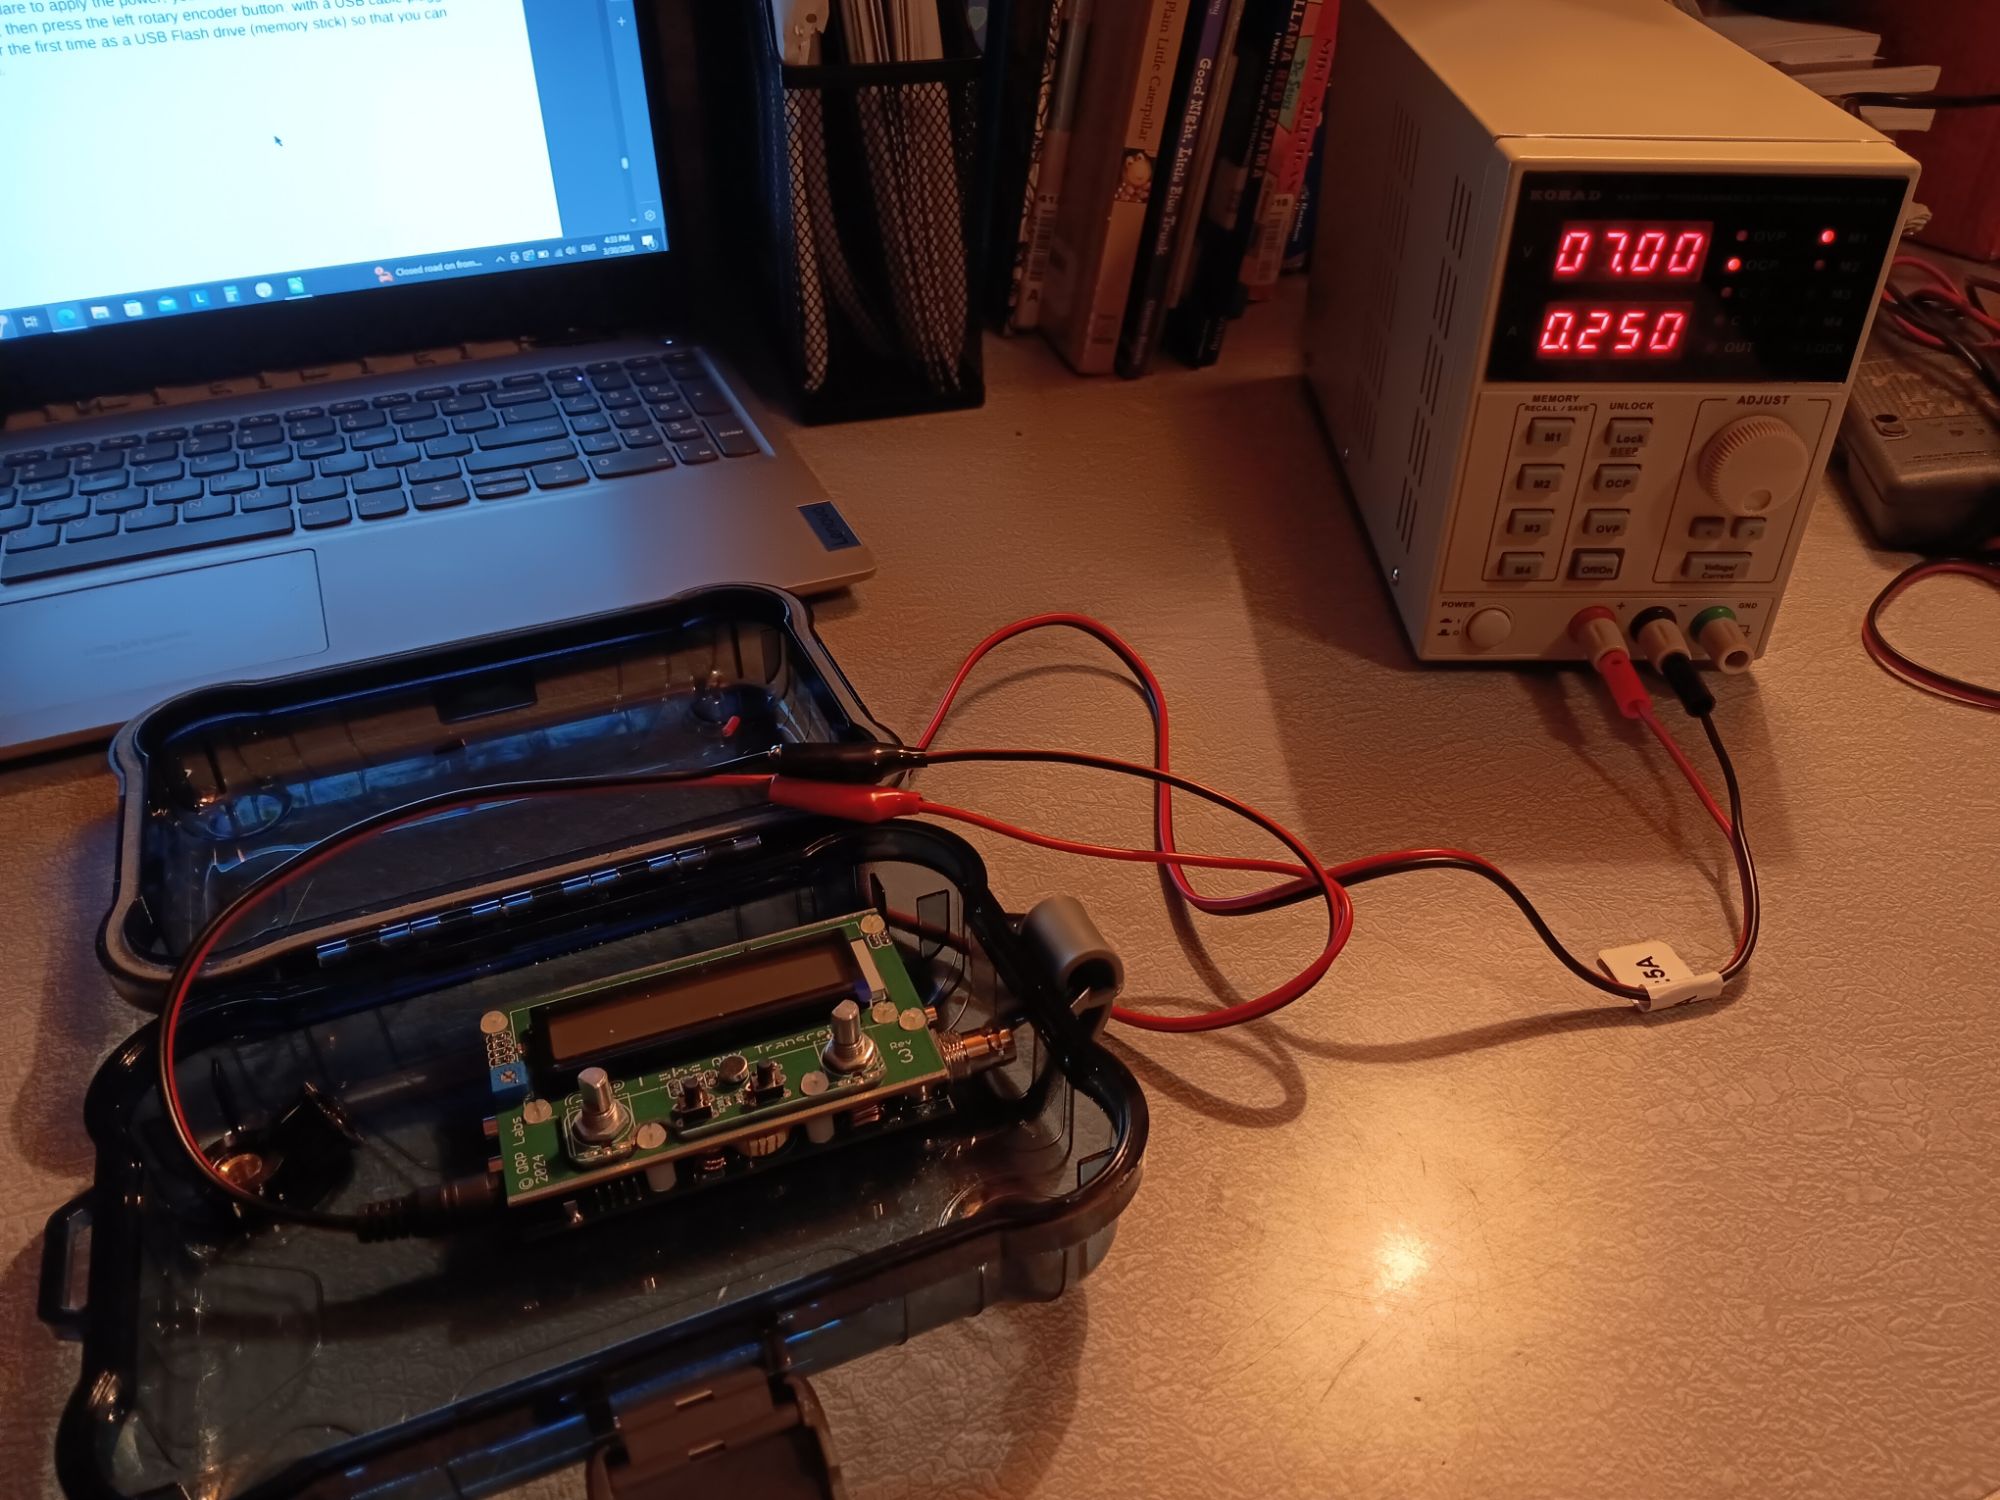


I’ve only made one contact with it (into Mexico!), but the Reverse Beacon Network tells me that it works on all bands.
While a non-traditional post of sorts, I hope that you enjoyed looking through the photos and you are inspired to build one of your own. It was an enjoyable experience and I’m glad that I found enough time to get it done. My thanks to Hans and the QRPLabs team for providing all of us amateurs with wonderful kits.

2 replies on “A QMX Build in Pictures”
Good job, Don! I put in many years as a journeyman electrician…..mostly shipyard ship building and industrial electrical/electronics. Great trade!!!
LikeLike
Hey Walter, didn’t know you were an electrician! I got into it a bit late but I’m glad I’m finally doing it. Glad to hear from you.
LikeLike